We threw a Disney Villains Tea party! I was so excited to host another Disney Side @Home Celebration and this year's box was all about Disney Villains. Katie was pretty ecstatic about it, even more so than I was. We also received Twinings tea in the box which led us to the idea for a Disney Villains Tea Party.
Since it had been a while since I hosted any kind of craft event at my house or taught a class in a store, I thought it would be great to bring the element of crafting and creativity into the party. I contacted my friends at Walnut Hollow and they helped us out with a set of Basswood Country Rounds that we used to create mixed media “paintings” of our favorite Disney Villains. Painting is HARD so I thought about ways we could paint fast and accurately – coloring books! Luckily there are several versions of Disney Villains coloring books available and we ordered two of them from Amazon.com. But I'm getting ahead of myself in the story of the day…
How to host a craft focused Disney Villains Tea Party in 3 hours:
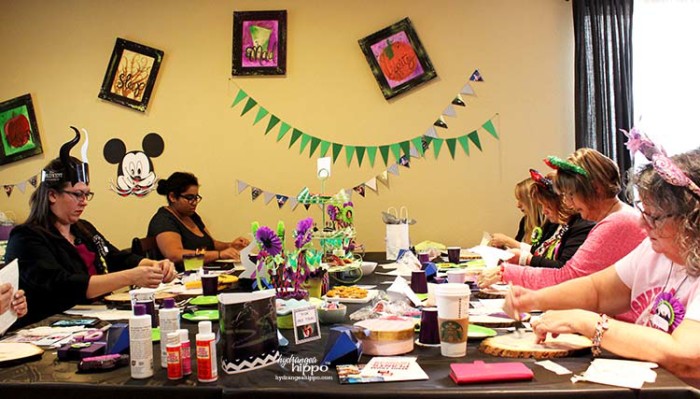
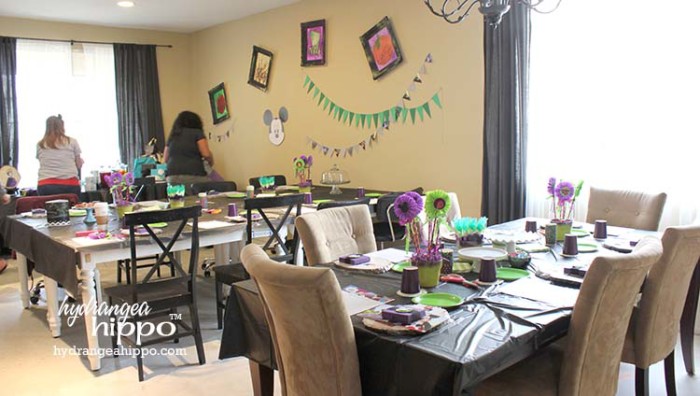
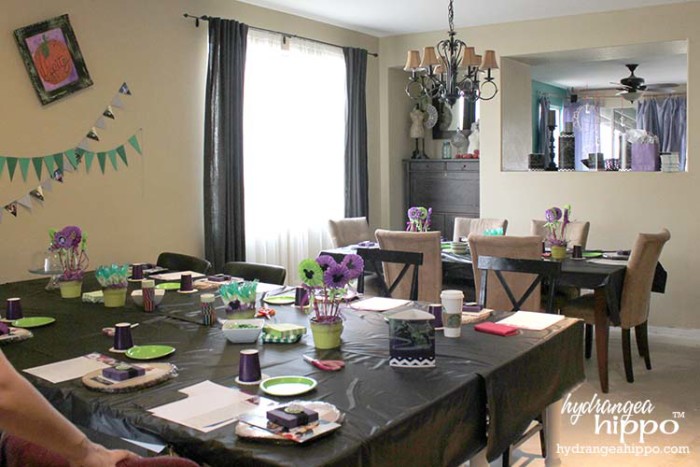
As guests entered the party, they chose a name tag from our assortment of Villians and added their name onto a label. Next, they could paint their nails at the nail station and admire the gifts we were giving out on the table. We set each spot at the table with gifts, favor boxes, and most of the craft supplies they would need to make the project.
There were also word searches and other activities guests could work on while snacking on finger sandwiches, cupcakes, and candies in the center of the table. We created centerpieces from pots and crepe paper rosettes, to match the rosettes on the name tags. On the wall, we hung handpainted Villian themed art in Smoothfoam Frames along with printed banners from DisneySideCelebrations.com and handmade banners.
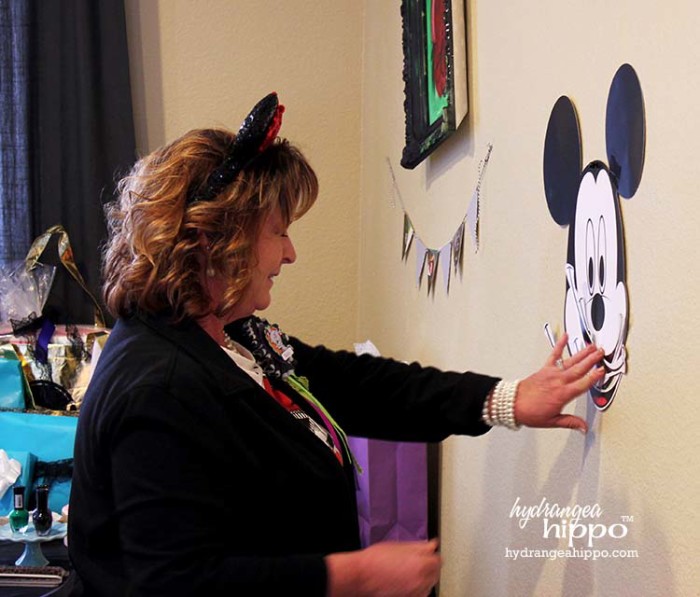
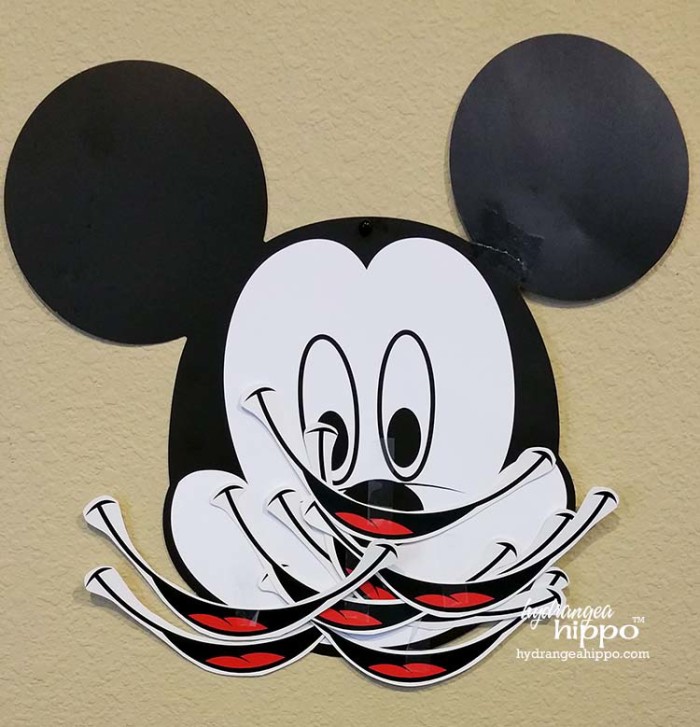
Once everyone had arrived, we broke the ice with a few games, like “Pin the Smile on Mickey”:
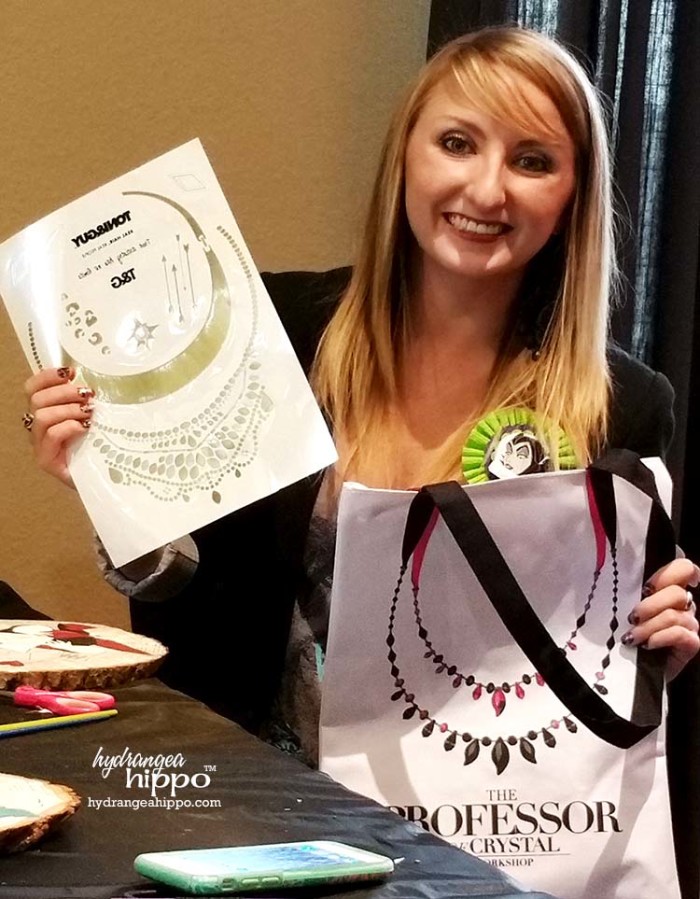
We gave out prizes all throughout the day, including some of the goodies from the DisneySide @Home Celebrations box, items I handmade for the event, and Villain-worthy swag, like this bling tattoo kit from Toni & Guy:
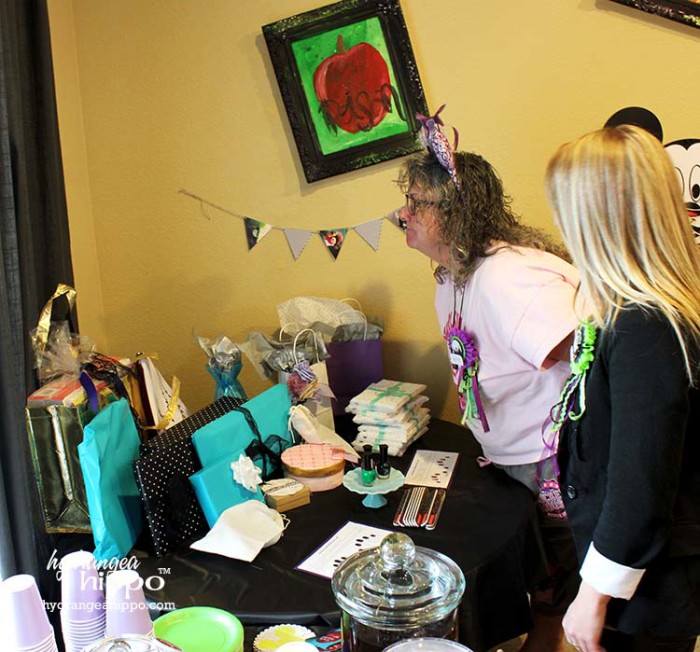
The guests checked out all of the fun gifts in the corner of the room. I was going for a White Elephant effect – hey, it might be big and wrapped fancy but you don't know what is inside!
After 30 minutes of snacking, getting name tags, and playing games, we started on our craft project:
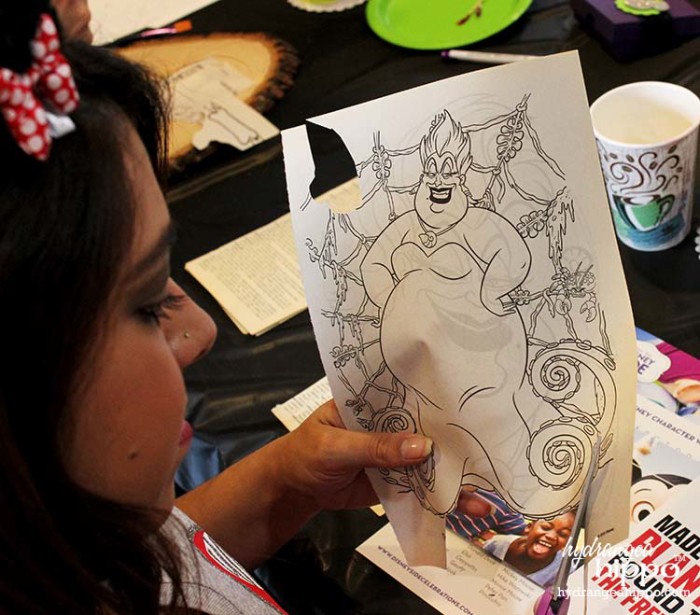
I'll be sharing a video tutorial of how to make a painting from any coloring book page but here's the skinny of how we did this at the party. We passed around the coloring books and each person chose an image of a villain they wanted to paint, tearing the page from the book.
Next everyone loosely cutout around the image. Some people fussy cut the image, cutting very precisely, but that is not necessary for this project.
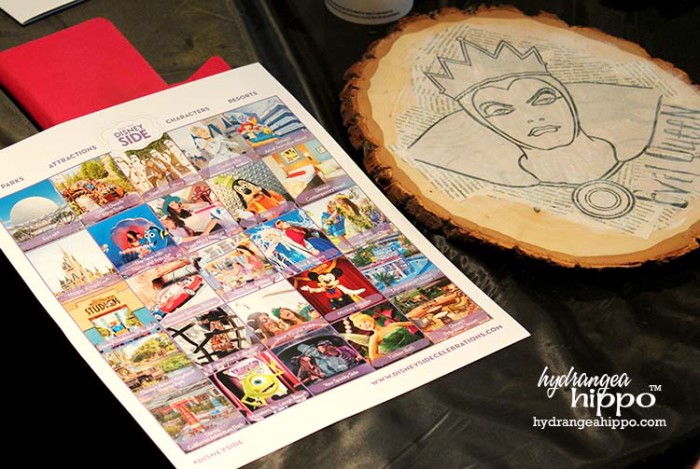
Trace the cutout onto the wood with a pencil. This will help us to avoid adding decoupaged paper under neath the coloring book image. The decoupaged paper can be lumpy and its more difficult to paint the image over all the lumps and bumps of the paper. Use decoupage medium to decoupage torn pieces of book paper around the traced image.
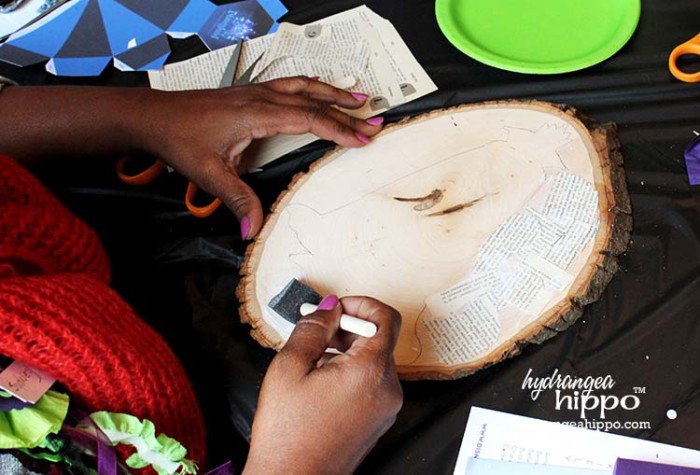
Add the coloring book image in the traced area, and glue securely with more decoupage medium. While the decoupage medium is drying, play games like Disney Bingo, and snack on more snacks!
I wish I had gotten more photos of the food but everyone ate it super fast! Here are some of the food goodies we got pics of:
Here's how to make the snacks and finger sandwiches from the party. I didn't make full on recipes as these are fairly easy to make. We made a wide variety of food to accommodate the paleo and gluten-free eaters in the group.
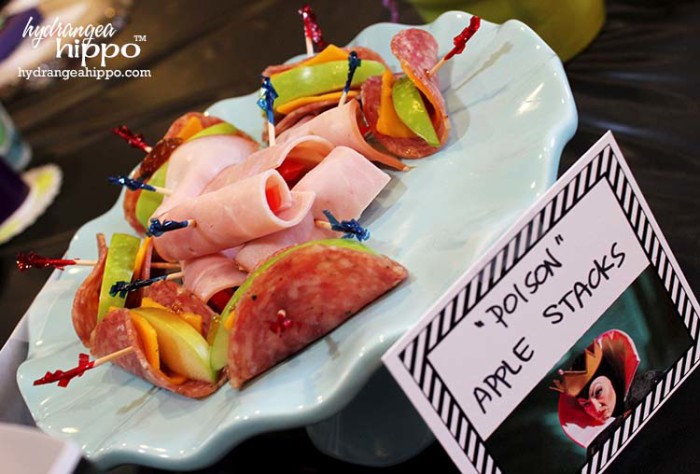
Poison Apple Stacks: (pictured above)
- Slice an apple into skinny wedges.
- Slice cheddar cheese into thin strips.
- Spread fig jam onto nitrate -free salami.
- Wrap the cheese slice around the apple. Wrap the salami around the apple and cheese. Secure with a toothpick.
Note: to make this recipe paleo friendly, remove the cheese and replace the jam with honey.
Cruella DeVille Black Forest Ham Rolls: (also pictured above, not labeled)
- Cut Black Forest Ham Slices in Half (we used Applegate Brand).
- Mix 1/2 cup cream cheese with 1 tsp spicy mustard.
- Spread Cream Cheese mixture onto the ham.
- Slice a red bell pepper. Place half a slice into the ham slice and roll. Secure with a tooth pick.
Note: to make this recipe paleo friendly, remove the cream cheese, use the mustard alone.
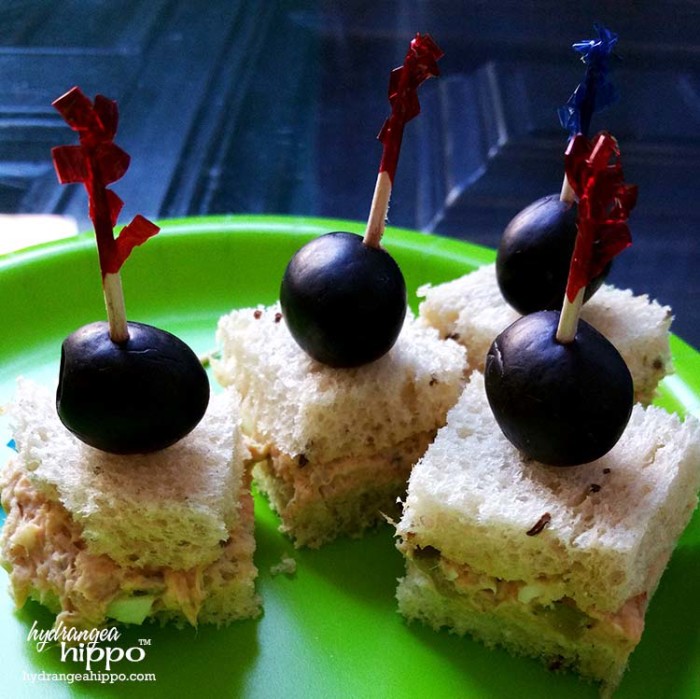
Ursula's Pearls Finger Sandwiches: (pictured above)
- Make tune salad, as desired.
- Cut the crust from rye bread slices.
- Spread a generous amount of tuna salad onto one slice of bread and top with another slice of bread. Cut into quarters.
- Insert a toothpick into a whole small olive and insert into each sandwich.
We also got this fun Duff Goldman cake mix for tie dye cupcakes! These were so much fun to make and each one was a little bit different inside. We frosted them with vanilla frosting and then added sprinkles we also received in our #DisneySide @Home Celebration kit.
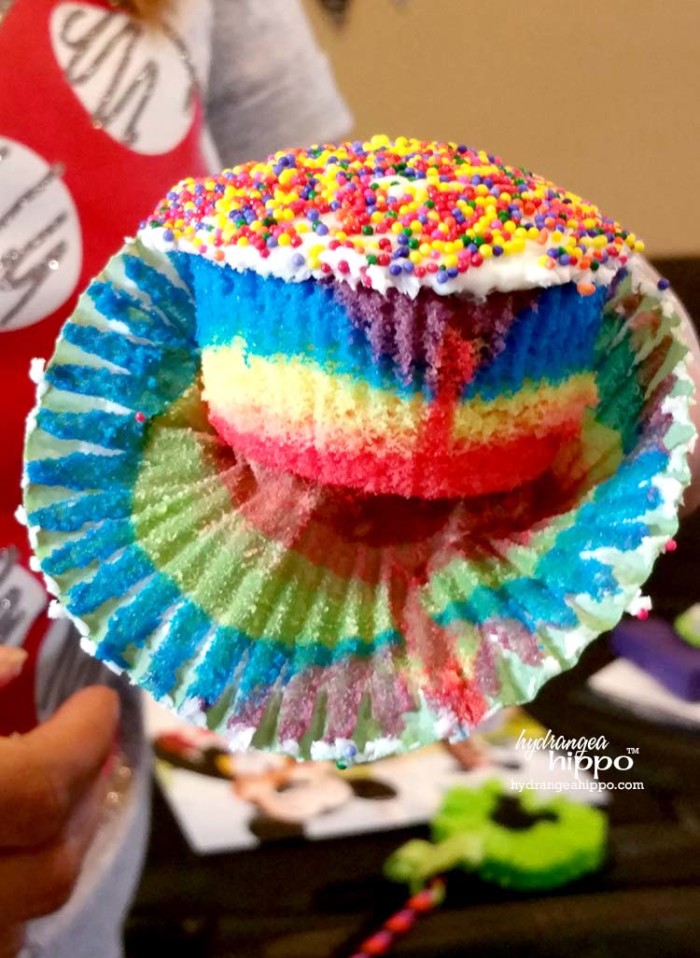
Aren't those fun?! They were delicious and moist too! I think I ate 2 of them. Okay, maybe 4. Alright, I ate 6 of them! They were small. And rainbow so they don't have calories, right? LOOK! There's a UNICORN…
While we waited for paint and glue to dry, we also had fun taking our photos at a Villains Mug Shot Photo Booth we set up! We created silly booking photo signs using foam core board and a permanent marker:
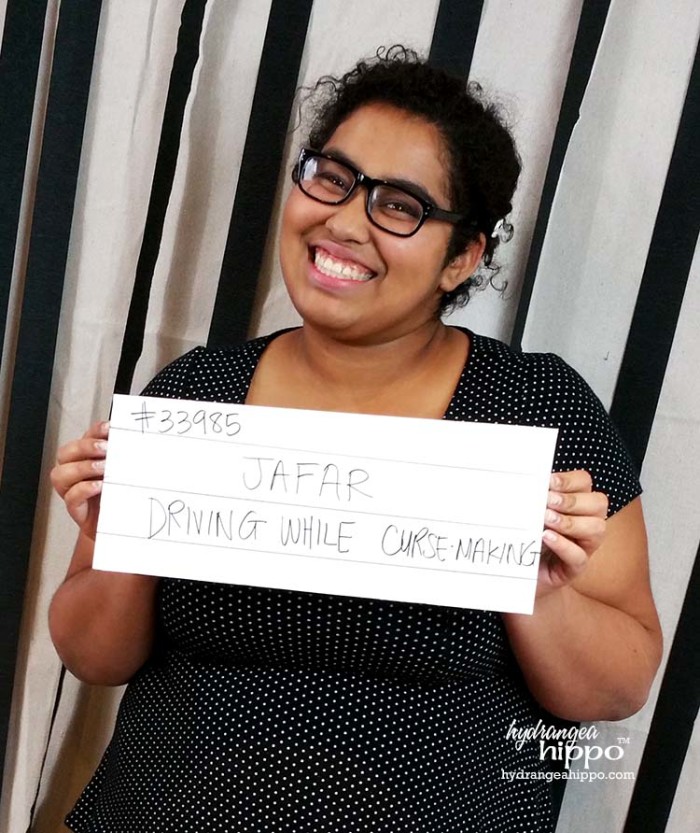
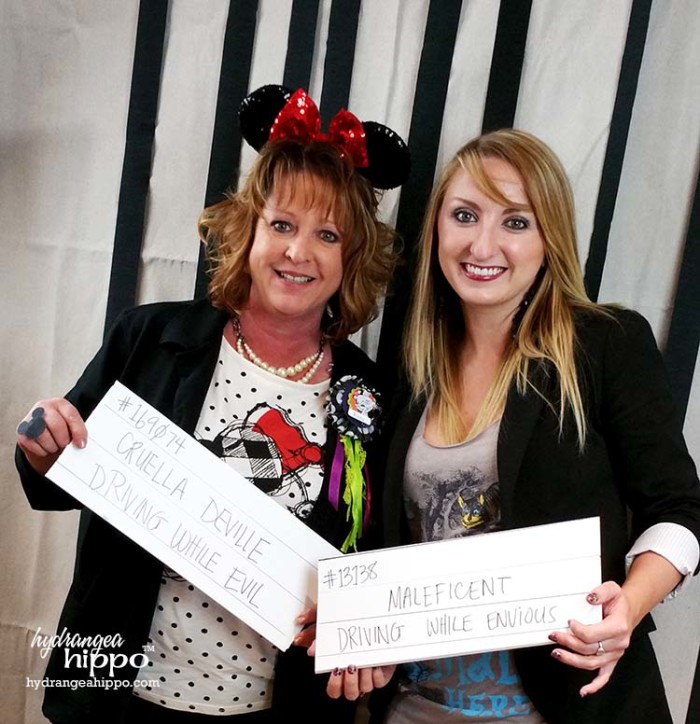
Why are all of these people smiling? They're in JAIL! Shouldn't they be frowning or something?!
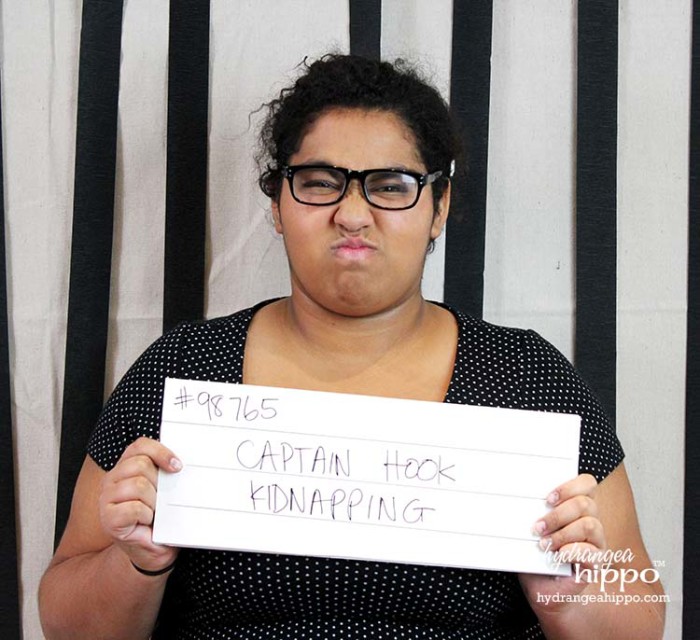
Yeah, Katie's got the right idea! To make the “jail bars” in the background we pinned a painter's drop cloth to the wall and then hung strips of black crepe paper every 4 inches to replicate “bars”. This idea is affordable and you can use things you already have. If you don't have a drop cloth, use a sheet or an old curtain.
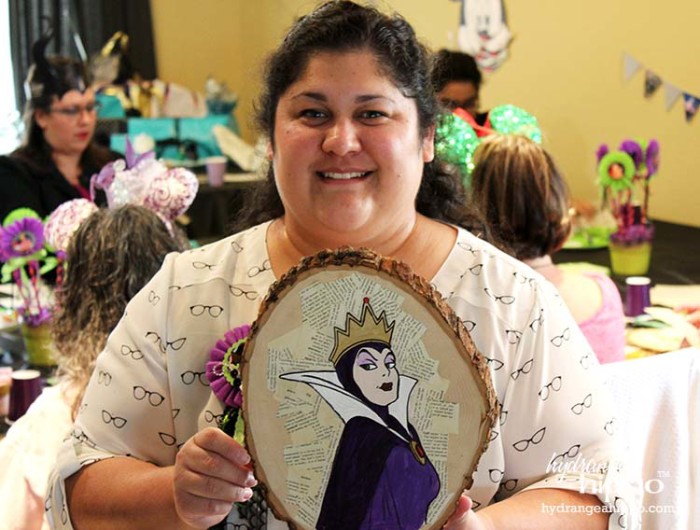
Once the decoupage medium dried, we chose acrylic paints in the colors for our Villains and started painting them.

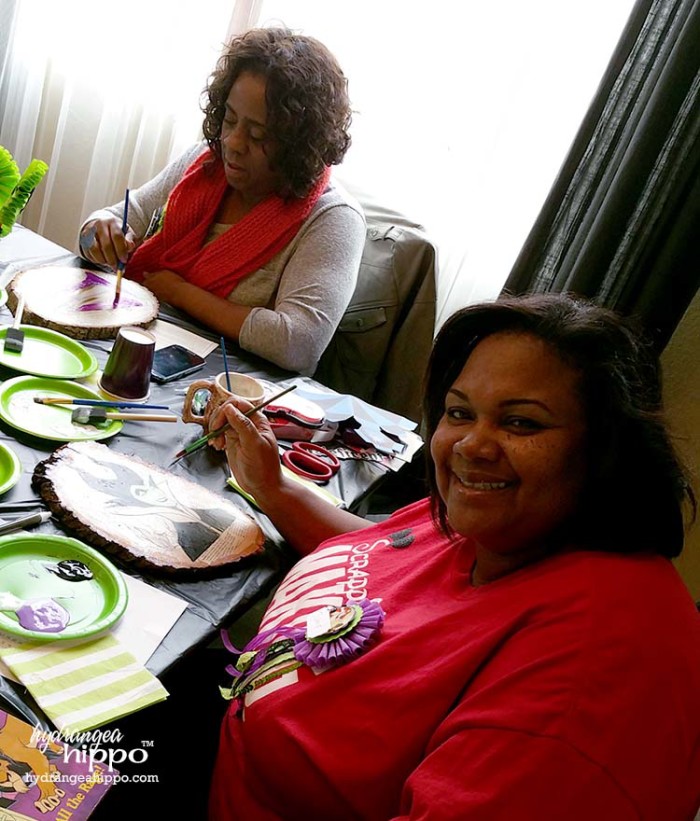
I really love how Jolane's Maleficent turned out! She used Glitter Mod Podge on the book paper and ti gave the project such an interesting look and finish. I need to try that Glitter Mod Podge now!

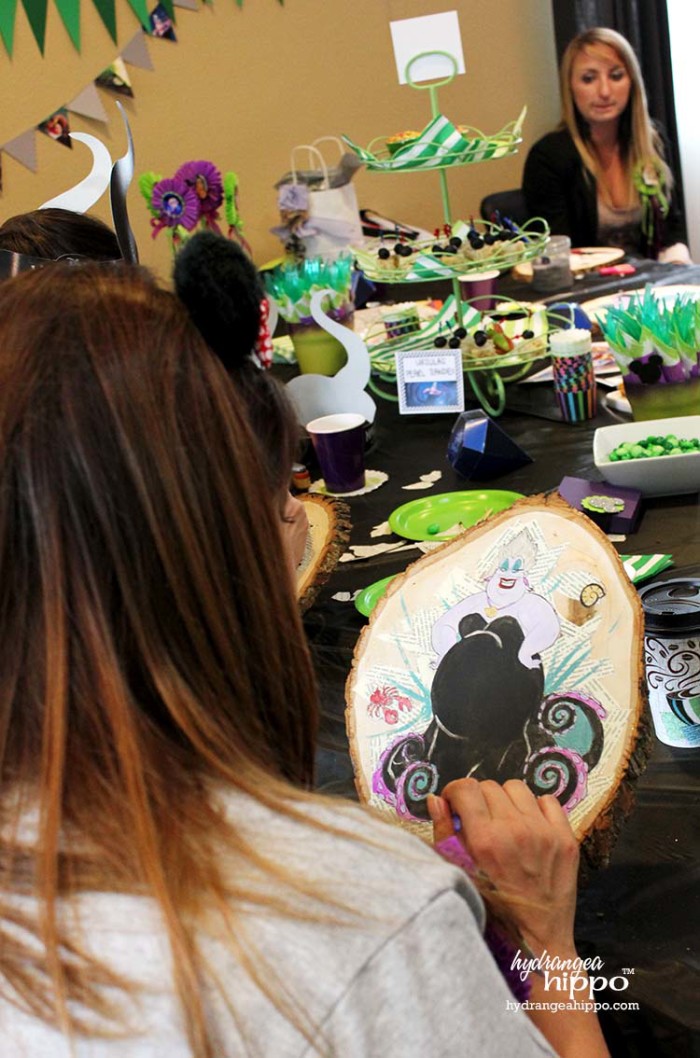
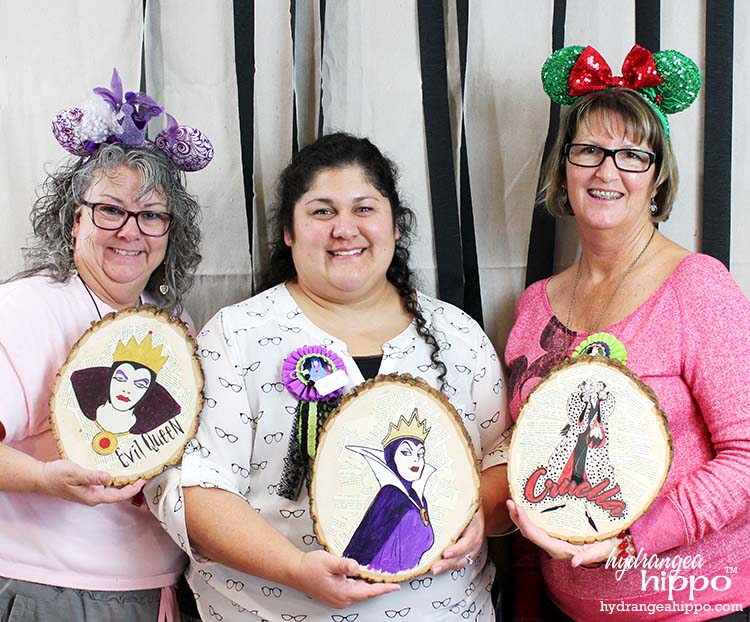
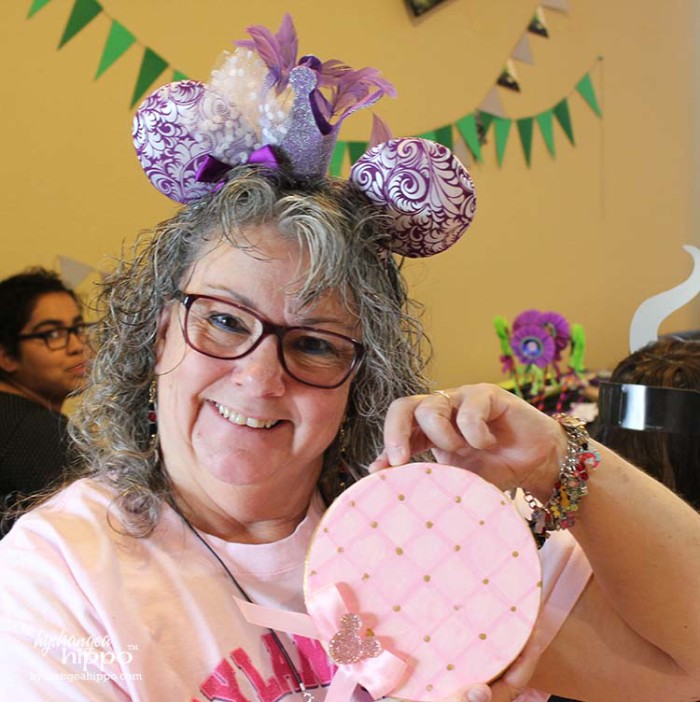
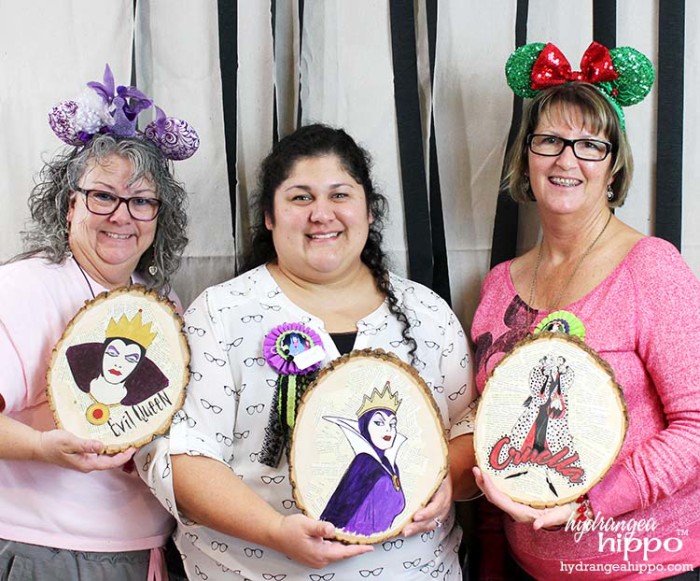
I love how everyone got artistic with it, adding swirls and other details. At the end of the party, we all had finished projects to take home!
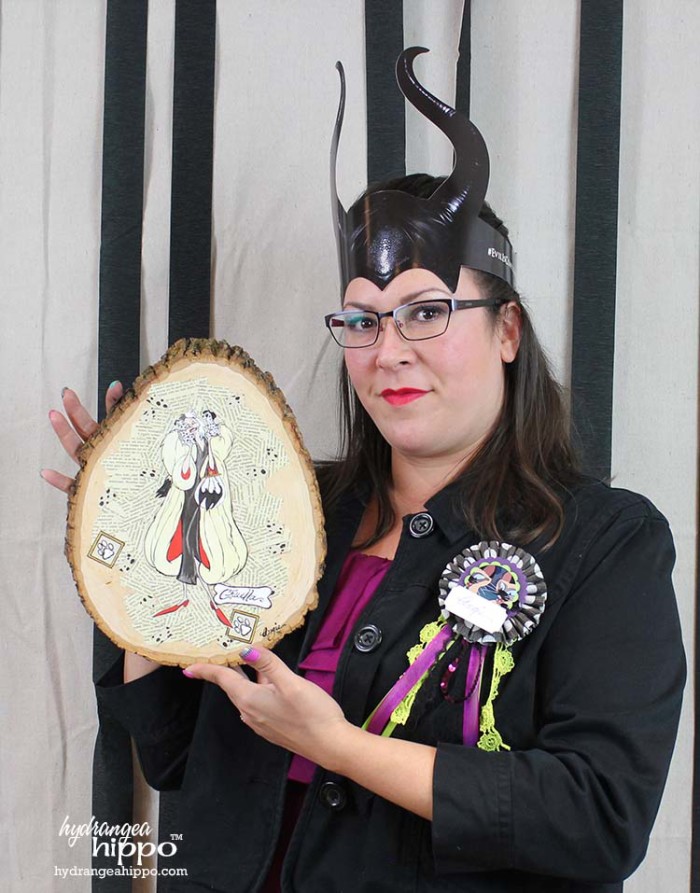
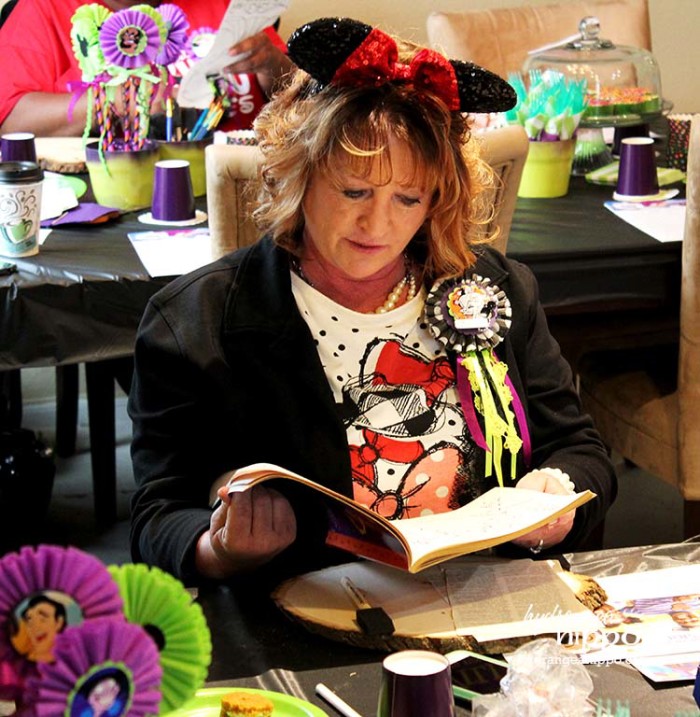
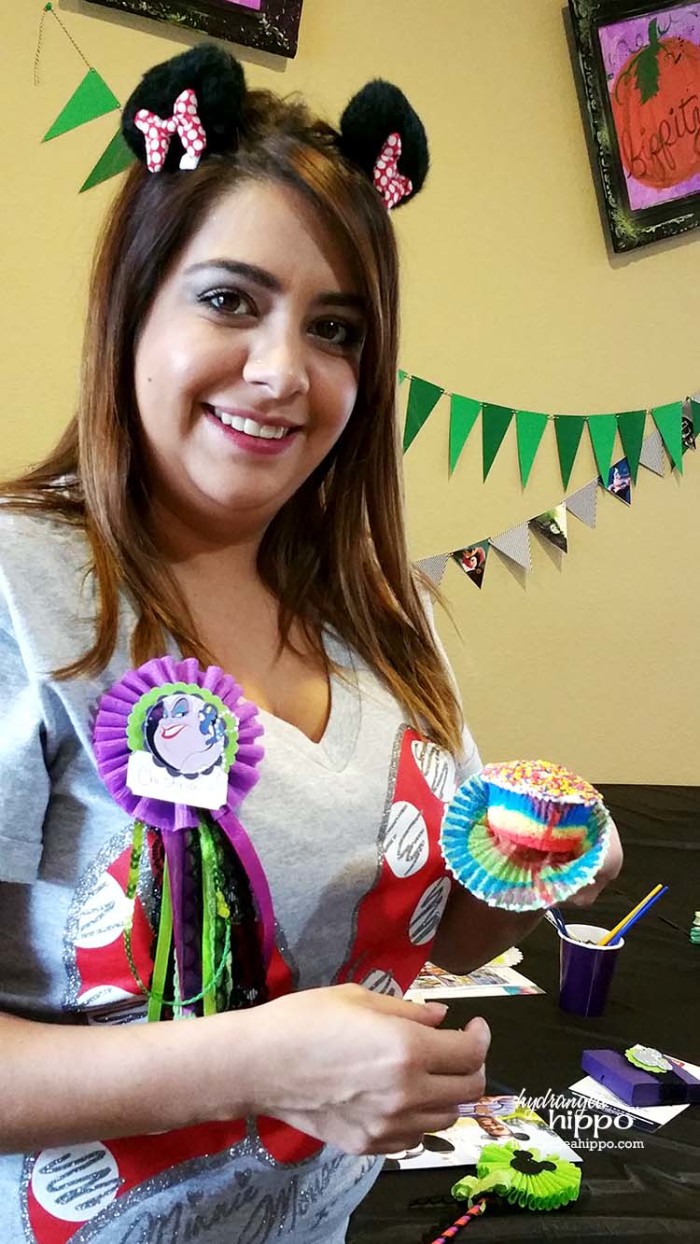
I also love how everyone got dressed up and showed their #DisneySide with Maleficent horns and Mickey ears!
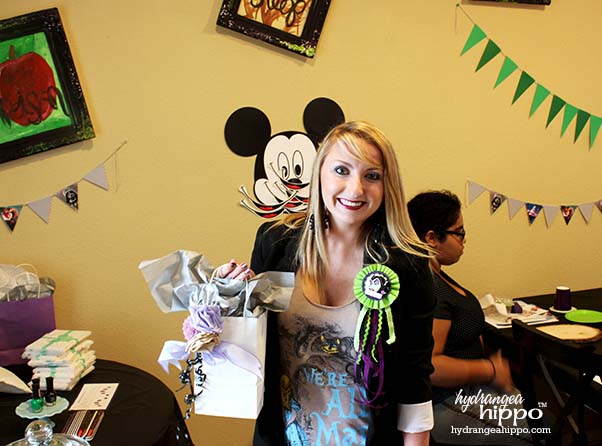
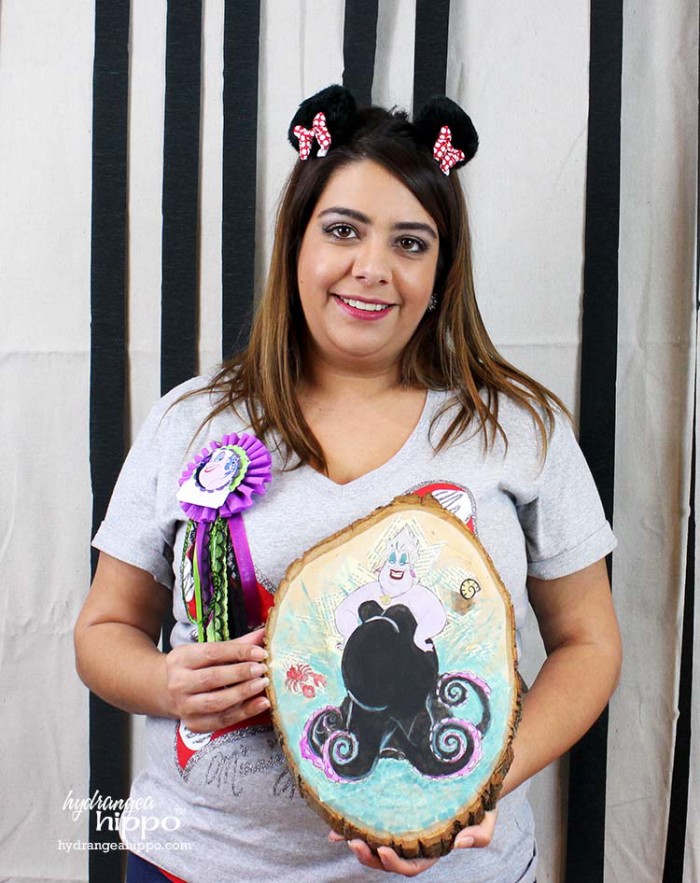
Probably one of the cutest dressed was Christina – isn't she adorable?! She is a serious Disney fan and an expert at showing her #DisneySide:
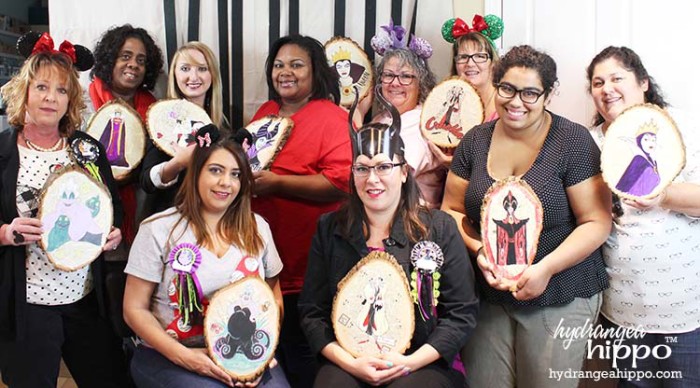
And here's all of us together with our creations!
RELATED PROJECT: HOW TO PAINT A DISNEY VILLAIN ON WOOD
We sent everyone home with a pack of HP CMYK (Create Memories You Keep) Packs, which include envelopes and photo paper, perfect for printing #DisneySide Photos and memories! They also received a Disney Vacation planning DVD so they could learn more about the fun that awaits at Disney Parks. After the party, we cleaned up all the linens with all Laundry Detergent, which was included in our #DisneySide @ Home Celebration box.
Alot of elements came together to make this party happen. Here's a list of what you'll need to throw a Disney Villains Tea Party:
Invitations:
Activities:
- Disney Villain Mixed Media Wood Art
- Villains Mug Shot Photo Booth (shared above)
- Ursula and Maleficent Nail Station
- Pin the smile on Mickey Game
- Disney Trivia
- Disney Word Search
- Disney Bingo
Refreshments:
- Hot Tea by Twinings of London® – naturally caffeine free
- Ursula's Pearls Finger Sandwiches (shared above)
- Poison Apple Stacks (shared above)
- Cruella DeVille Black Forest Ham Rolls (shared above)
- Duff Goldman Tie Dye Cake Mix by Gartner Studios, topped with Cupcake Supplies (shared above)
- Paper Plates and Cups
Decor:
- Crepe Paper Rosette Centerpieces
- Printable Disney Villains Banner
- Mad Tea Party Ornate Signs (link coming soon)
Favors & Gifts:
- Disney Pizza Box Favor Boxes (link coming soon)
- Disney Mickey Head Rings
- Gift Table filled with Prizes (shared above)
- Crepe Paper Rosette Name Tags
Show Your #DisneySide:
How fun! Love this party idea! Loved the wood hollow project!
Great job!
Your craftiness was amazing! Love it!
Awww thank you!!!
I’ve done a giant version inspired by your work. Thank you. I can send you a picture if you like as it won’t let me upload one.
I’ve done a giant version inspired by your work. Thank you.