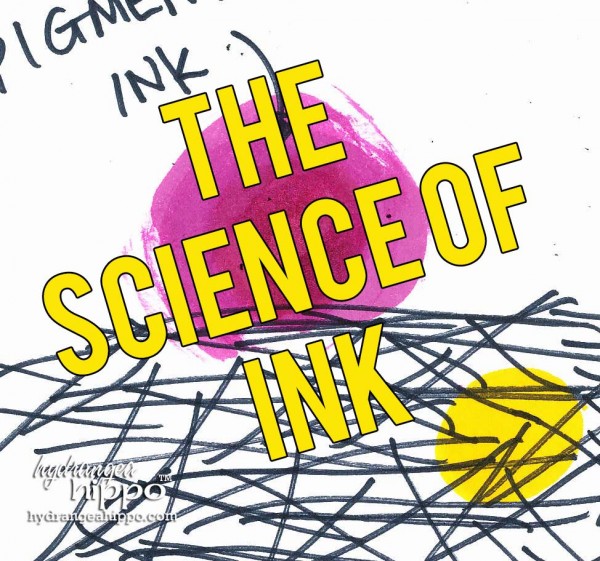
Old tools. Old Technique. NEW applications!
This is one of the things that you told us you're looking for on our last email survey that went out late last month so we hope you find this tutorial helpful.
Heat embossing is a long-time staple of the rubber stamping and paper crafting worlds. You probably already have all the tools you need for this technique, right there in your tool bag.
- Heat Gun
- Watermark or Pigment Ink (a slow drying, large molecule ink)
- Embossing Powder (the finer, the better)
- Rubber or Acrylic Stamps
- Paper to stamp and emboss onto
That's all you need to heat emboss! But for this technique, the Emboss Resist Background, we are taking it one step further by adding color over the embossed image. Here are the additional tools needed:
- ColorBox Stylus and Tips or other blending tool
- Pigment Ink
- Paper Towel
I got started blending Pigment Ink into paper after watching Cathie Allan present variations of her Pigment ink blending techniques for Clearsnap. She LOVES working with Pigment Ink and Chalk Ink and has a knack for taking white paper and turning it into gorgeous, color-filled patterned papers with the use of ink alone.
For a long time, I did not understand Pigment Ink – I thought it was a goopy, smeary mess. I loved the vibrant colors but had no idea how to get it to dry. Well, Pigment ink has large molecules so that means it sits on top of the paper instead of soaking in between the fibers of the paper. There are three main ways to “dry” Pigment Ink:
- Heat it – with a heat gun. This makes it dry on the surface of the paper.
- Heat emboss it – with a heat gun and embossing powder. This makes it dry on the surface of the paper.
- Blend it – with a blending tool and pressure. This presses the ink into the paper fibers, which then hold the ink. It isn't technically dry and it may need to be further dried with a heat gun.
So what is going on at the microscopic level? This will help us better understand why Pigment Ink does what it does and why it is so great for techniques like blended backgrounds and heat embossing.
When you stamp or apply the ink directly to paper (like pressing the inkpad to paper), this is what is happening:
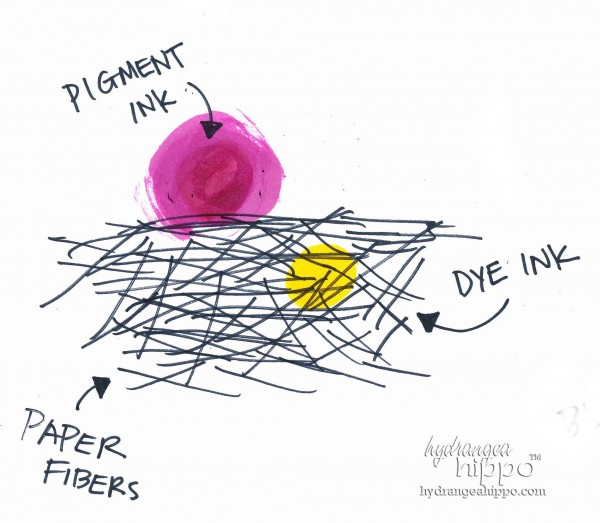
The Dye Ink molecules soak into the paper fibers because they are smaller in diameter than spaces between the paper fibers. You might have noticed how ink doesn't soak easily into some glossy papers – that is because there are no spaces between the paper fibers for the ink to drop into. Since the Pigment ink molecules are larger in diameter (bigger around) than the space between the paper fibers, the molecules sit on top of the paper, therefore staying “wet”. The ink will rub off onto your fingers or is tacky enough to catch embossing powder molecules so that you can heat emboss the inked area or image. Heating the ink will make it contract and dry to the surface of the paper as well as contract enough, in some cases, to actually fit between the paper fibers.
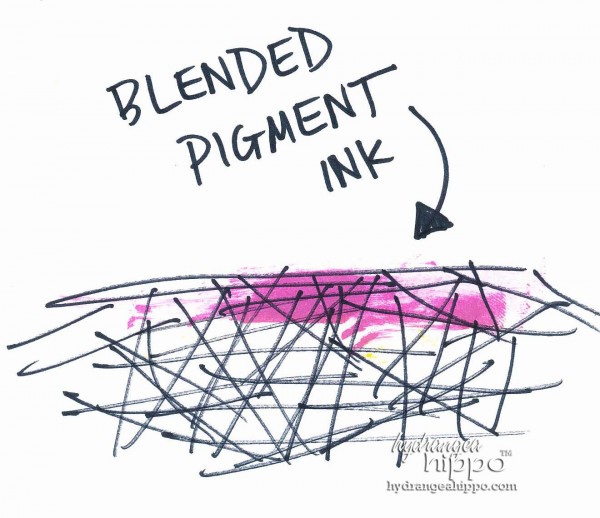
Now, if you don't heat the ink and instead blend it with a blending tool, by applying pressure, you can force the ink into the fibers of the paper. It will still stay wet to the touch because the ink molecules are still bigger than the spaces between the paper fibers. Again, you can use heat to dry and contract those molecules so they attach to the paper.
Okay, enough sciency stuff. How about a project where we can see this in action?
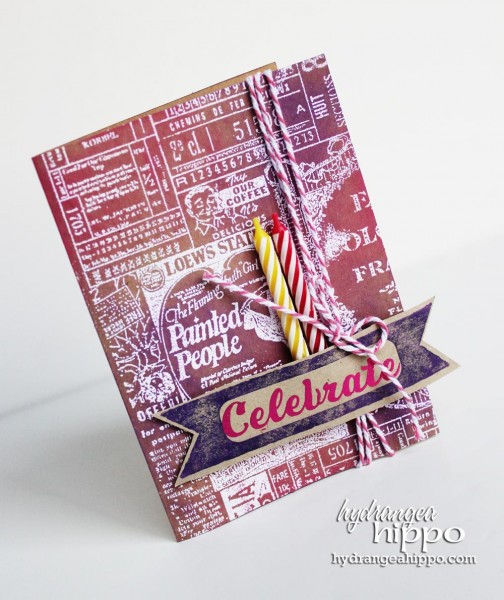
I recently did a tutorial with the good peeps at Scrapbook Expo for their Weekly Scrapper video series. This was so much fun!! (hey, I didn't smile a lot but that's because I was really concentrating! LOL) I hope you enjoy this video and head on over to the Weekly Scrapper blog for more details. This video first uses heat embossing and then we use a Pigment Ink blending technique to add color the the paper behind the heat embossed image.
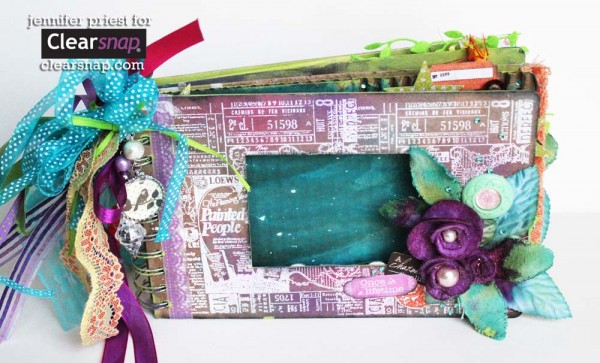
Here's a look at the card I created with the technique. PLUS, I have another video with the same technique on my YouTube channel, this time on a mini book:
I hope this helps you to better understand what is happening with ink and when and how to use the different ink formulas. Which do you prefer? Pigment or dye ink?
I never thought about the science behind the inks before. Very informative and inspiring. Thanks for sharing!
Thanks so much! I was confused for a long time too until I started working for an ink company – I never thought of there being much science in the craft industry, kwim?!
This has been very helpful! I seem to get most of my stamping knowledge through trial and error.
Oh so good to hear! Thank you!