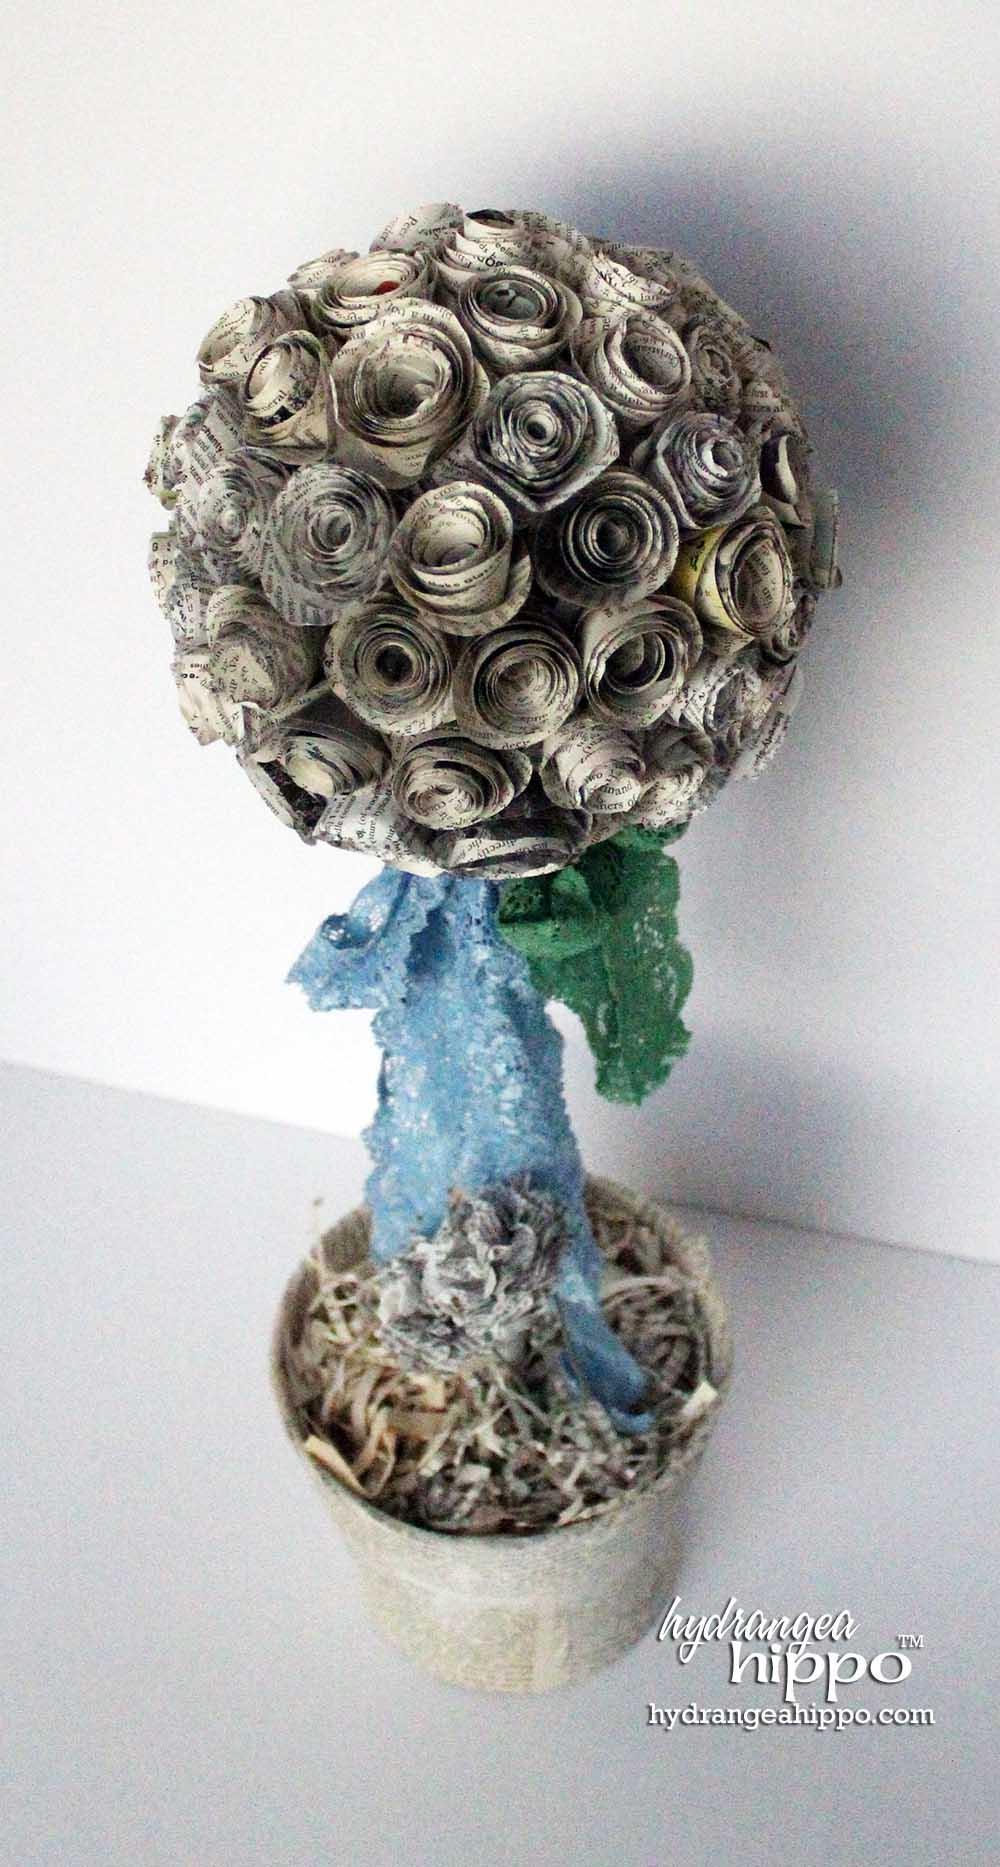
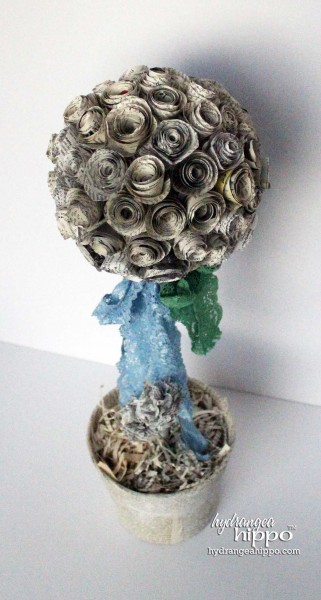
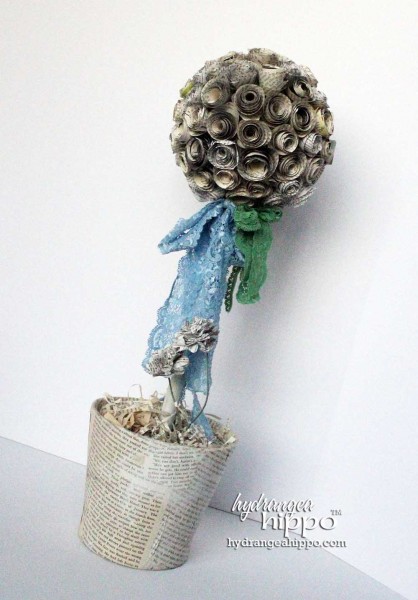
It seems more and more I am all about the reuse and recycle, baby! To create this topiary, I used the PHONE BOOK! I still don't know why the phone company keeps passing them out but, bring it on!!!!!
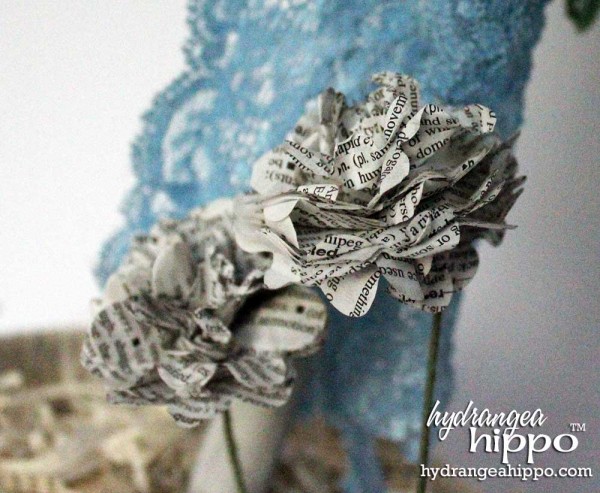
Now, these cute little flowers in the base of the topiary pot were made with dictionary paper. This is a totally different process from the rolled roses that I am going to share with you today. One day, I will make a tutorial on these flowers (let me know if you want to see it). So, back to how to make this happiness:
- Cut all of the pages out of a phone book using a craft knife. I like the Westcott knives because they are beaucoup sharp! Separate the white pages from the yellow pages. We'll work with the white pages.
- Cut the pages down to a square shape with scissors. It doesn't have to be perfectly square and you can cut a stack of about 5-6 pages together at a time.
- Cut the corners off the pages to make a stop sign shape. Use your scissors to round this shape into a circle. Again, it does not have to be perfect, just more “circle” than “oval”.
- Cut the circle into a spiral. Starting at the outside end, roll the spiral up until you get to the center of the circle. Add a dab of hot glue to the center of the circle and press the rolled rose onto that. Watch the video above to see how to do this in more detail.
- Make about 50 of these flowers. This is a great “in front of the TV” project.
- Use a hot glue gun to start gluing the flowers onto a floral topiary form. I start at the base of the globe and work my way up to the top. Cover the entire globe.
- Add lace and ribbons tied in bows to the base of the globe.
- Insert the base of the topiary form into a pot and glue into place. I decoupaged this pot with vintage book pages and then gave it a wash with some white acrylic paint to shabby it up.
- Shred some of the extra book pages scraps to make “shred” to put into the pot to cover the base of the topiary form. Secure in place with hot glue.
- Spray with Smooch Spritz in Vanilla Shimmer to add a little shine, if desired.
So easy, right? I hope you are inspired to create a spring topiary for your home. Here are the supplies I used:
Supplies:
- Topiary Base – from a local floral supply shop
- Ceramic Pot – Ikea
- Book Pages, Phone Book
- Craft Knife, Scissors – by Westcott
- Collage Pauge Decoupage Medium – by ilovetocreate.com
- Smooch Spritz Spray Ink – by Clearsnap
- Floral Wire
- Lace and Ribbons
- Hot Glue
- White Acrylic Paint
Thanks for stopping by!
So pretty Jennifer and what a great use of the phone book!
Oh my gosh..just found you..I’m now following you and love what I see. Thanks for sharing your creativity. Wait ’til I tell my husband we are not throwing our phone books away any longer :) He always asks me before tossing something to see if I “need” it. hahaha.