I was recently challenged with showing an out of the box craft idea I made. Something functional.
You mean, not a scrapbook?
I really took this challenge head on and decided I would create something without paper. Wayyyyy back when I started crafting seriously, I would say around 9 years old, I crafted. I did not “papercraft”. I did jewelry, anything you could glue with a hot glue gun, painting, building structures in our backyard to play in, beading, drawing, photography, cross stitch, floral wreaths, embroidery, sewing, clay, shrinky dinks…I did not start “papercrafting” until over 10 years later.
Somewhere I seemed to forget about all my other crafts/hobbies and identified myself solely as a papercrafter. It was as if there were some invisible fences keeping me from straying from the straight and narrow path of “papercrafts”.
The last year or two the waters have muddied in the craft industry. Everyone is using the term “mixed media”, mixing genres and materials in crafting, working across the whole spectrum of techniques and tools! Embracing that, breaking the invisible fences that were holding us in, is just so exciting to me.
So in the spirit of that, I wanted to create something outside of my norm. I like things that are useful and look as if they could have been purchased in a store. The fact that it is handmade and for under $15 is just a bonus for me!

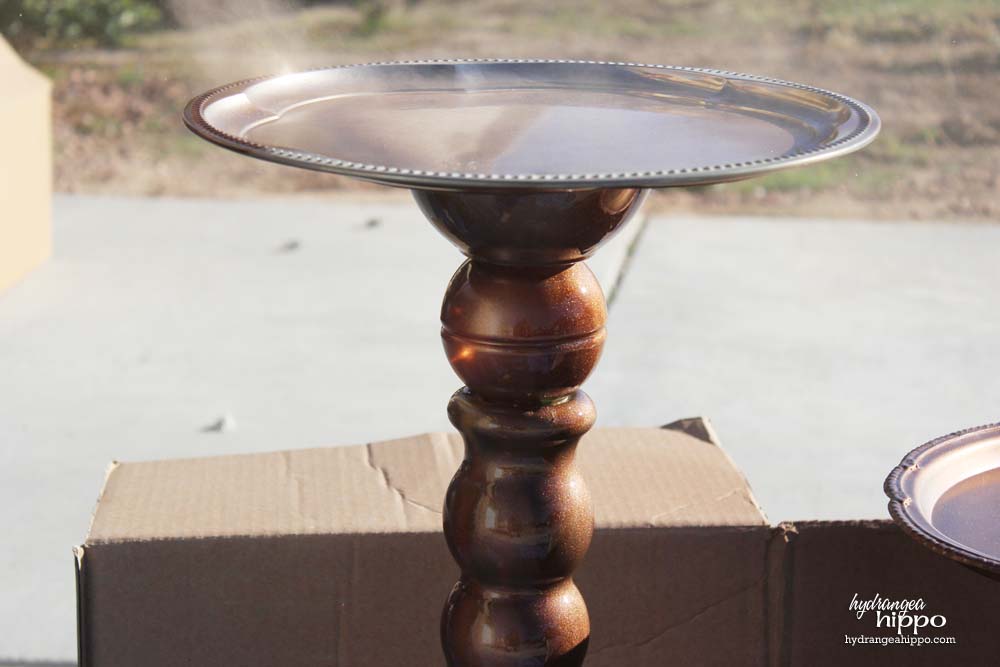
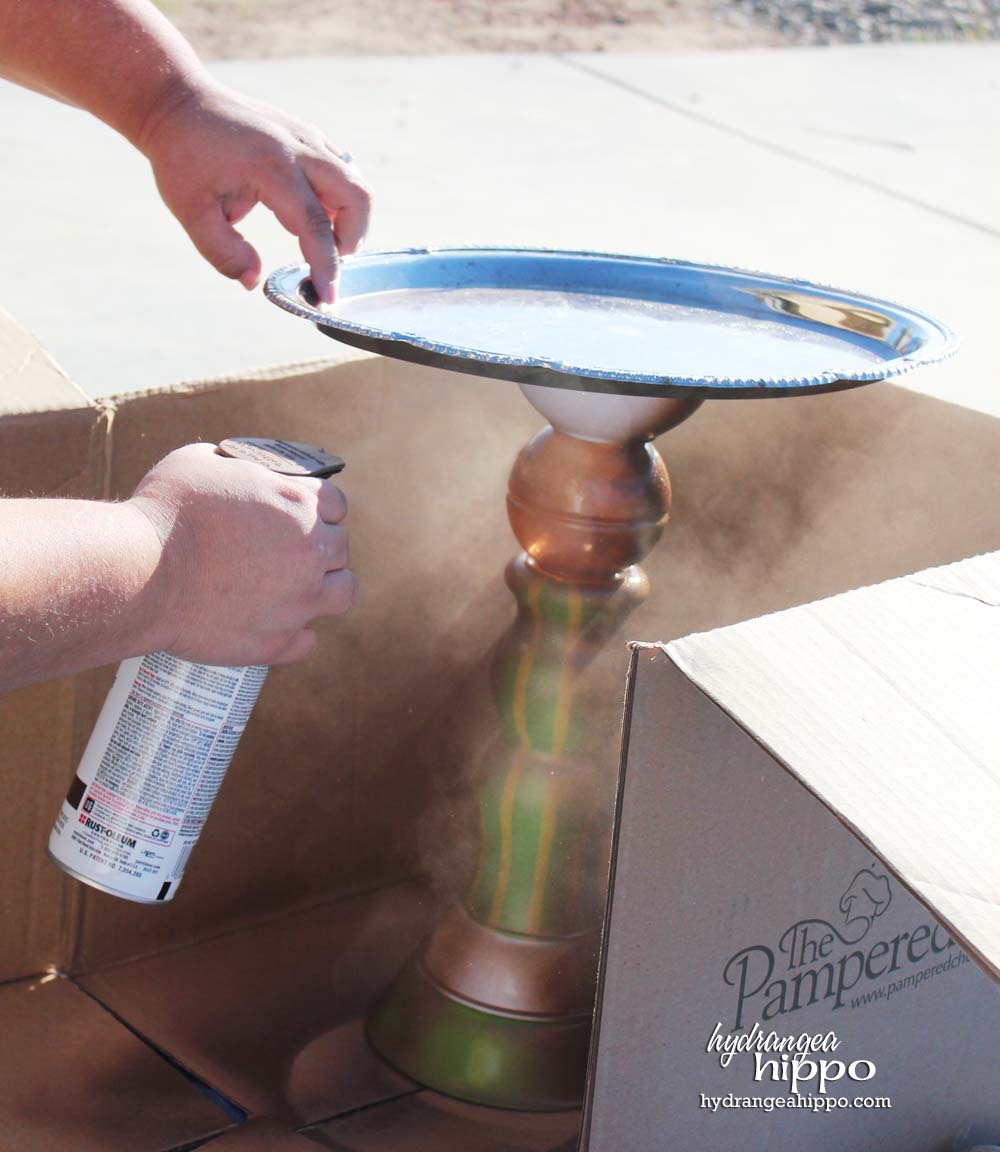
We have lots of birds that come to my yard but they have nowhere to bathe, nowhere to perch. I have been wanting a bird bath for some time but there was no way I was going to pay $50-$100 for one at the garden shop. I wanted an elegant looking spindle type base but knew wood would be expensive and not survive the elements. But plastic….plastic COULD work!
First, we set off to the thrift store. In the same trip I got the knives for my mirror that I posted two weeks ago HERE, I also picked up two stainless steel ornate trays for about $3 each. They were perfectly shallow to hold bird seed and water and yet ornate enough to seem “fancy”. 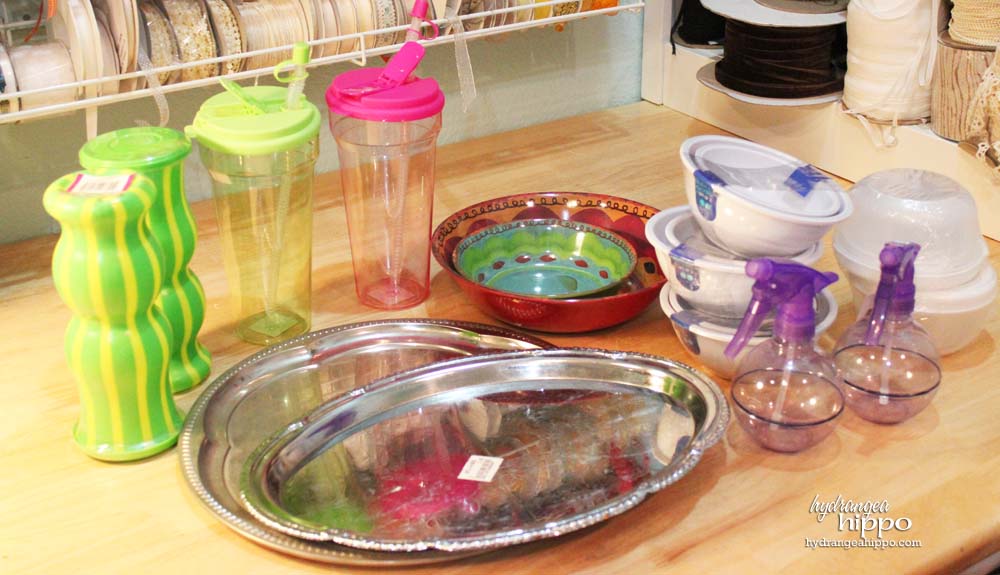
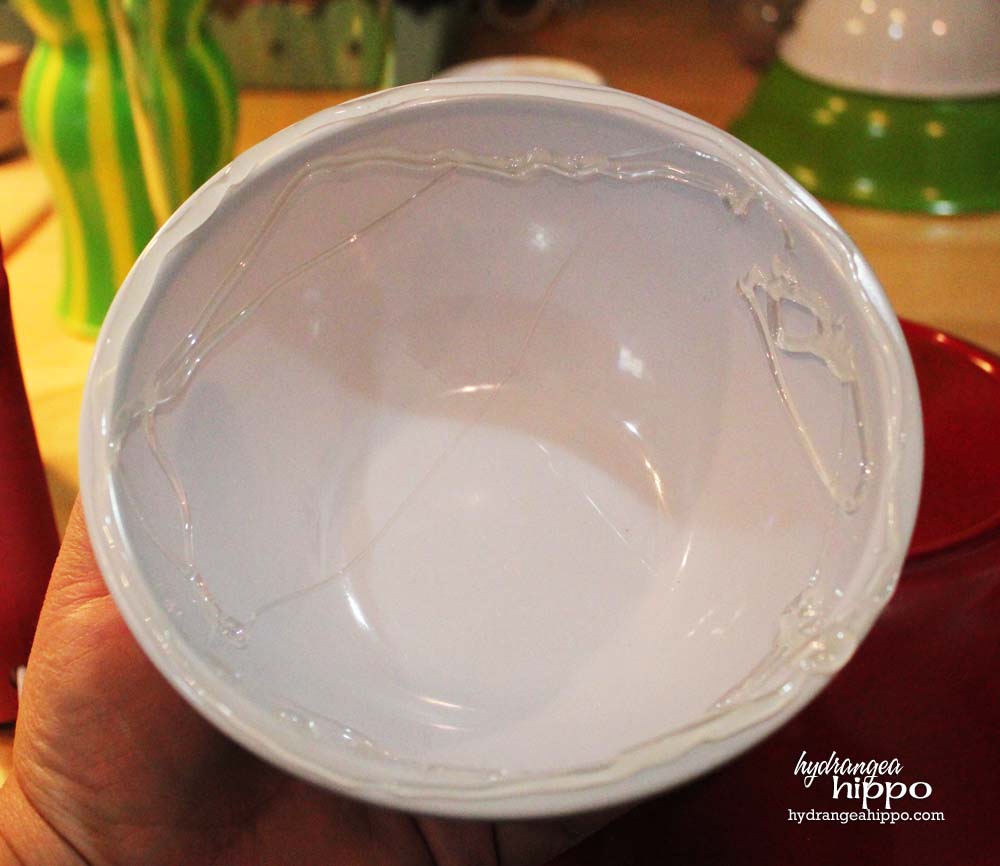
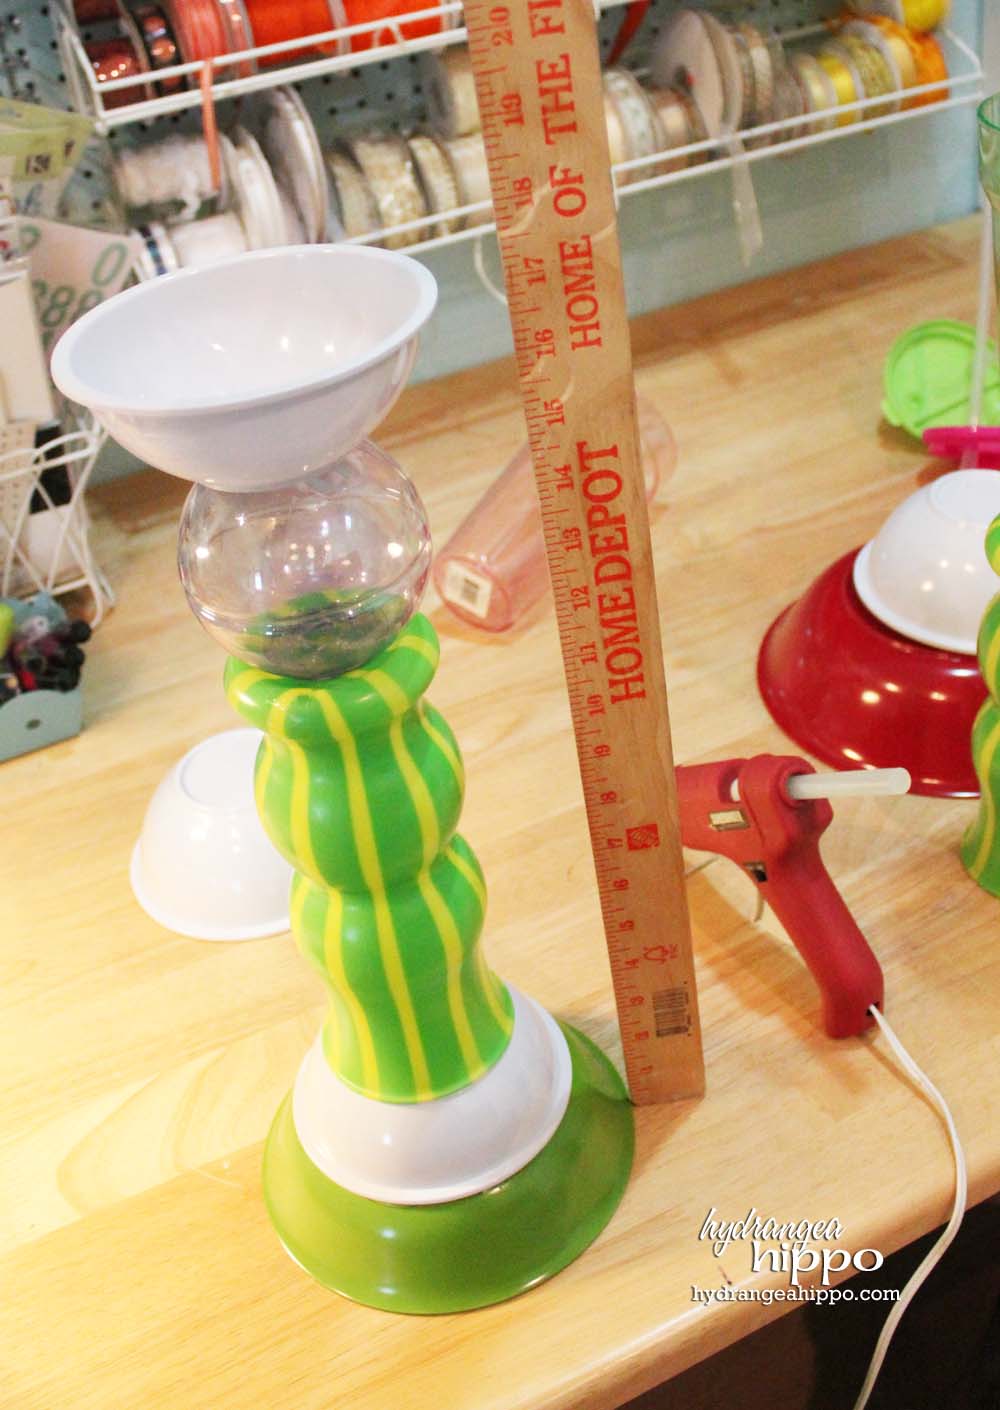
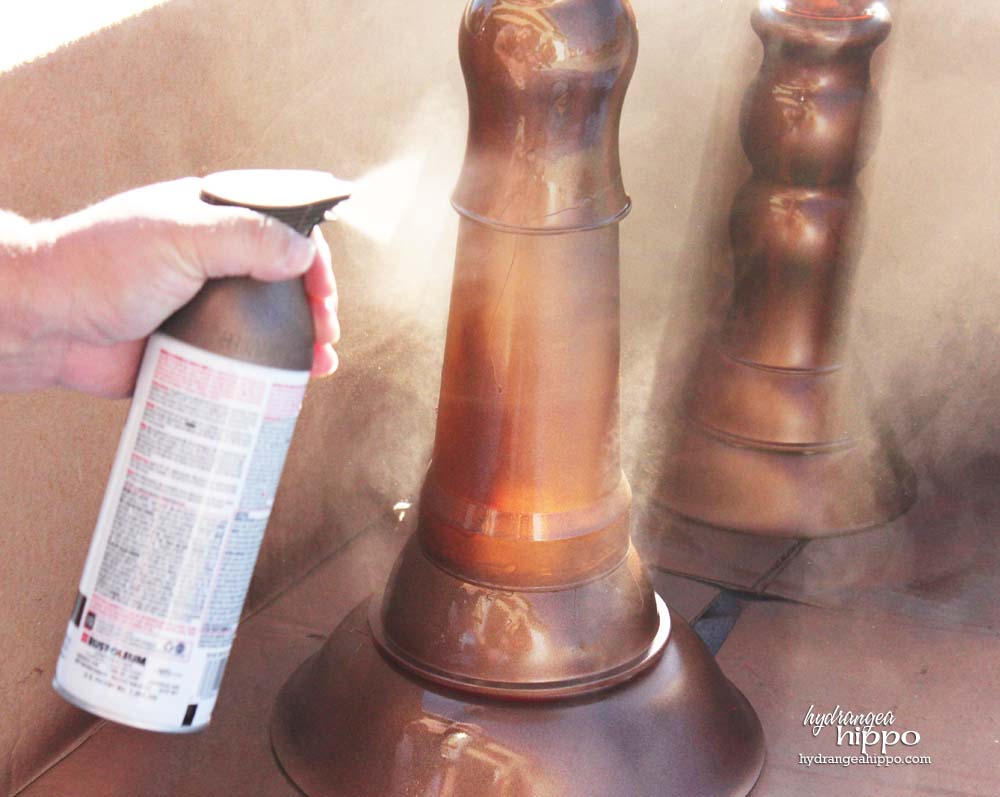
Next we hit up the 99 Cent Only Store and Dollar Tree in search of plastic stuff. I looked at the shapes of bowls, cups, spray bottles and anything plastic and began stacking items to see what would created the turned wood look I was after. Once I gathered all of the items, I glued them together with epoxy, placing the silver trays on top.


Hope this inspires you to think outside of the usual “box” we craft in. Try to use materials you never use and see what happens. You may be surprised!!
Happy Creating :)
–Jennifer
Question how do you keep them heavy not to fall over in the flower bed?
I buried the bottom in the gravel in my yard. You can also drill a hole straight through the middle down and drive a stake down the through the middle into the ground, sealing the top with silicone so the water won’t leak. Some on HomeTalk someone suggested filling the bottom bowl with concrete to hold it down. HTH