
Today is the 9th day of the Twelve Days of Christmas Crafts! This is also the final day to get your First Class Mail into the post office to ensure delivery by Christmas. These Christmas Cards are super easy to make and I am going to include several other versions I have made in years past. Even if you don't make the deadline according to the post office, you can still hand deliver these to make someone feel special. In the sea of photo-cards and Christmas letters, your handmade card will surely stand out!

Supplies:
- Patterned Paper, 3D Foam Dots – American Crafts
- Liquid Glue – PVA by LineCo
- Twine, Chenille Stems – hydrangeahippo.etsy.com
- Solid Shimmer Paper – Wausau
- White Cardstock (inside) – Neenah
- Sentiment Stamp (inside) – Stampin' Up!
- Ink – ColorBox Archival Dye Ink by Clearsnap
- Punches – EK Success
- Paper Trimmer and Scissors – Fiskars
- Envelopes – Kelly Paper
This card recipe yields 36 cards.
Cut 18 pieces of 8.5×11 Solid Paper in half to make two card bases, 5.5″ x 8.5″ each. Fold in half to make cards 4.25″ x 5.5″.
Cut 3 sheets of 12×12 patterned paper into 4.25″ x 2″ rectangles. One 12×12 sheet should yield 12 of these.

Cut 4 sheets of 12×12 patterned paper to 4×4. Each sheet should yield 9 pieces.
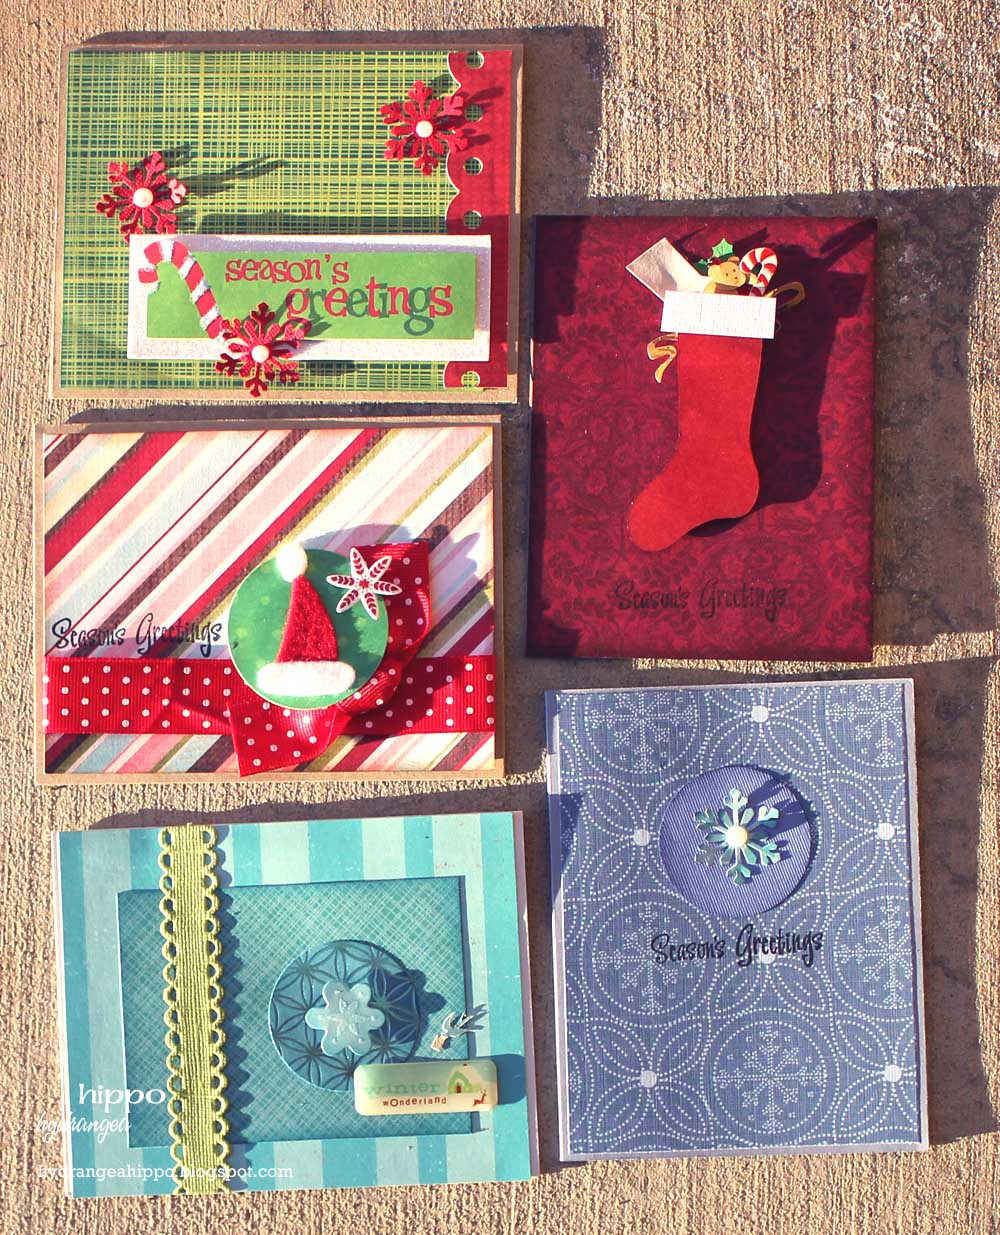
Arrange the pieces of paper to fit on the front of the card, just about 1/4″ from each edge of the card base. Adhere the two pieces of paper together. Wrap baker's twine around the paper where the seams meet and tie into a bow. Adhere to the front of the card.

Cut 9 sheets of 8.5 x 11 cardstock to 8×10.5. Then cut them in half at 4″ and again at 5.25″ to make 36 pieces. Stamp a sentiment on the 4.25″ x 5.25″ White Cardstock and adhere to the inside of each card.
Cut two or three color chenille stems into 3 pieces, about 4″ long each. Roll one end into a spiral for the tip of a candy cane. Adhere 1-2 “candy canes” under the twine bow on the front of the card.

Using a 1″ and 3/4″ circle punch, punch candies on the patterned paper. Add to the card using 3D Foam Dots.
Cut a sentiment from patterned paper or from the UPC strips that are attached to the paper. Add to the card with 3D Foam Dots. Easy peasy!

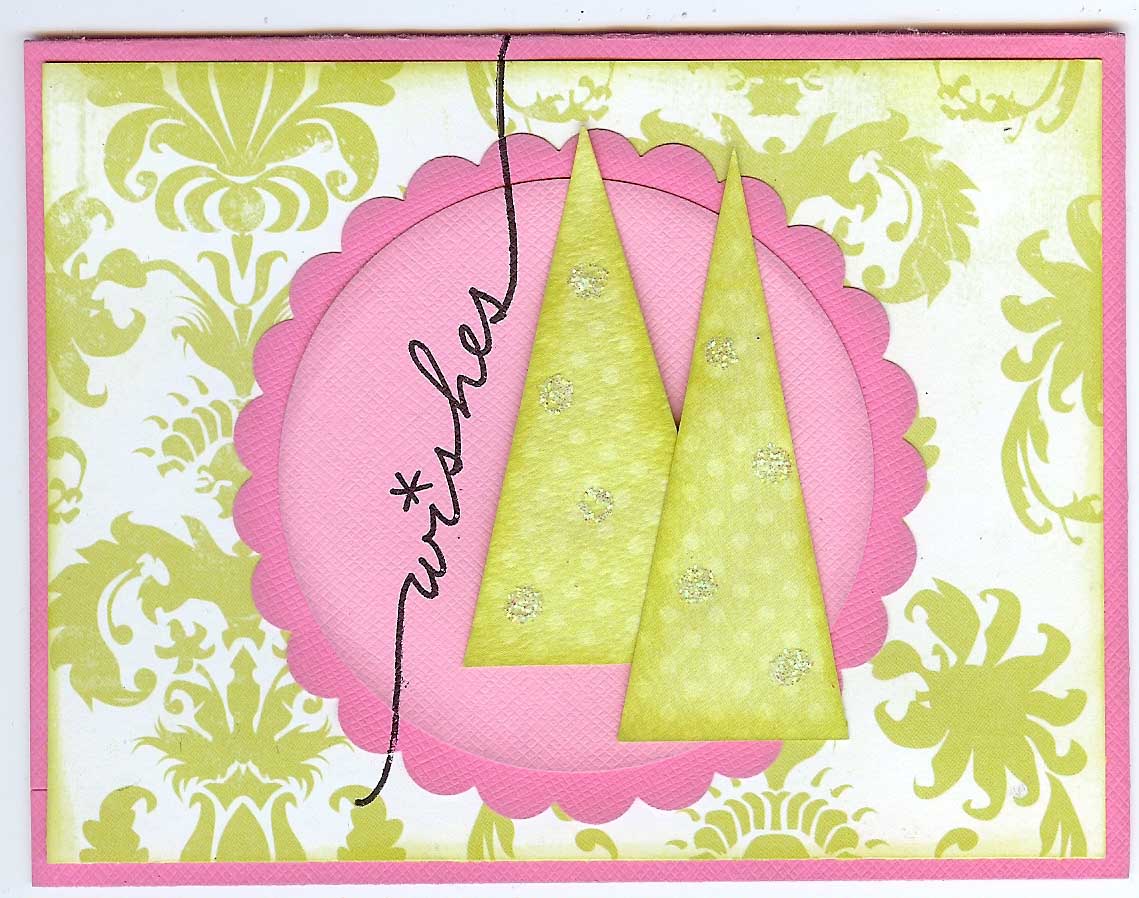
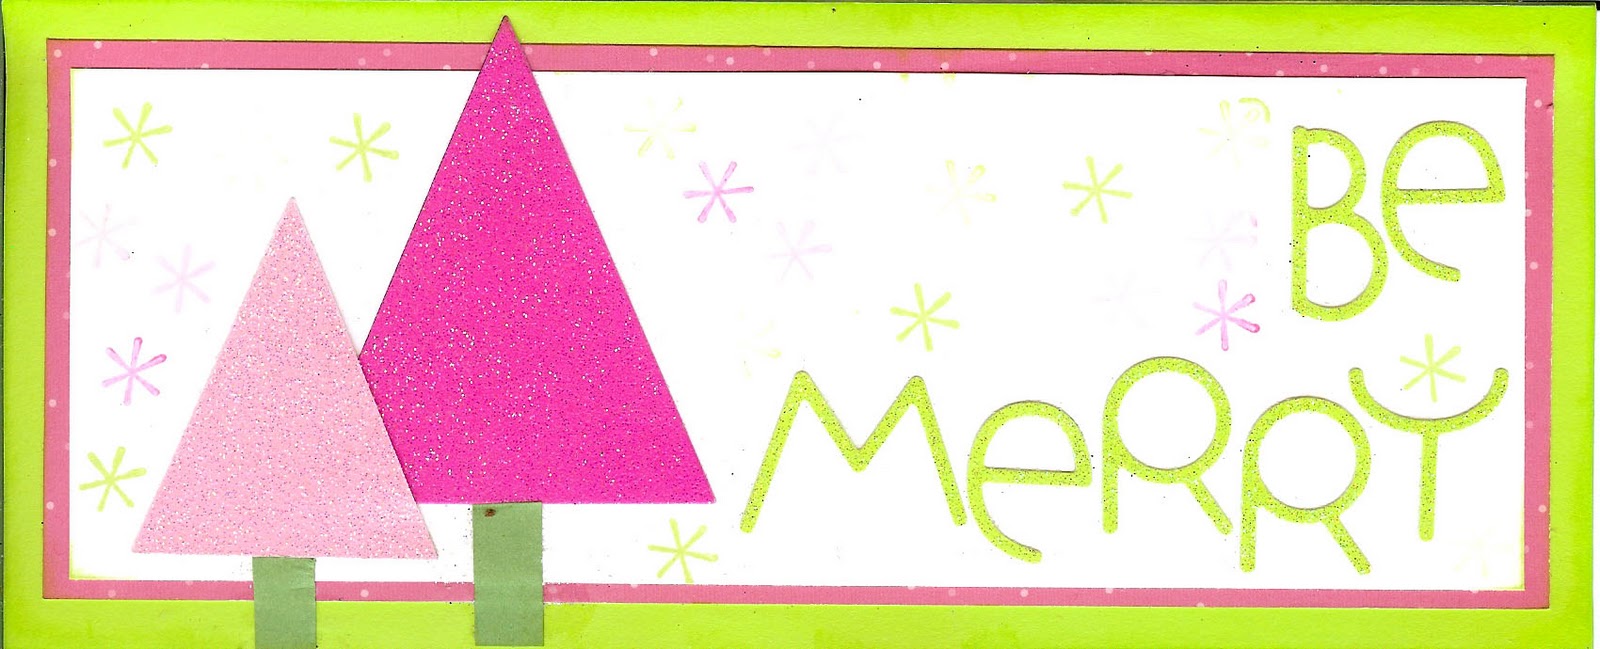
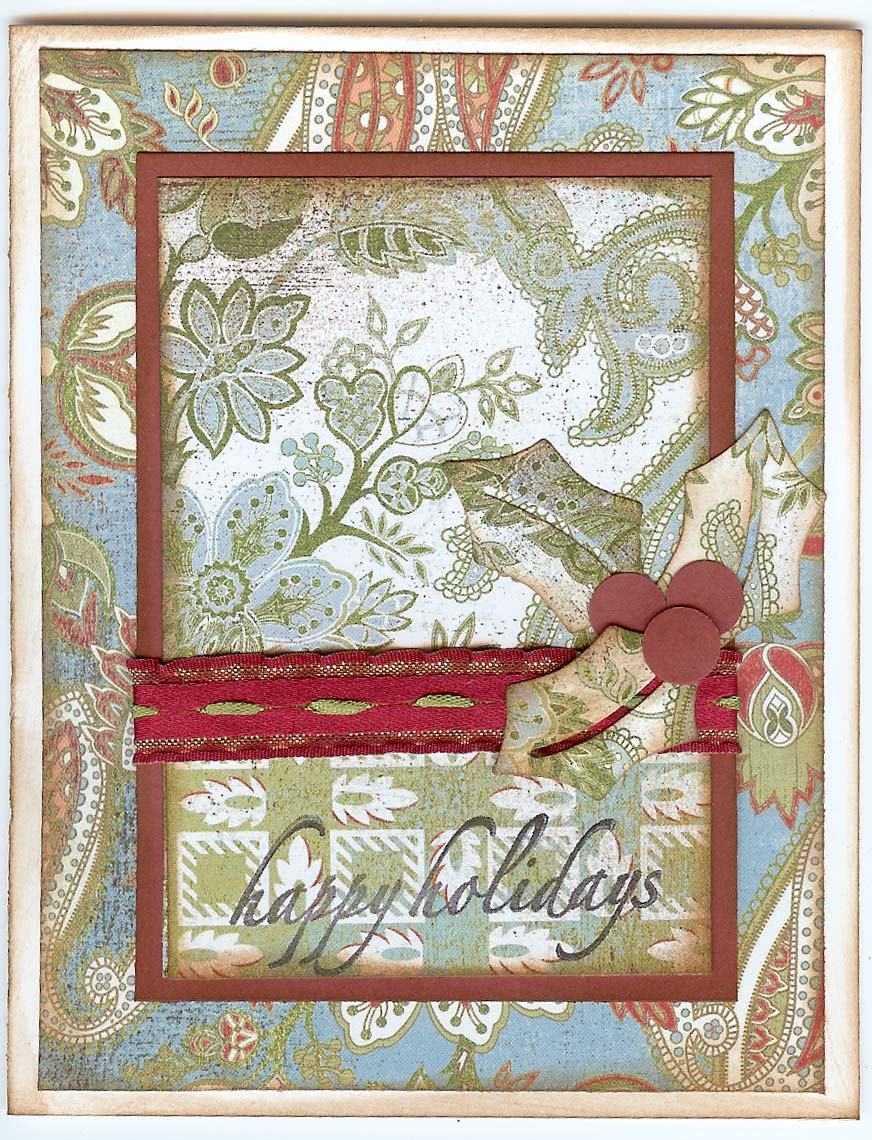
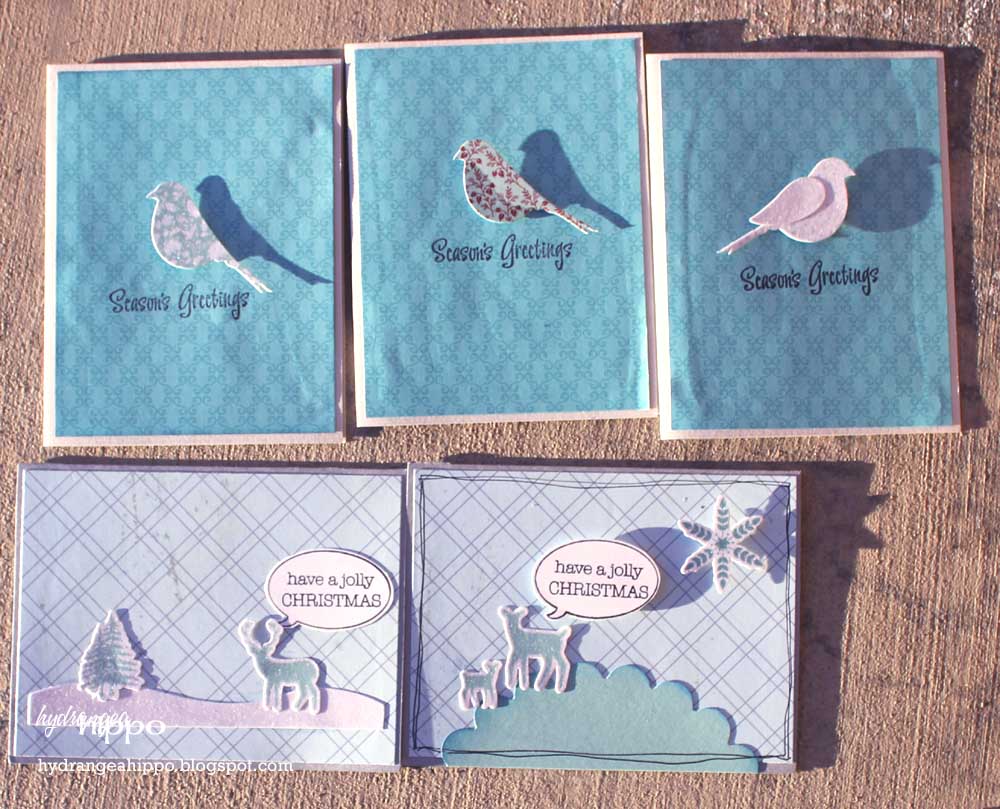
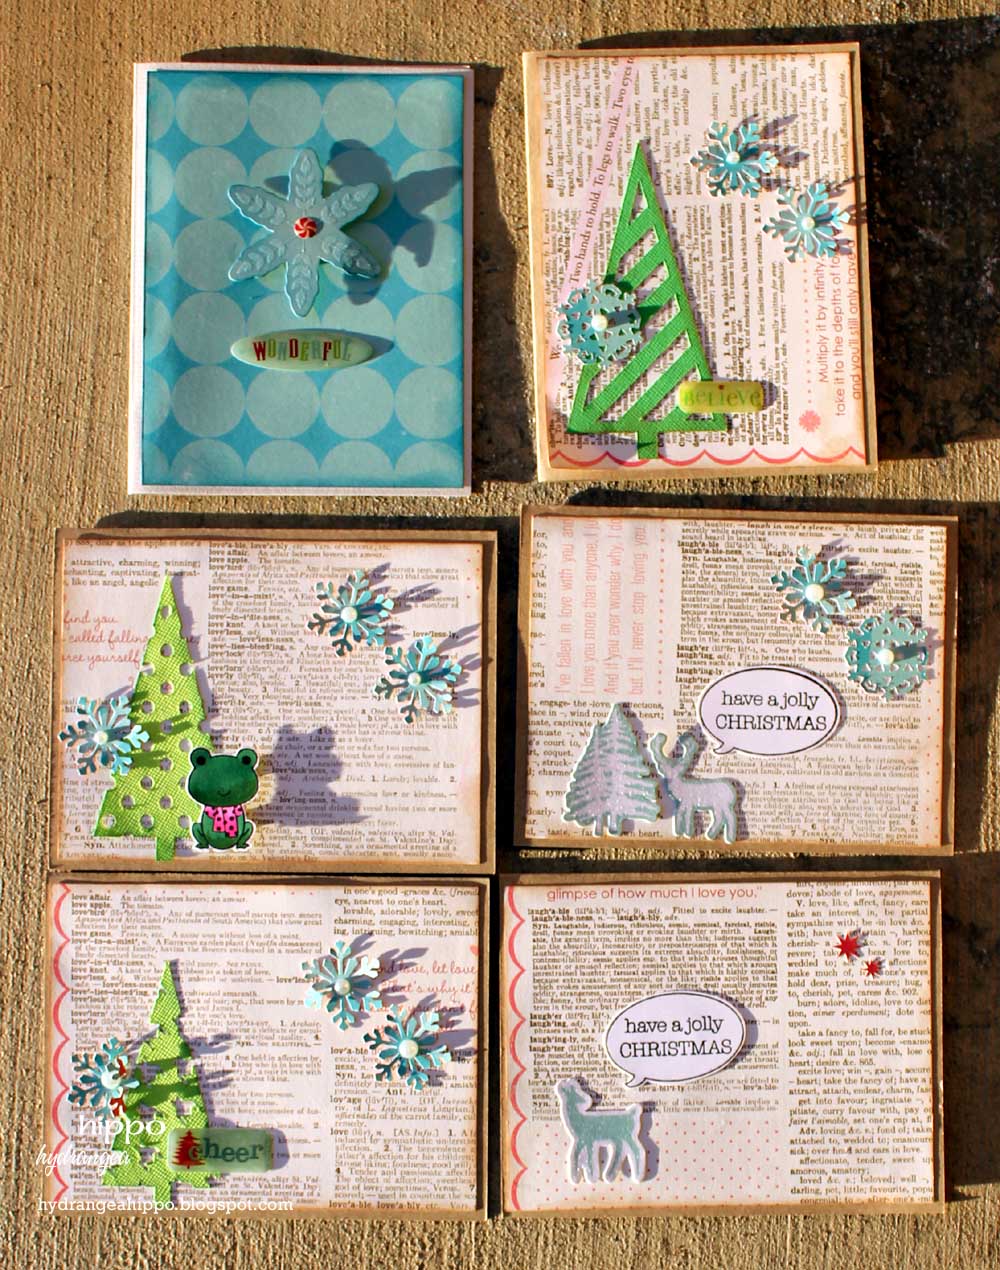
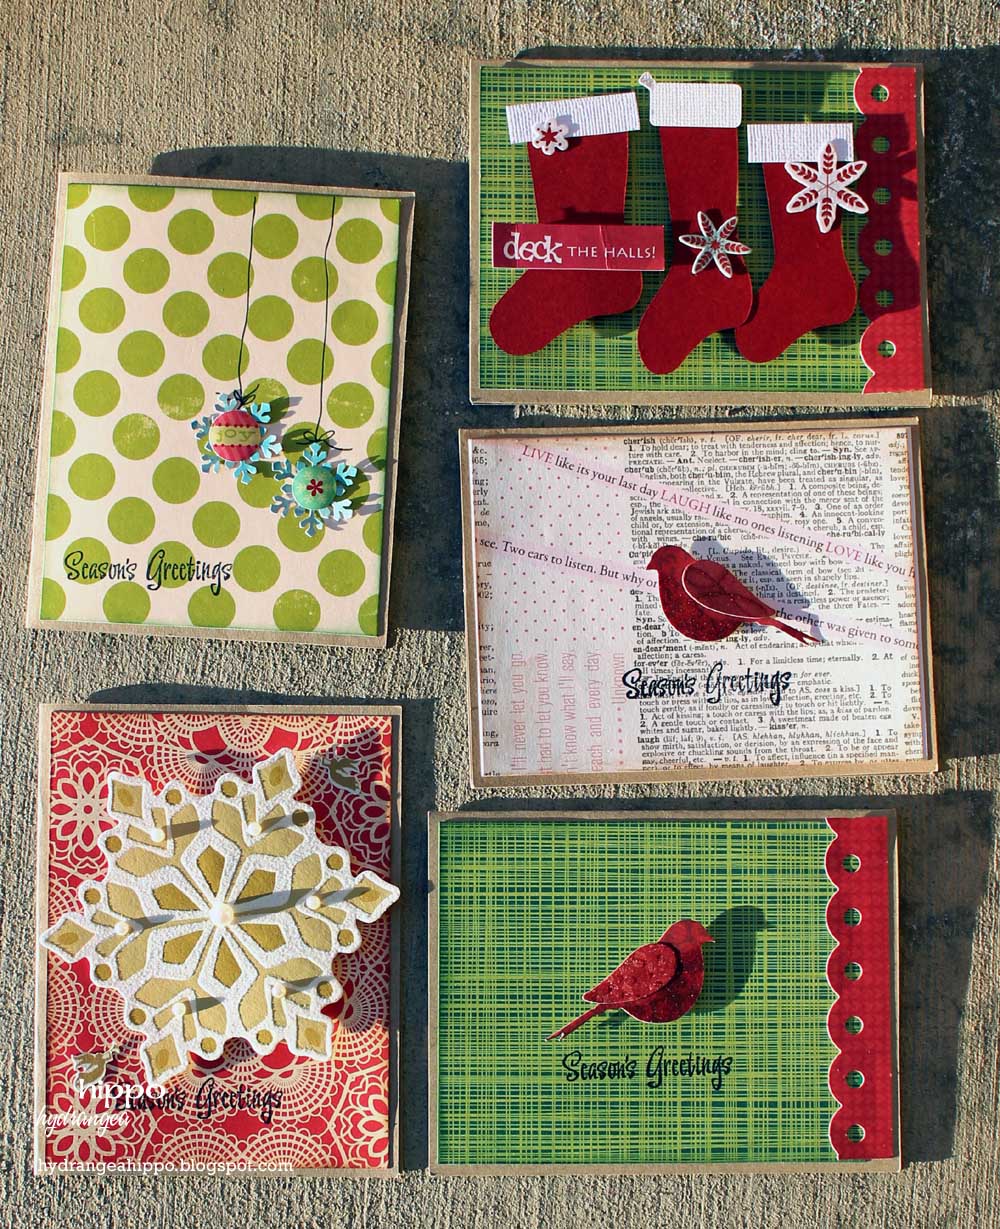
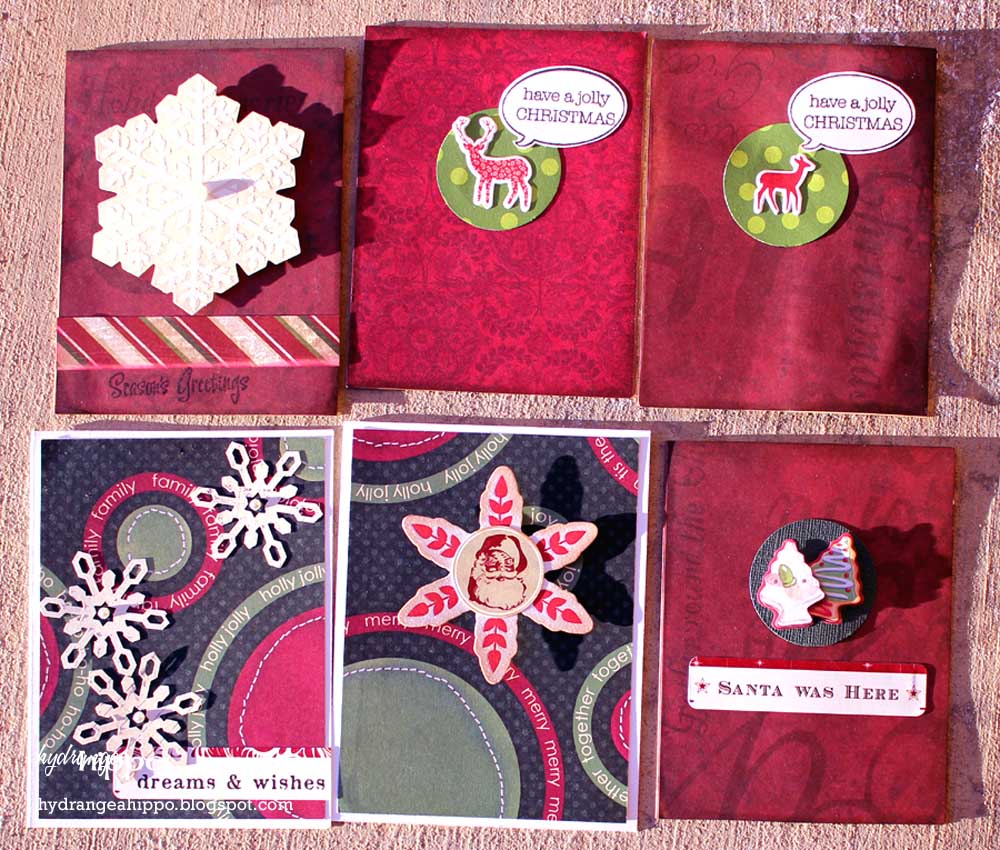
Here are some cards from years past, always pretty easy-to-duplicate designs since I am always in a rush ;)
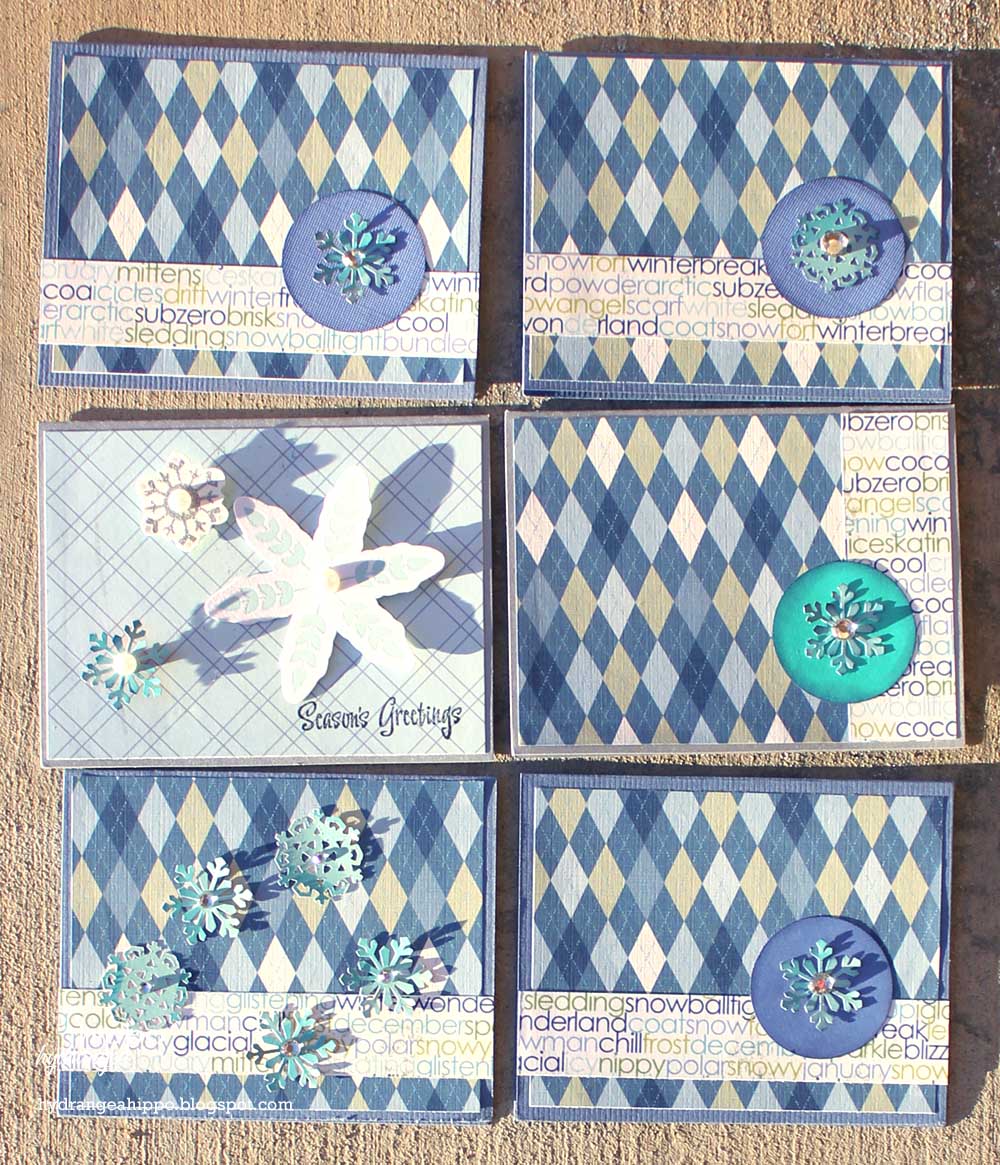
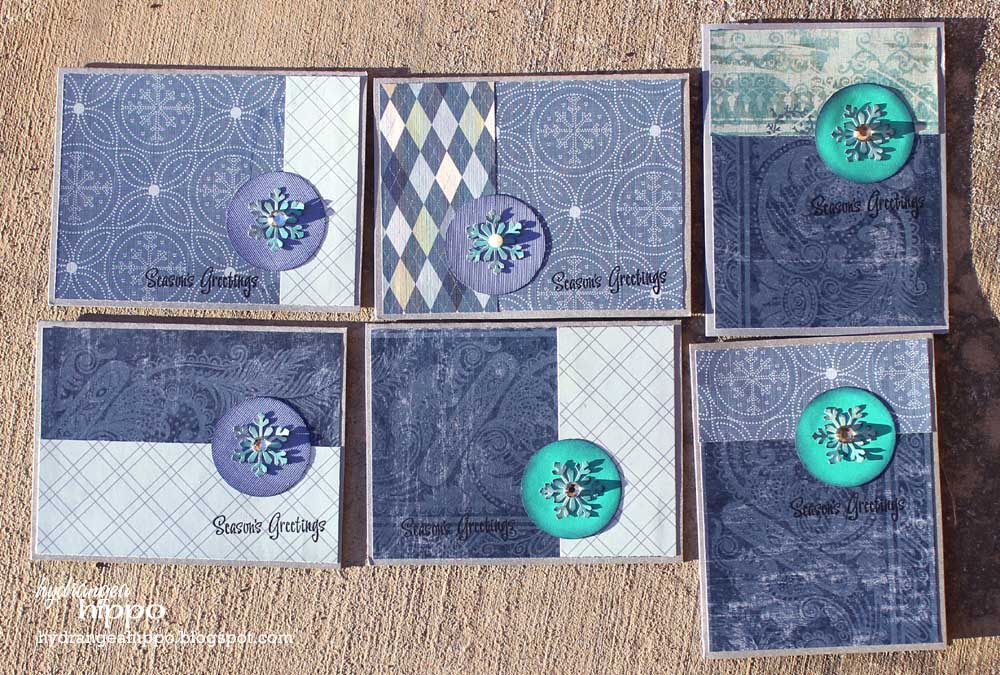

Happy Creating :)
Jennifer