I cannot believe I have never ever shared this technique with you!!! One question I am commonly asked when teaching classes with the Bind-it-All is:
How do you punch just 3 holes with the Bind-it-All?
.JPG)
Use the centering arrow! This arrow is printed between the 3rd and 4th holes on the top of the machine. Line up the edge of your page with this arrow and punch. This will result in 3 holes – the Bind-it-All punches exactly where the holes printed on the top of the machine indicate. I like to call this the “eyeball method” of punching holes.
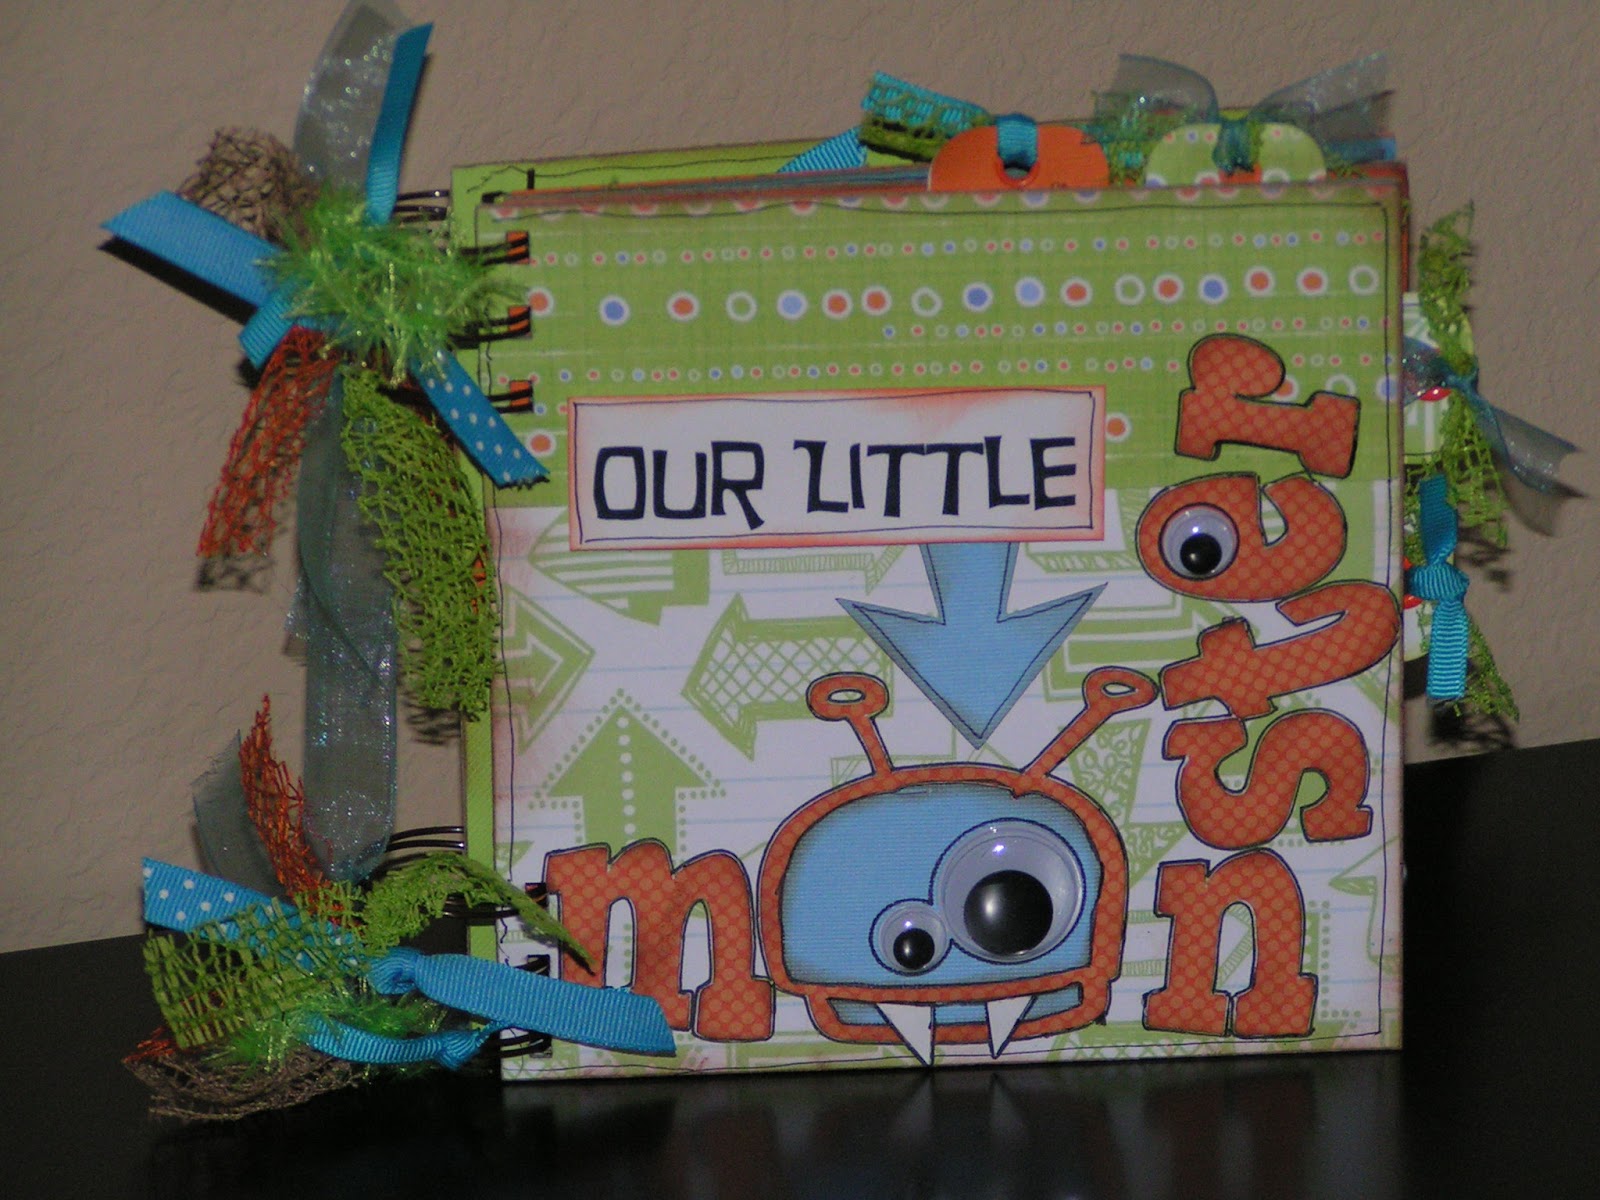
You can use this technique to create books with binding just on the top and on the bottom (like the one above) OR for home decor projects, like wall hangings:


And that's it! Easy peasy, right? Thanks for stopping by today :) And to see more books where I have used this method of binding, check out my gallery on flickr.
Super cute, love the wall hanging! Also I was wondering if you chose the new DT members yet!