I kind of stumbled along on this technique while playing around with some Tim Holtz Grungeboard. You can do this burnt embossing powder technique with any chipboard, not just Grungeboard. This works best with lighter colors of colored embossing powder—not so much with black or dark brown powders.
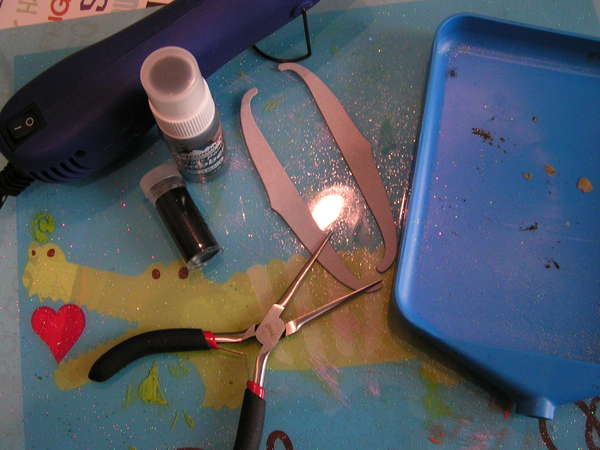
Supplies you’ll need:
- Heat Embossing Gun
- Acrylic Paint
- Colored embossing powder that matches the paint
- Tweezers or needlenose pliers to hold the item
- Chipboard or Grungeboard item
- Tray or scrap of paper to catch any excess embossing powder
- Mat to protect work surface from heat gun
1. Paint the Chipboard or Grungeboard item until completely covered. Do not allow to dry! If painting more than one piece, do them one at a time so they don’t dry.
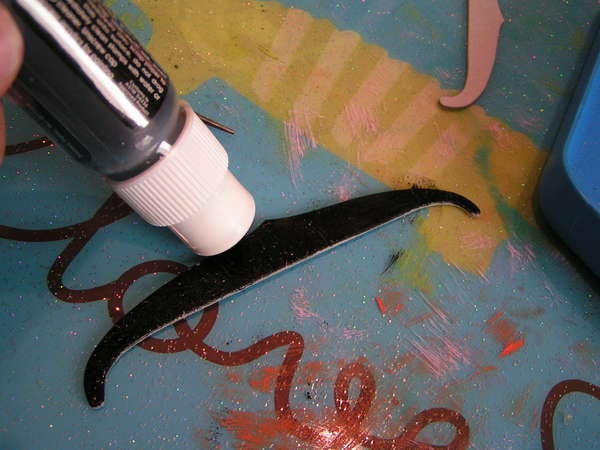
2. Lightly sprinkle the colored embossing powder on the painted piece. It will stick since the paint is wet. If you want A LOT of embossing powder you can dump it on (like I did in this pic) but you will have to heat it longer to get it to burn.

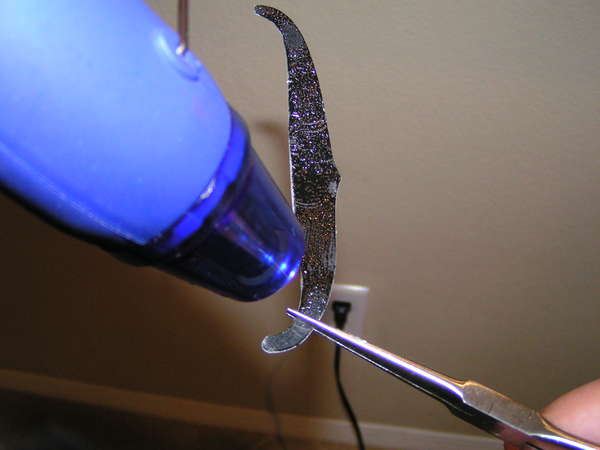
3. Holding the item with tweezers or pliers, heat the item with a heat embossing gun. Hold the embossing gun about 1” from the item. Heat the entire item until it has the texture of Rice Krispies. It will look a little crystallized and burnt (and even makes sizzling sounds). Just do this until the whole item is “burnt” and “crispy” looking. Make sure the paint is still wet when you do this. The item will be really hot so set it aside to cool before applying to your layout.

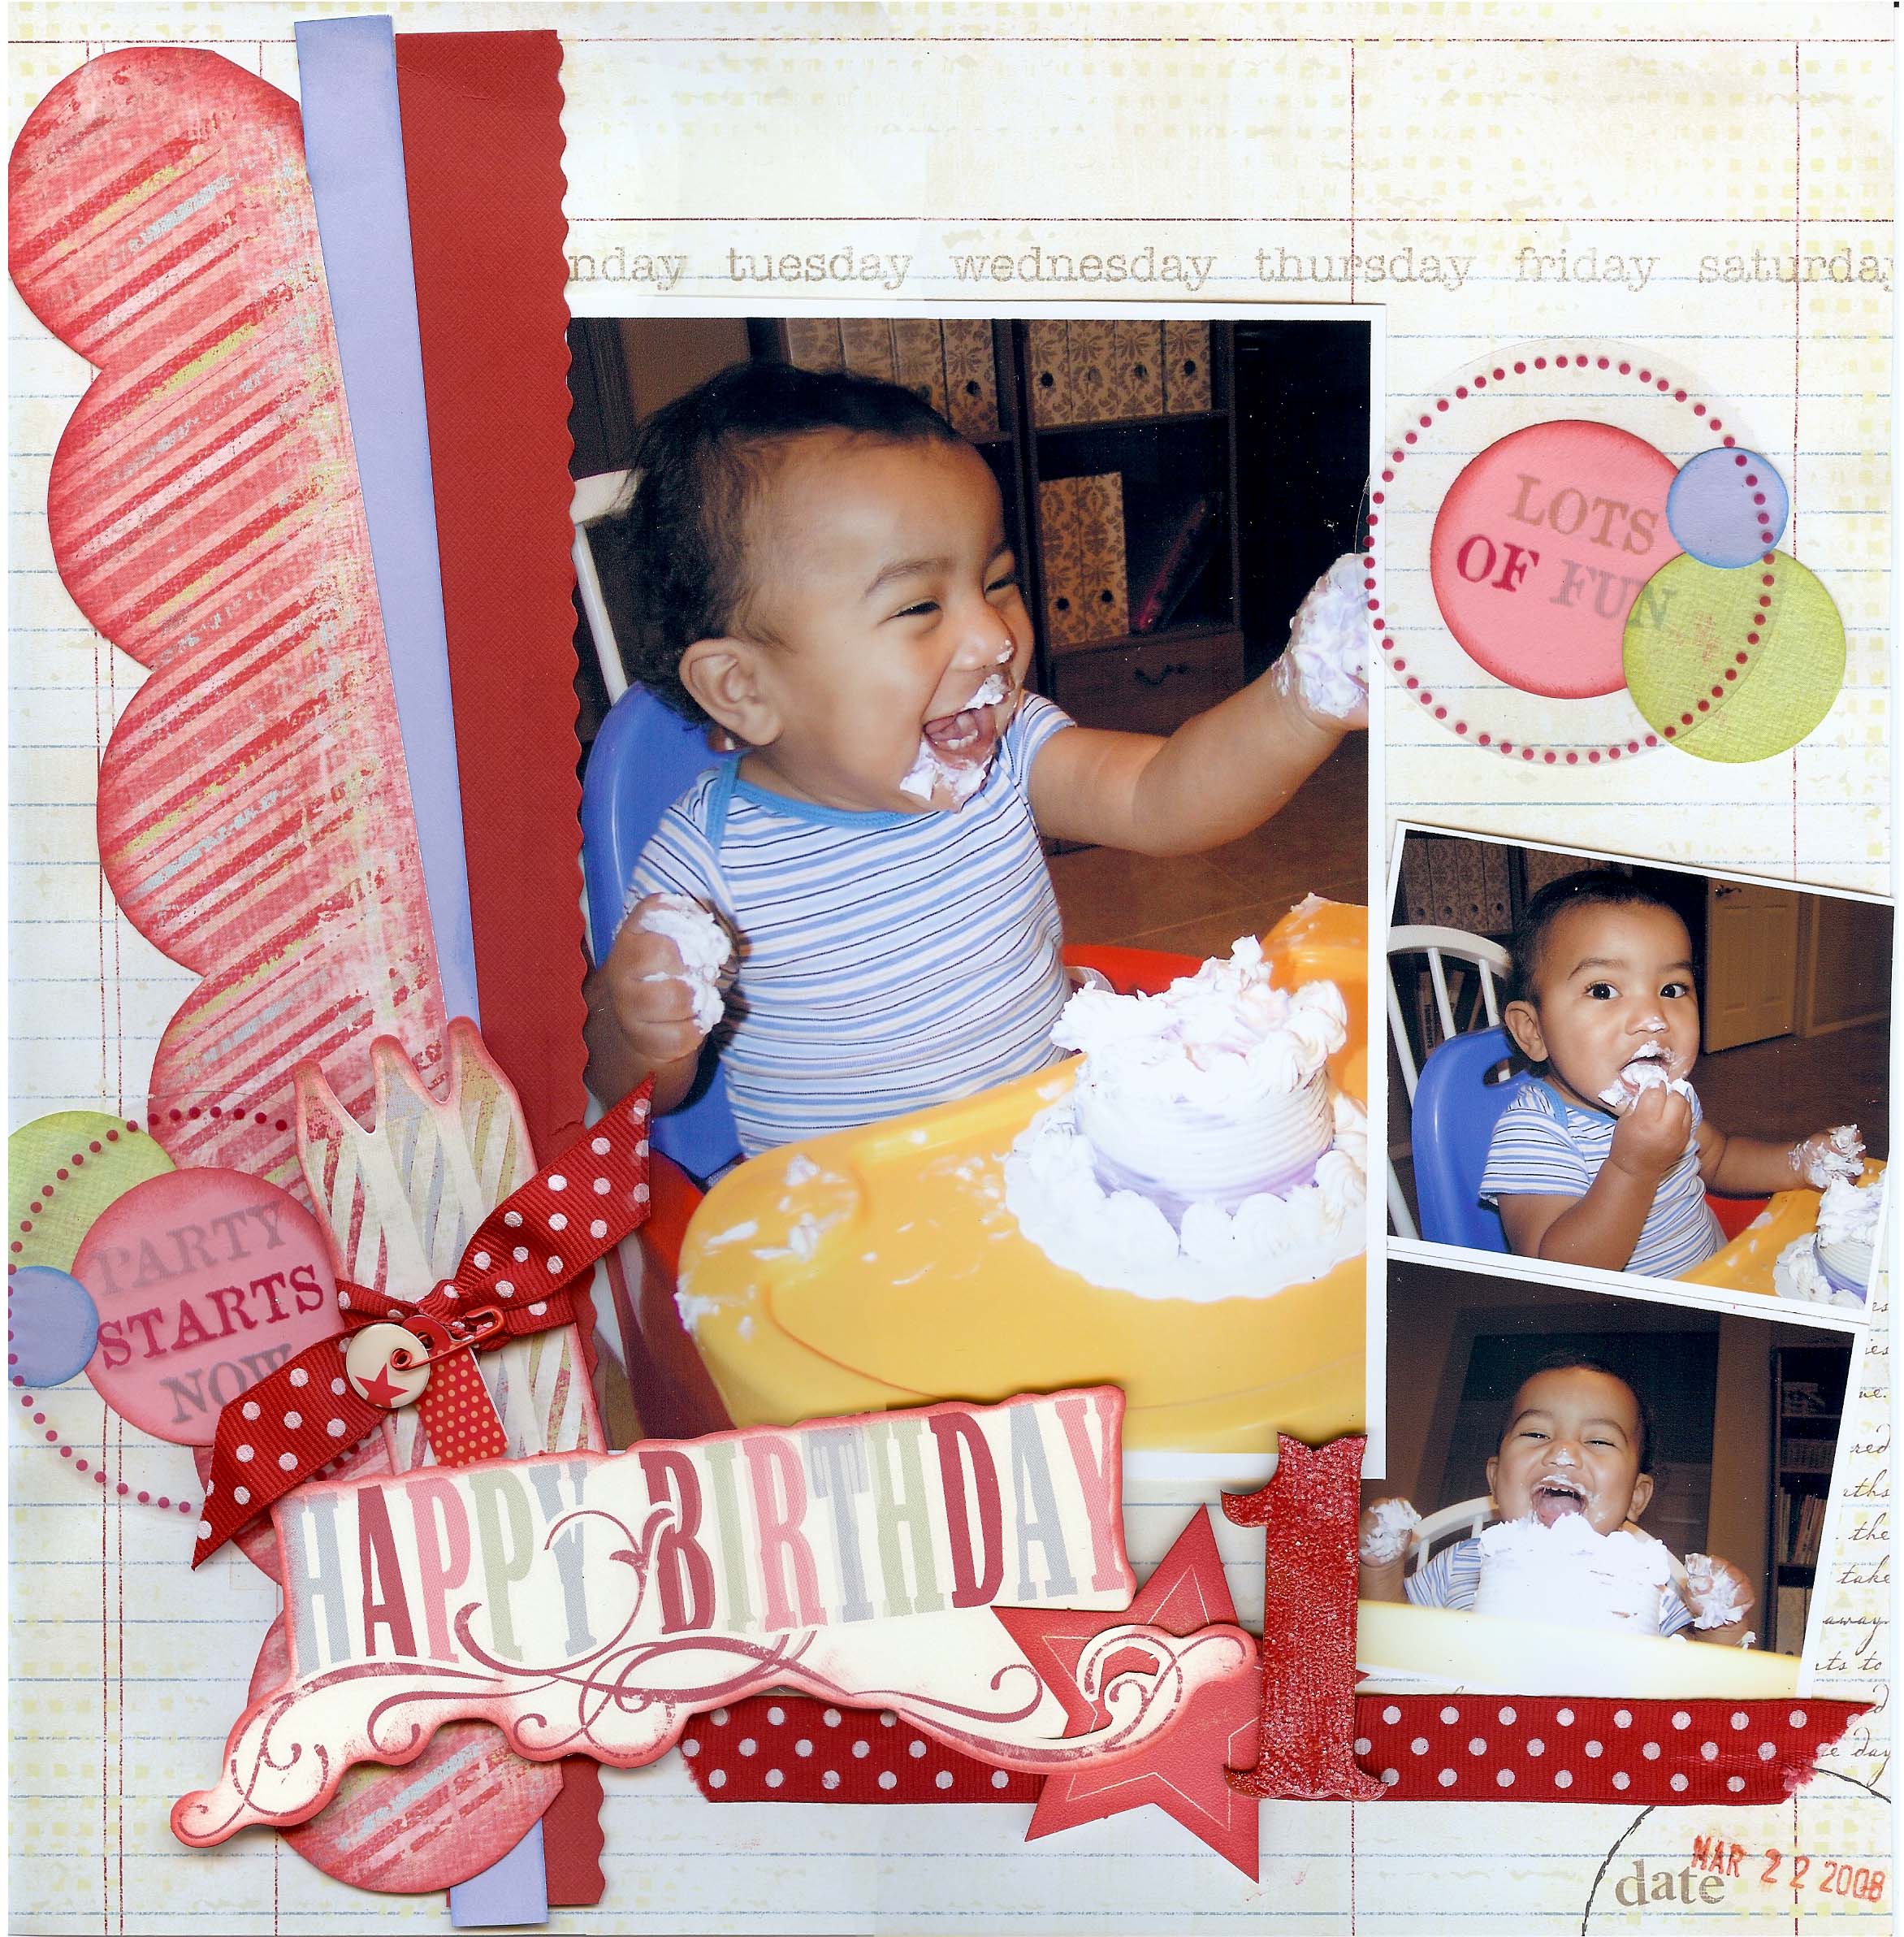
Here’s a page I did using this technique (see the “1” on the bottom):

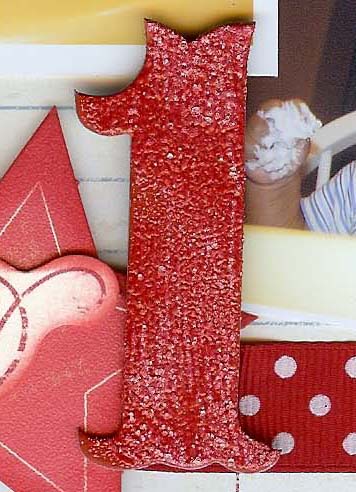
I painted a “1” from a set of Tim Holtz Grungeboard with Wagon Red Making Memories paint. While the paint was still wet, I sprinkled the “1” with red embossing powder and heated it right away. I let the powder burn just a bit and it turned out to be really sparkly–I love the effect so much I've used it several times since! It's not too girly so I can use the technique on “boy” pages but it still has that glittery effect we women love!
Keep up with our adventures, craft ideas, and frugal living tips by subscribing to the Hydrangea Hippo Crafty Newsletter.

LOVE the layout! Matthew looks so happy and CUTE! Just wanna pinch his cheeks!
love this technique…i’m gonna have to dig out my heat gun to try it.
COOL technique!!
ok, now i get it. ; )