More than ever before I have seen the conversations about crafting and specifically scrapbooking all centered around one theme–being frugal. Whether that is using your stash, selling old things to free up space, donating items to charity, using what you have before you buy anything new, it all comes down to changing the way we think about our supplies.
Being on a design team I am often faced with having a limited supply of an item to create a project with. Sure, the companies do provide us with alot of product but when we're doing product swaps, we often receive 1-2 sheets of each pattern in a paper collection. Sometimes, I want to use BOTH sides of a double sided sheet and there just isn't enough to go around. That challenge has helped me to look at and use my own stash differently. After years of “collecting” we all have papers we'd love to use but are challenged by only having one little sheet of a certain paper or it is a double sided paper we want to use BOTH sides of.
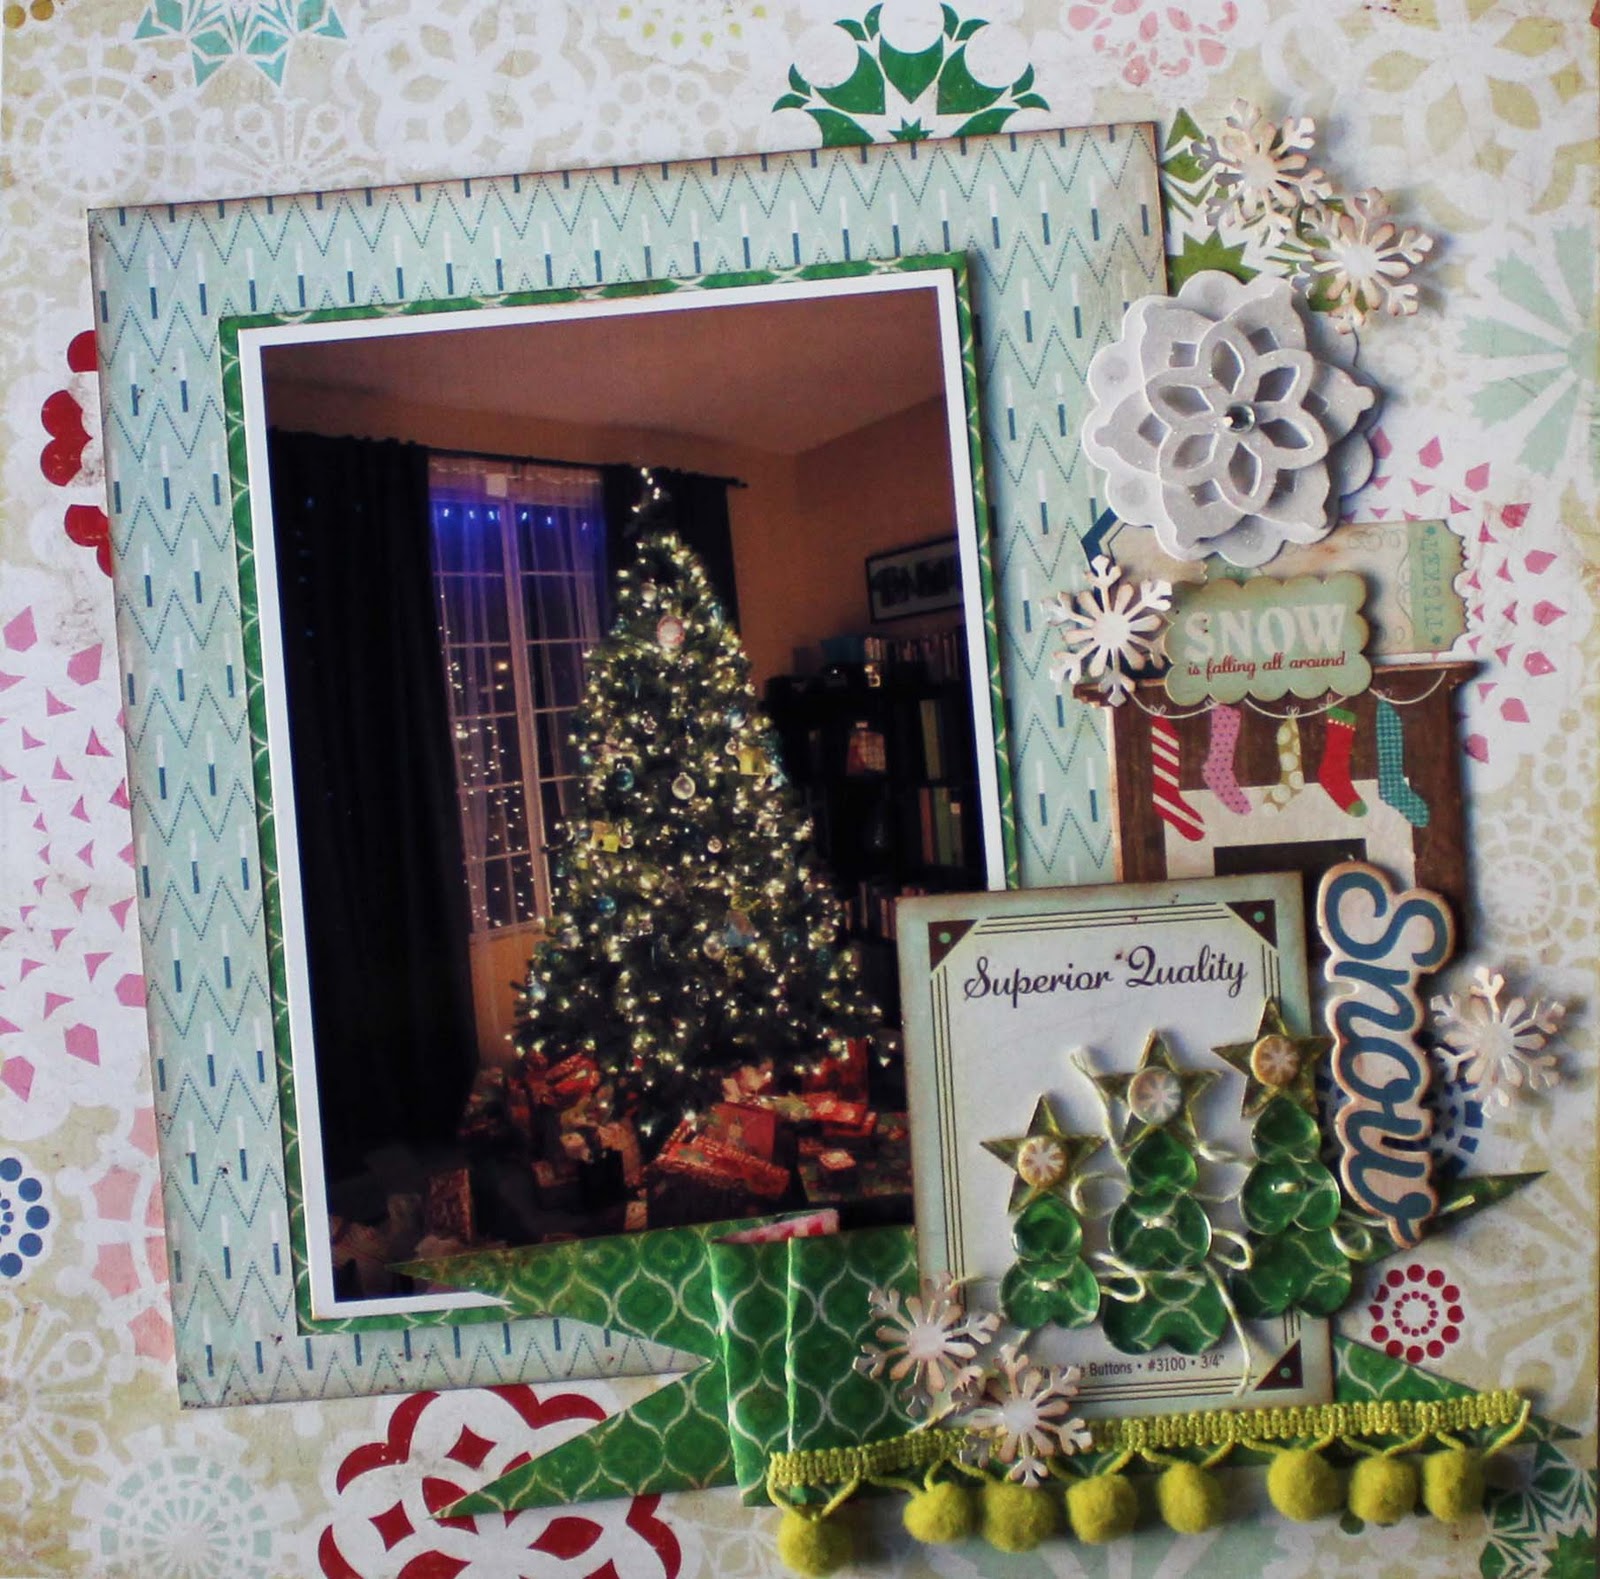
One of the things I have learned along the way is to never cut the UPC strip off of a piece of paper unless I am using the entire sheet. That strip is an extra 1/2″ or 1/4″ of space you can use to build a 12×12 background from scraps. Here's a layout I did that with, from a recent Epiphany Crafts assignment where we worked with the Peppermint Collection by Crate Paper.

I loved the scalloped/ledger paper pattern on the front side of the paper but I also liked the word strips on the other side:
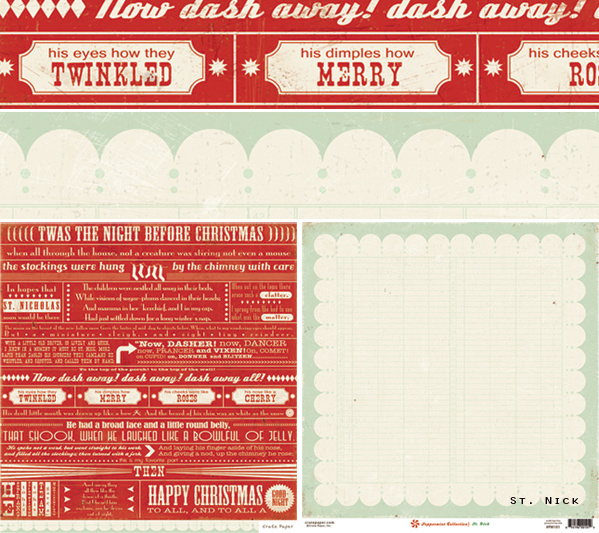
I cut the “Happy Christmas” strip and “Then” strip from the bottom of the paper and used them on this page:

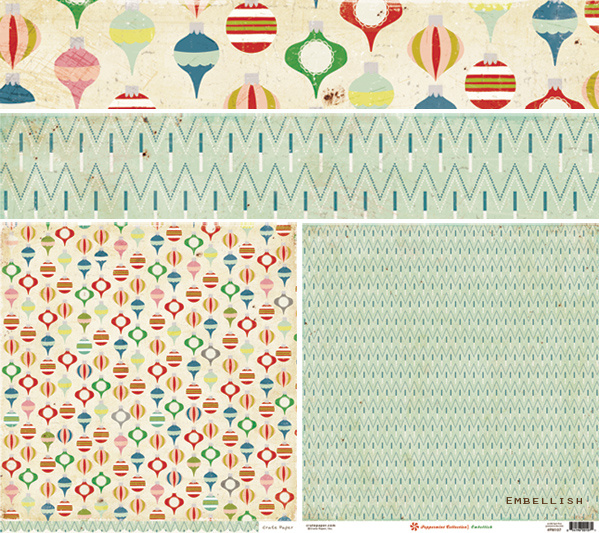
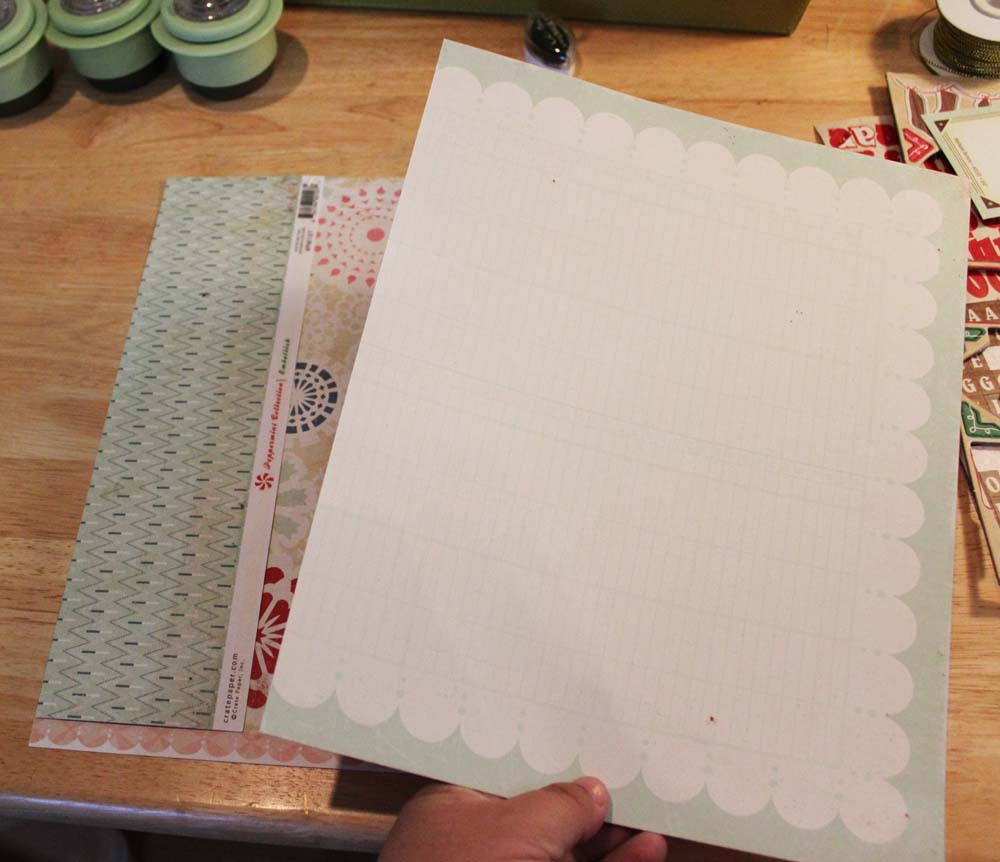
Then I turned the paper over and adhered it to a strip of this paper from the collection, which I also used to mat a photo on the layout below:

Apply tape runner to the UPC strip on one of the pieces of paper. I like to use Crafty Power Tape by 3L Scrapbook Adhesives because it it is easy to apply and holds really well. The box it comes in doubles as dispenser and has a built-in cutter.

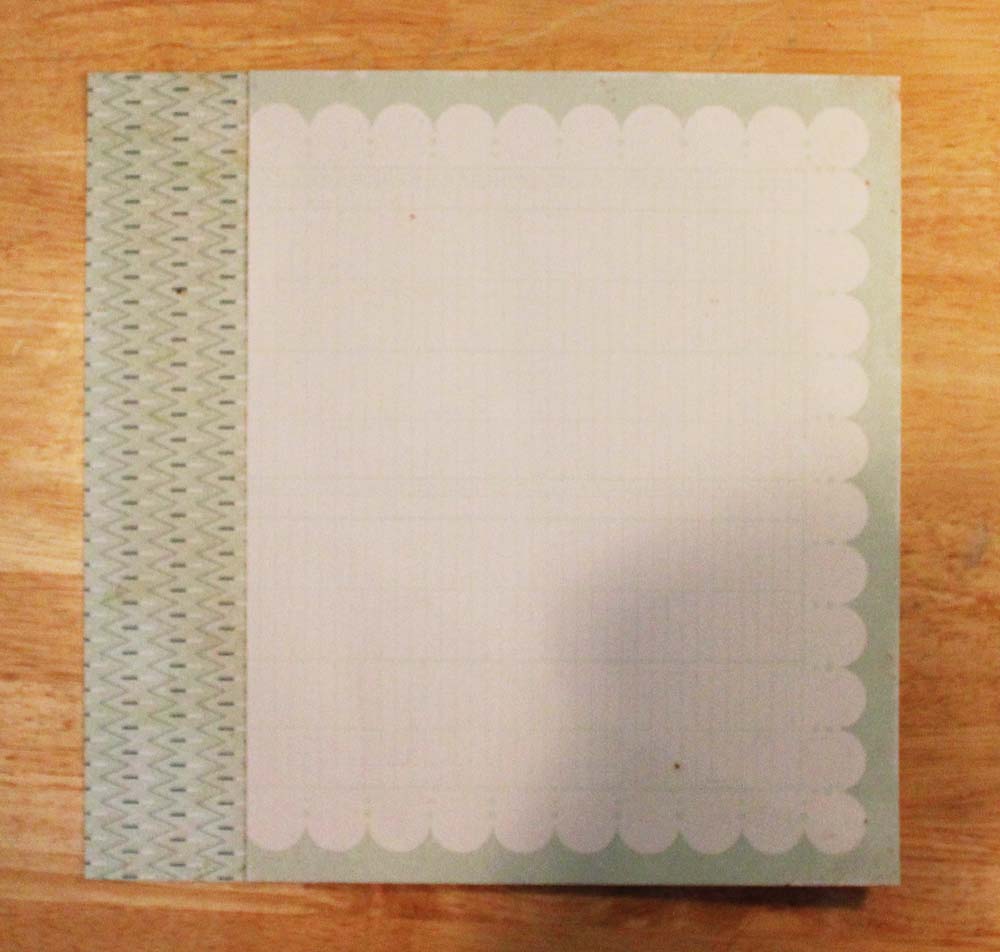
Next, lay the piece of paper with the tape on it onto another 12×12 paper, flush with 3 sides. This 12×12 paper will serve as the guide to make sure your finished pieced together page is exactly 12×12. Next,lay the other piece of paper on top to form the new 12×12 page.
And here is what the finished 12×12 piece of paper looks like: