http://hydrangeahippo.blogspot.com/2010/08/epiphany-crafts-card-palooza.html
New classes are up and ready for enrollment at My Creative Classroom for Fall!! I've got a few new classes, revamped a couple oldies but goodies, and lowered prices on most classes. It's now more affordable and convenient than ever to take an online class.
- Register for an account at My Creative Classroom. This will set up your own personal account and give you access to the FREE classroom, Everyday Moodlings. Most of the instructors post free lessons in here, including me!
- Choose classes you'd like to register for from the Course Categories tab on the top of the website. Complete the class registration process.
- You'll then be given access to the classroom. There you'll find the start date of the class and a full supply list. You can use your stash or purchase supplies for the class.
- On the first day of “class”, the first lesson will be revealed. Lessons consist of a sample photo, pdf with step by step photos and directions, and a video or slideshow showing you how to complete the lesson. You can ask questions in the forum, chat with fellow students, or call or email the instructor for additional help.
- Each week, you'll be assigned “homework”, usually an assignment helping you practice the skills in the lesson. You can complete the homework at your own pace — it is just meant to help you learn the skills covered in class.
- After that, a new lesson will be revealed each week until the class is complete. For example, a 4 week class that starts on a Tuesday will have 4 lessons posted on 4 consecutive Tuesdays.
- A week after the last lesson has been posted, the class is considered finished. You still have access to the classroom for a couple of weeks to finish up anything you missed. You can also print out the pdfs from each lesson and use those forever. You'll also be asked to complete a feedback survey about your experience in the class.
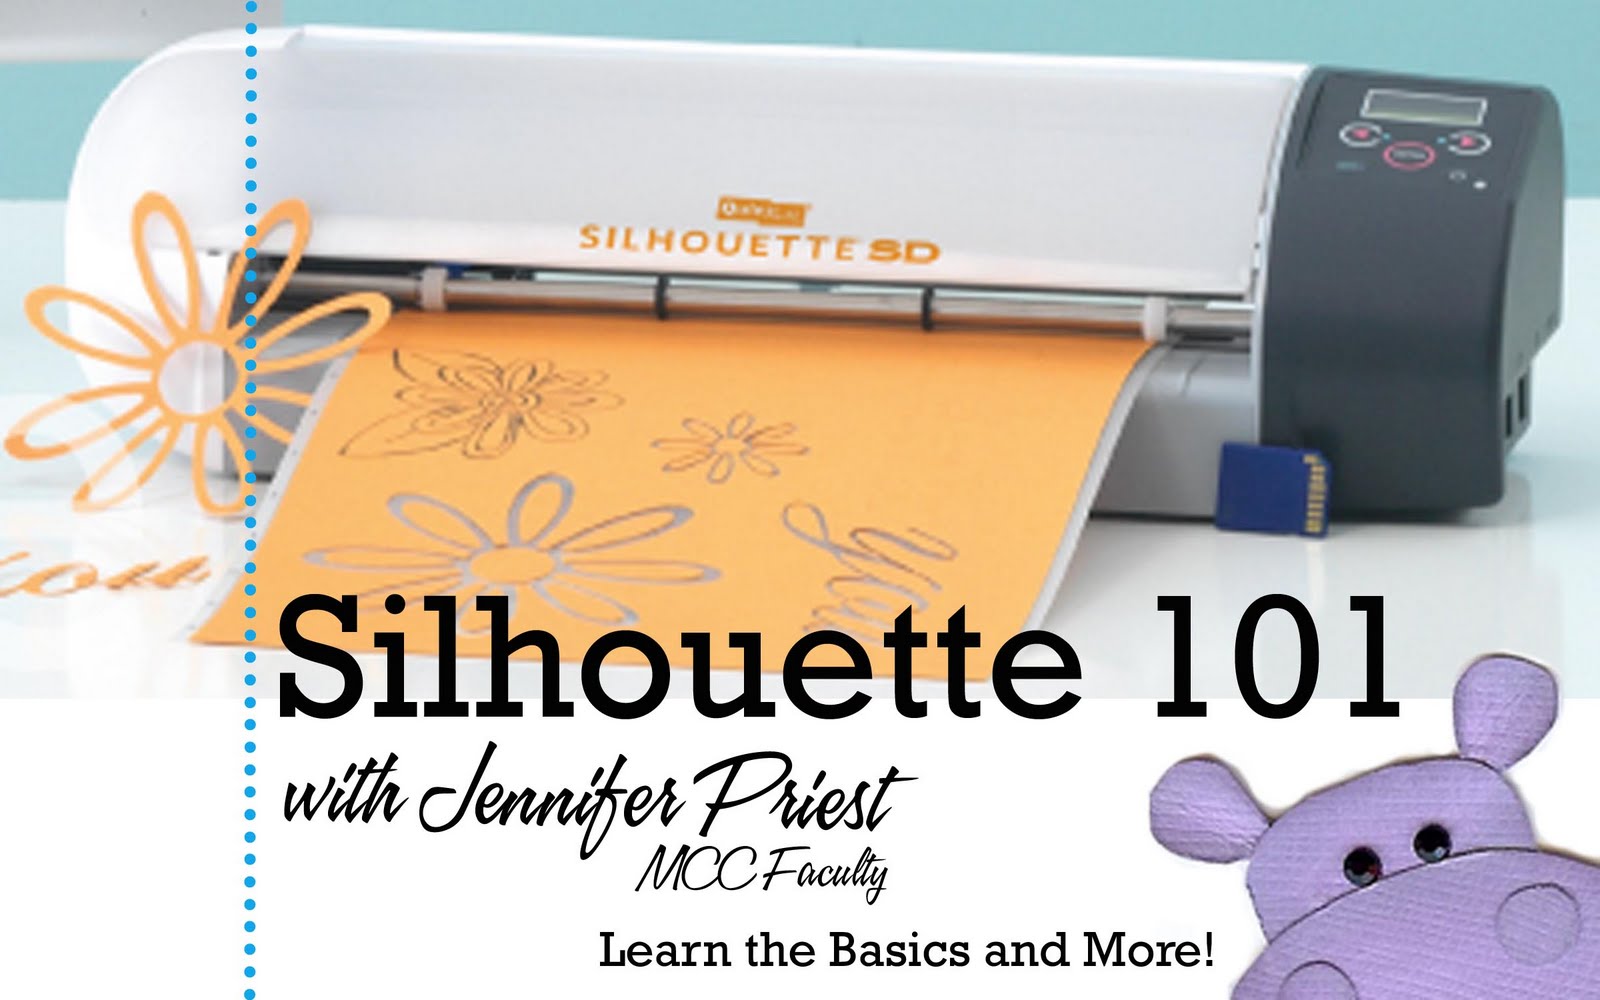
Learn the Basics and More!
Lesson One:
- Setting Up Your Silhouette
- Learning to Use Shapes and Text
- Grouping and Ungrouping
- Cutting Basics
- Cutting Settings for Various Media (Cardstock Versus Patterned Paper, etc)
- Creating Shadows on Text
- More Advanced Shape Manipulation
- Basics of Using Print + Cut Feature
- Using Sketch Pens
- More Complex Font Work – Shadows and Welding
Start Date: September 8, 2010
Course Length: 4 Weeks
Course Fee: $25
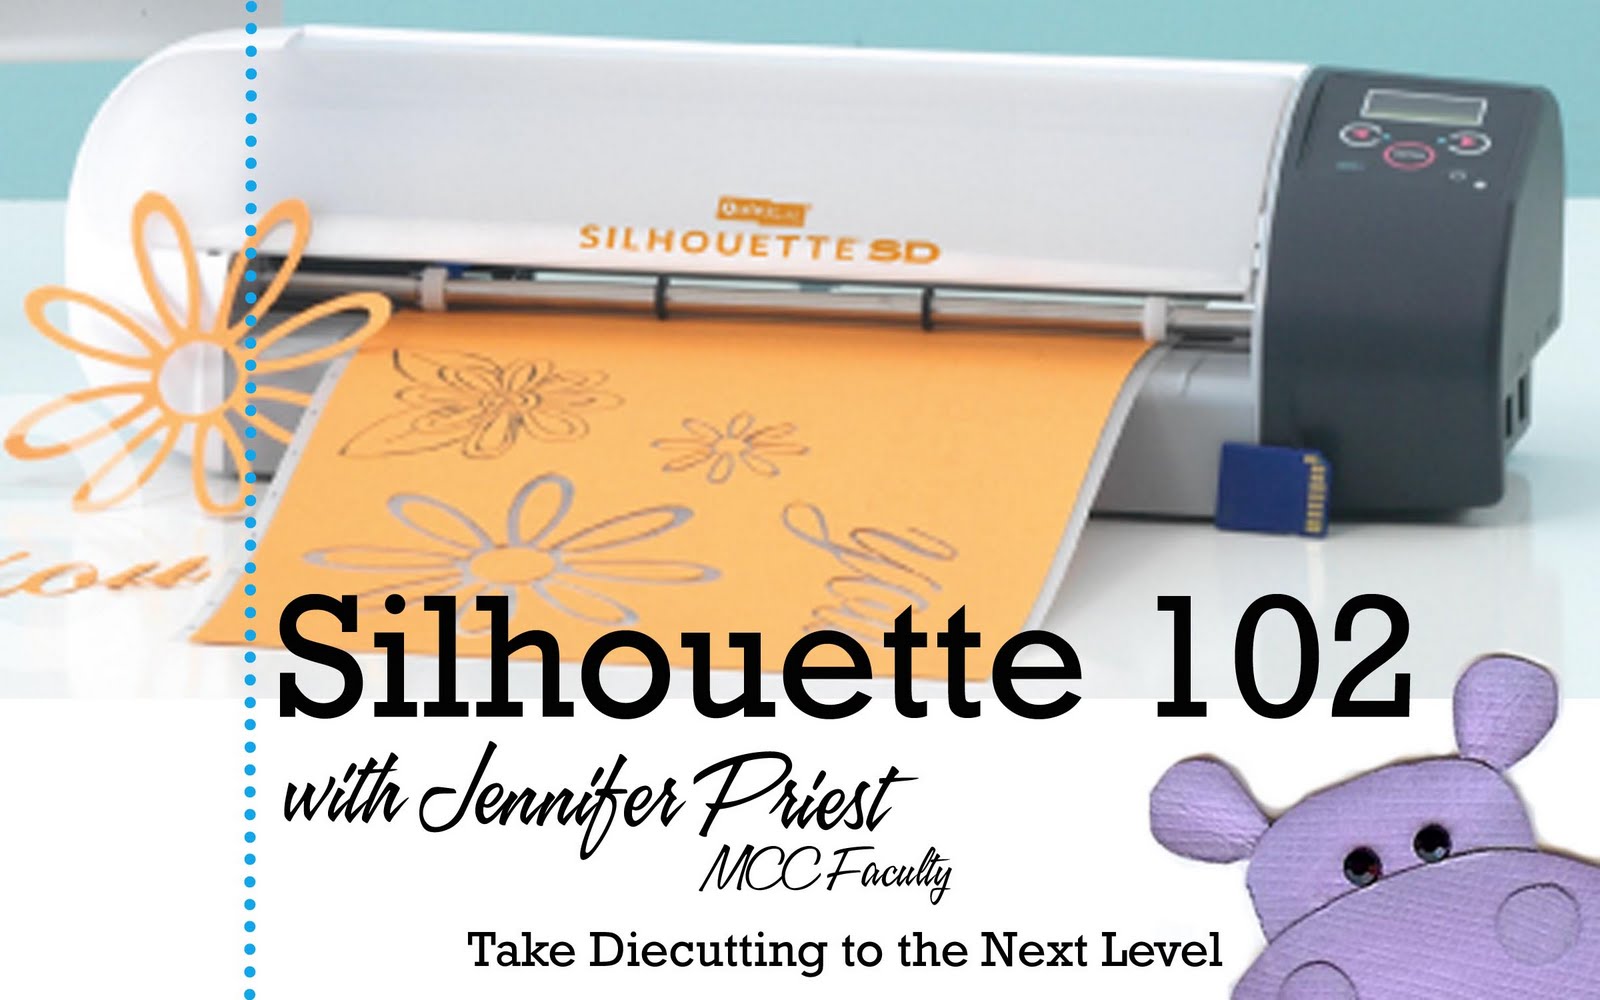
Taking Diecutting to the Next Level
You've probably used your Silhouette to cut titles, shapes from the “My Library” feature, as well as purchased shapes online. Maybe you've even “welded” already!
This course will help you take your skills to the next level using your Quickutz Silhouette Diecutting Machine. This course will teach you tips and tricks for creating multi-layer diecuts, special welding and grouping techniques, as well as dabble in creating custom shapes.
Each lesson we'll create a scrapbook layout using the skills featured that week.
Pre-Work: Review
- Welding Shapes and Text
- Grouping and Ungrouping
- Creating Shadows
- If you don't already know how to do the above, then I recommended you take Silhouette 101 first so you get a good foundation in these basic skills.
Lesson One:
- Grouping & Ungrouping to Extend Blade Life
- Grouping & Ungrouping to Make Diecut Assembly Easier
Lesson Two:
- Using Vinyl
- Creating & Cutting Images Larger than 12″ long
Lesson Three:
- Creating Custom Shapes
Lesson Four:
- Selecting Cut Lines For Faster Cutting
- Sketching Multi-Color Images
Start Date: October 13, 2010
Course Length: 5 Weeks
Course Fee: $25

Featuring Partner Company Epiphany Crafts
Welcome to Fast & Frugal Scrappin' featuring Epiphany Crafts. This class is one of my most popular in-store classes (otherwise known as “Twenty Pages In A Day”) and I am excited to bring it to you online. Being online, we can explore and share much more in this course than in a traditional store setting!
In this course we'll create an average of four layouts each week, focusing on at least two complimentary techniques or products. We'll learn how to use Epiphany Crafts tools to create custom embellishments to perfectly match any project. After 5 weeks, you'll have completed 20 scrapbook pages and tried at least 10 different techniques!! I'll also share my tips for making the most of your supplies, solutions for using scraps, and more.
Lesson One: Let's Get Inky
Lesson Two: Patterned Paper
Lesson Three: Embellishing Your Way
Lesson Four: Let's Get Painty
Lesson Five: Fabric, Trims, & Stitching
Course Length: 5 Weeks
Course Fee: $35
Featuring Partner Company Zutter
You've either already taken the Bind it All 101 course or you're familiar with using the Bind It All. In this course, we'll take binding to the next level, creating several projects using the Bind-It-All tool and accessories, like the Round-It-All, O-Wires, and Cover-Alls. It's not about the basics anymore – we'll learn techniques for addressing challenging binding situations such as binding irregular shaped pages, binding on the edges of a project, binding pages of various sizes, creating projects besides books, tips for fixing mistakes, and more.Lesson One: Binding Pages of Varying Sizes
Lesson Two: Binding On the Edge
Lesson Three: Creating Projects
Lesson Four: Alternative Binding Options
Start Date: October 26, 2010
Course Length: 4 Weeks
Course Fee: $40
If you're looking to learn the Basics of how to use your Bind It All, then take Nan's Bind It All 101 Course at My Creative Classroom!!

Prima Pretties
Featuring Partner Company Prima Marketing Inc.
Welcome to Prima Pretties!! In this class we'll play with all things Prima to create 10 gorgeous layouts. You'll learn how to make the most out of your most prized Prima lovelies as well as how to kick up your stash of Got Flowers? and e-Line Prima Flowers. Canvas products, papers, bling, ribbon, iron-ons, and more Prima wonders will be incorporated throughout the class to help you learn to use all things “Prima”.
Lesson One: Jazzin' Up “Got Flowers?” And E-Line flowers.
Lesson Two: Bling It On.
Lesson Three: Paper That's Made to Match.
Lesson Four: Iron-Ons and Canvas, and Lace, Oh My!
Course Start Date: September 30, 2010
Course Length: 4 Weeks
Course Fee: $25