
I recently learned how to make a version of these ribbon flowers and thought I would share. They are easy to make and give that “wow” factor to any project.
Supplies:
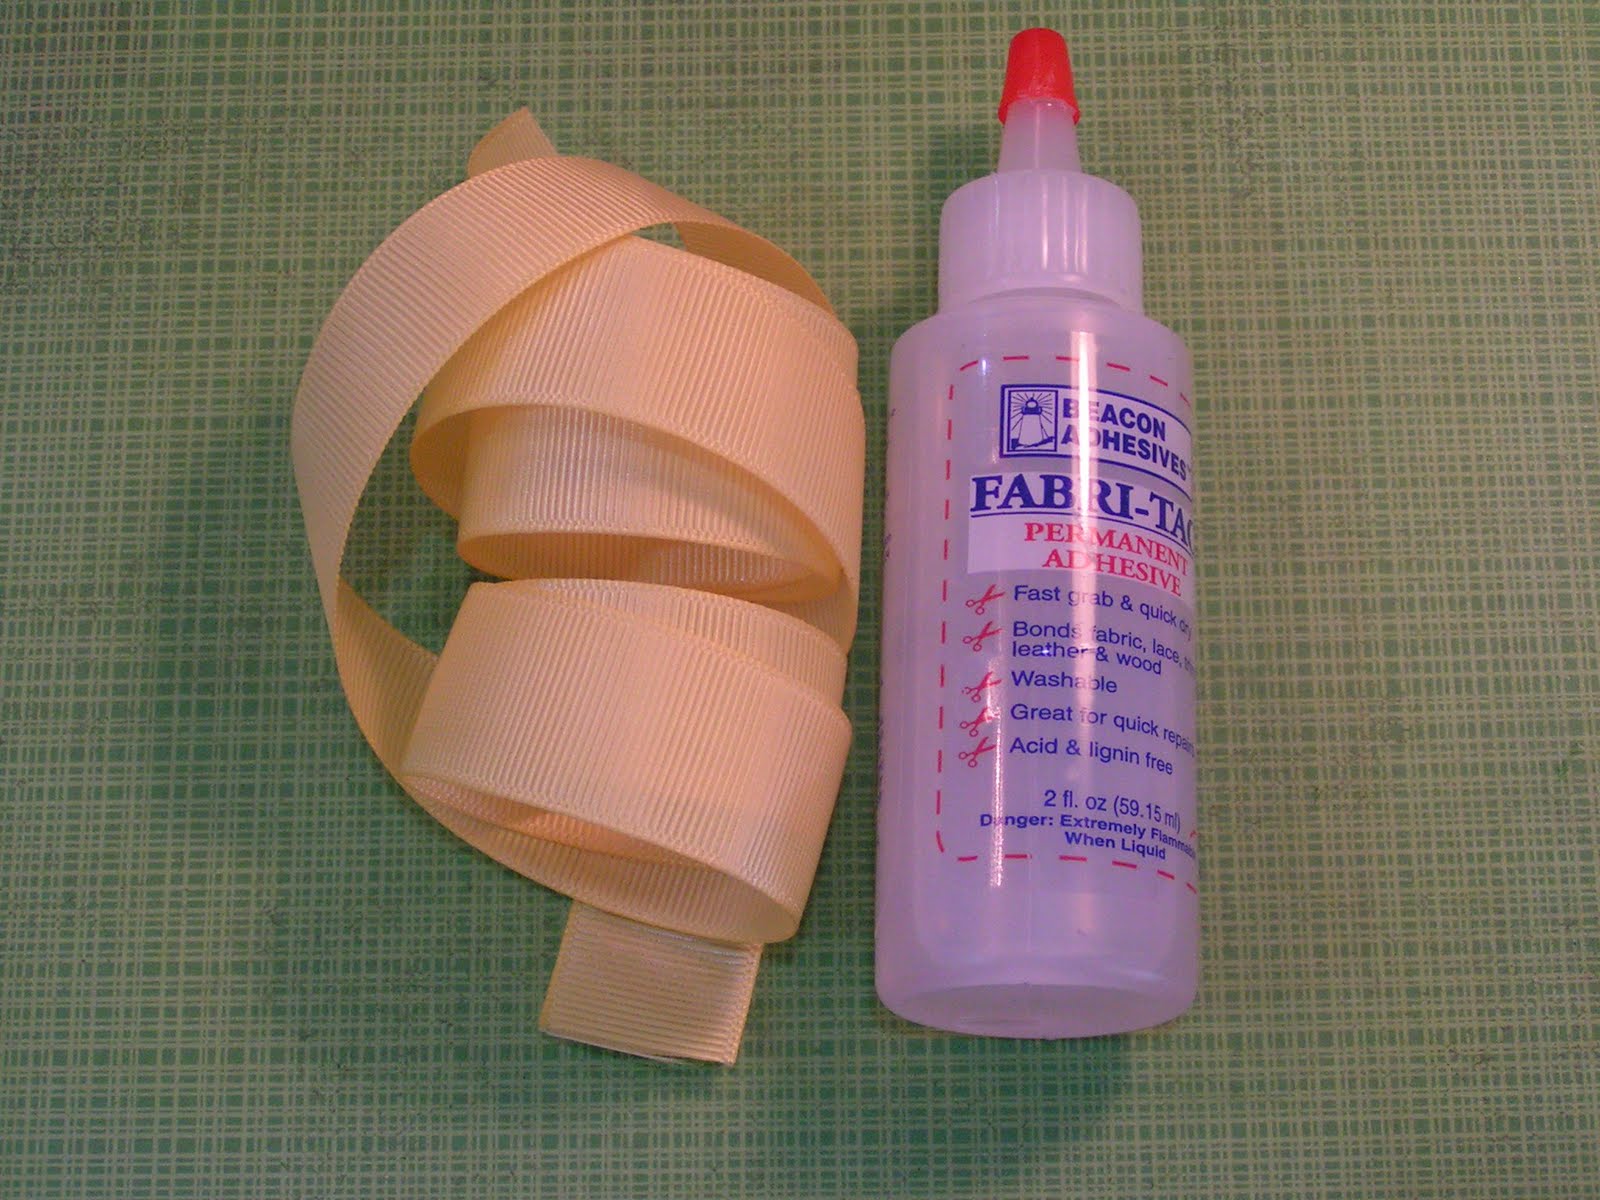
- Ribbon, about 1 yard
- Glue Gun and/or Fabri-Tac adhesive
- Gems or Buttons (optional)
Assembly:
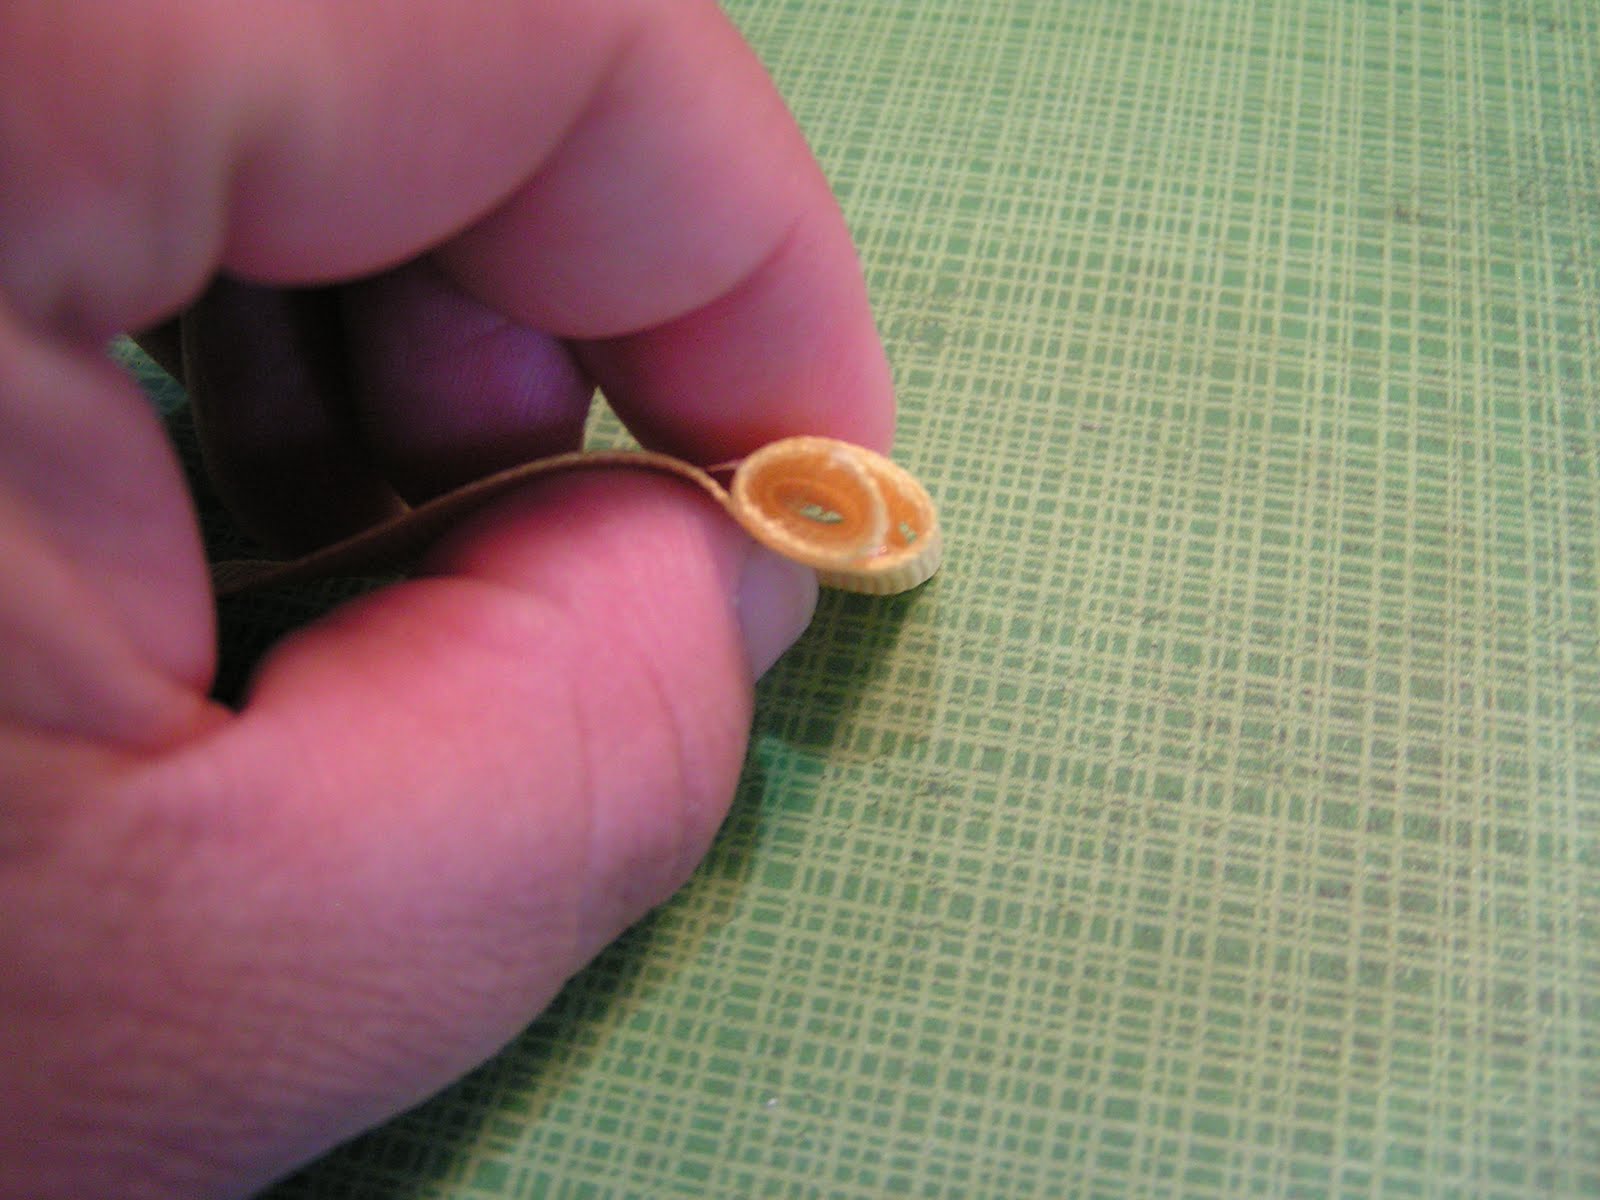
1. Roll one end of the ribbon into a tube, about 3 layers of ribbon thick. Secure with a little glue if you like.
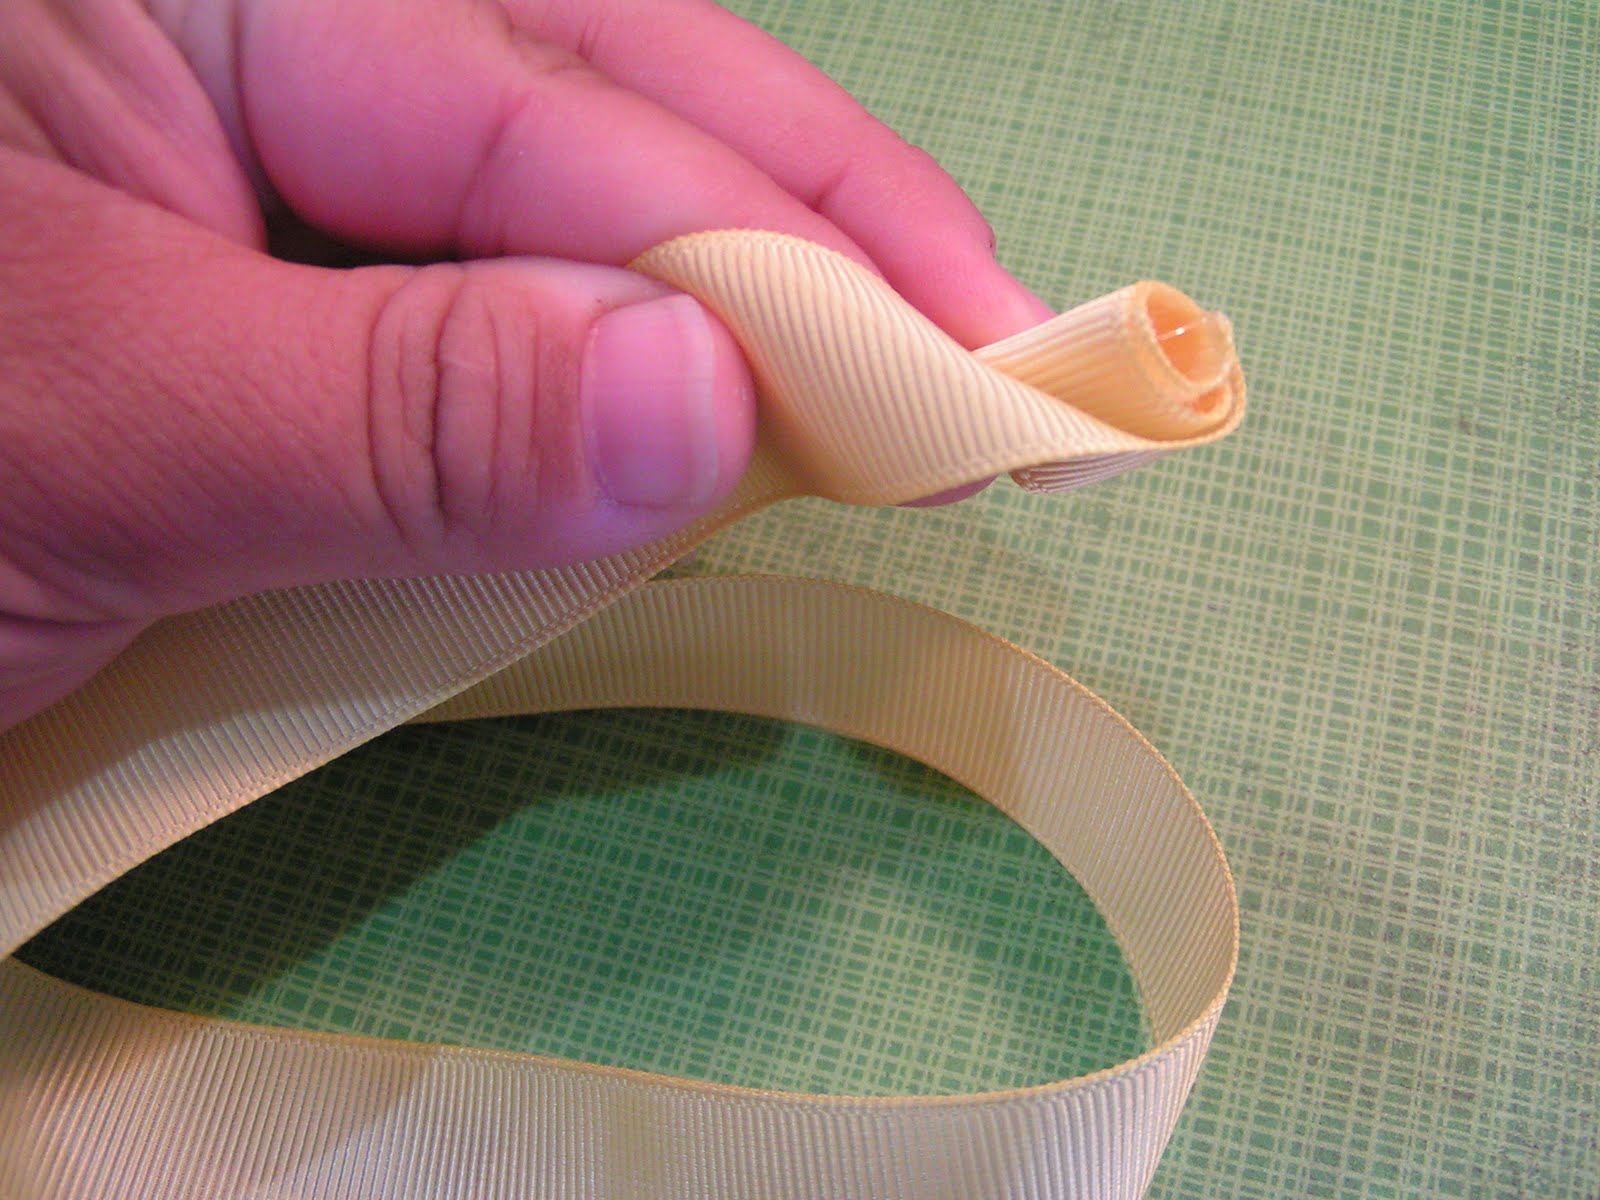
2. Fold the ribbon to the outside and start wrapping around the tube. Continue folding back the ribbon every 1/2 turn or so. You should see the rosebud starting to form.


3. Continue to the end of the ribbon or until your rose looks full enough.
4. Turn the rose over and secure the back with glue, putting glue under the folds if need be. You don't wanna do all that work and then have the rose fall apart.


5. Add gems or buttons to the center of the roses if desired.
6. Add to a project!

You can use any width of ribbon and even fabric strips to create these, all with slightly different, unique results. We'll be making these flowers and more in Project 12×12 Flowers on June 22nd at Collective Journey in Redlands. Call 909-793-2200 to sign up.
One thought on “Ribbon Flowers”