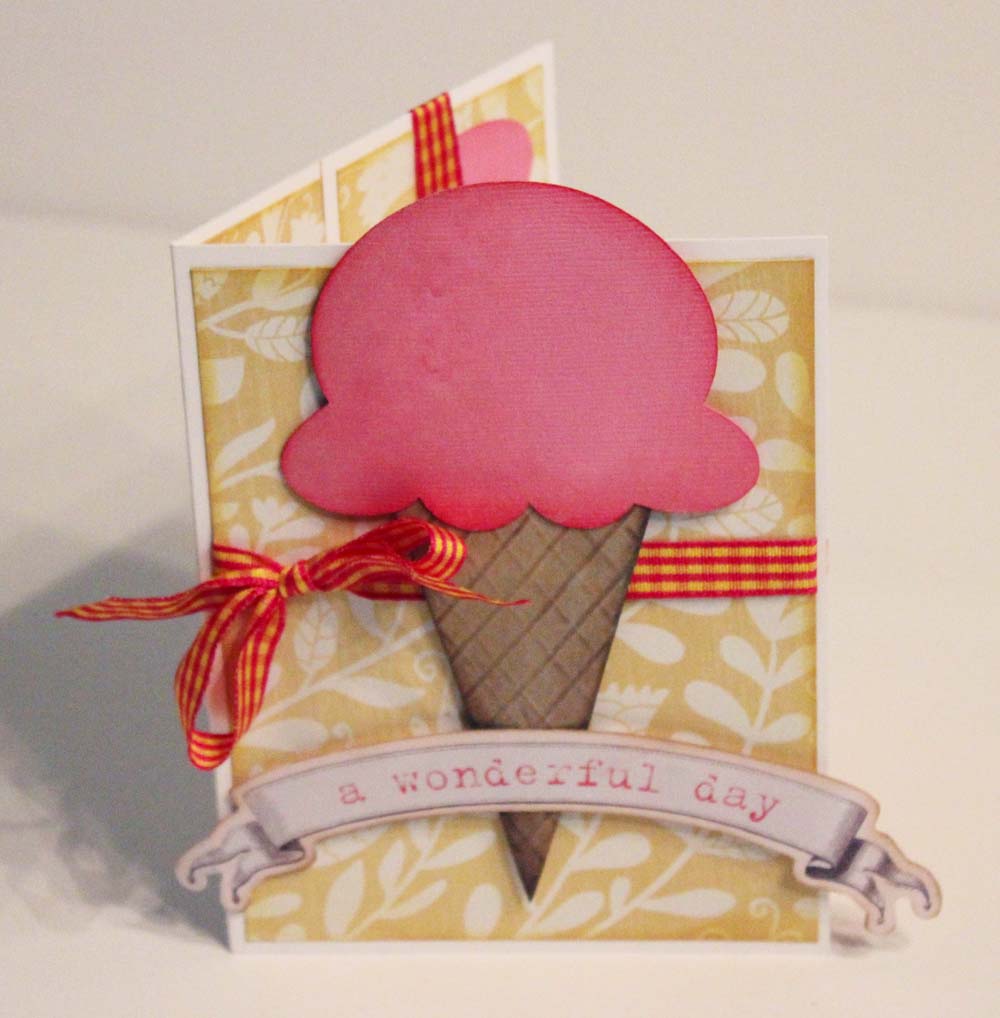
What's better on a hot summer day than an ice cream cone? I made this pocket card using the Scor-Pal and Smooch Accent Ink. Here's how:
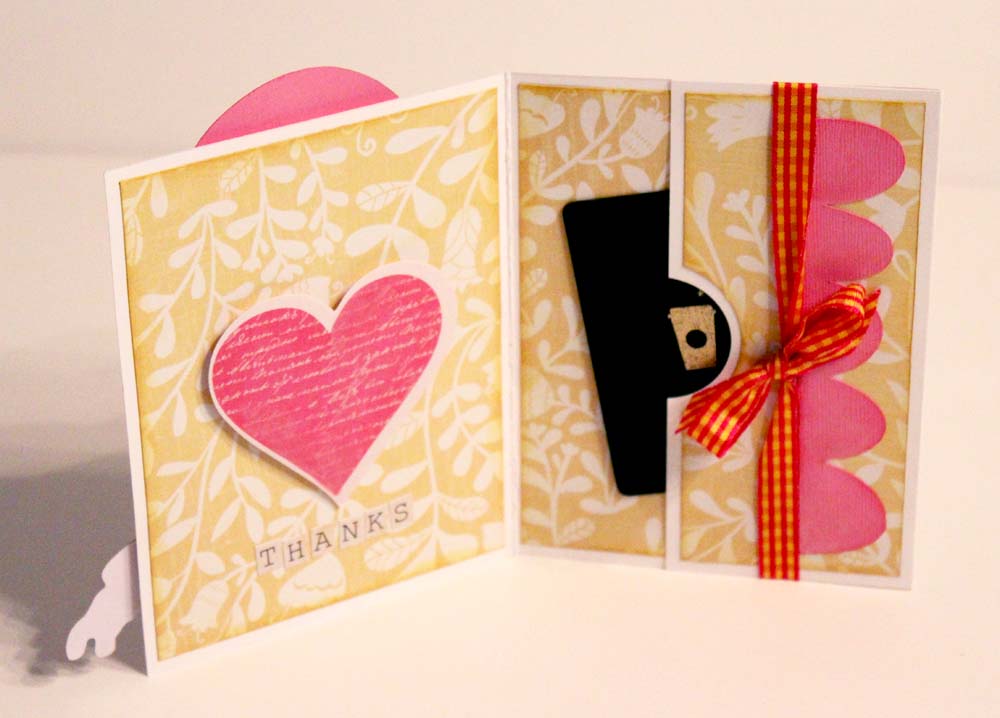
Cut a piece of 8.5″ x 11″ Cardstock down to 5.5″ x 8.5″. Using the Scor-Buddy, score the card at 4.25″ and at 8.5″ to create a tri-fold card. The smaller flap on the right will form the pocket for giftcards or other “thank you” goodies.

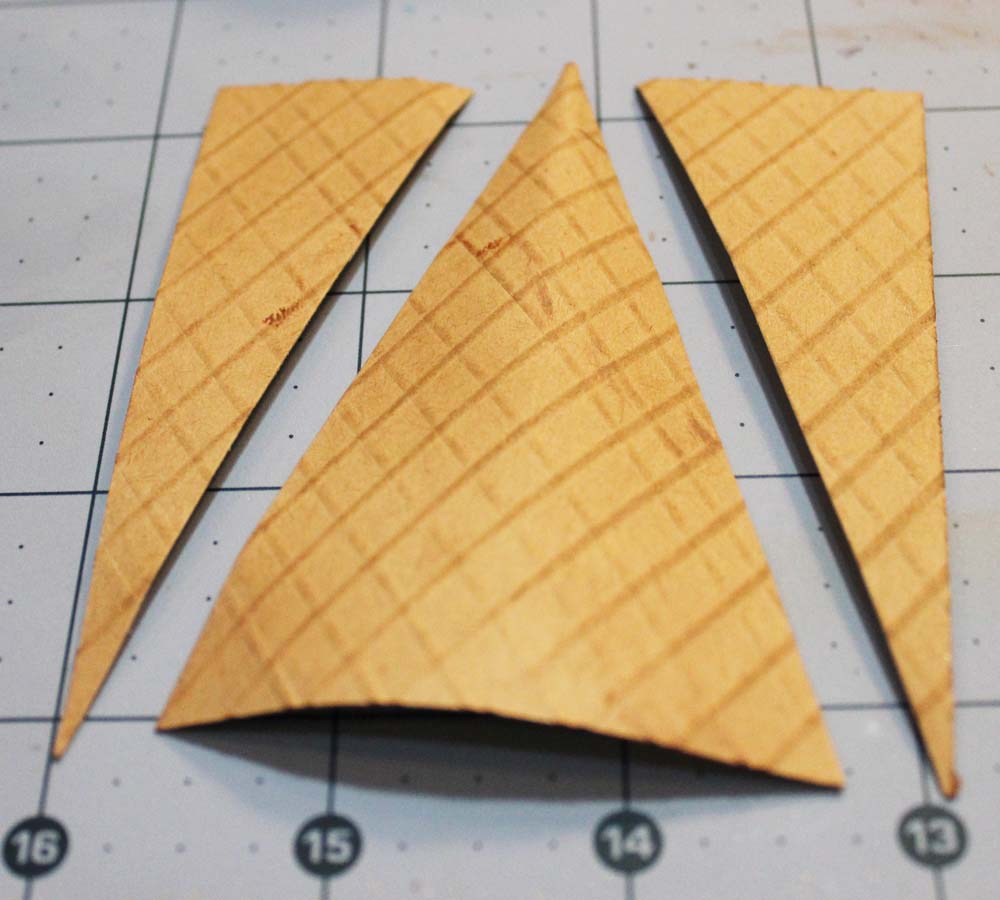
Core a 2.5″ x 3.5″ piece of Kraft Cardstock diagonally. Line up two opposite corners along one score line on the Scor-Buddy. Score the line from corner to corner. Work out from the center line, scoring every 1/4″ to the right and left until the sheet is covered with score lines.


Rotate, lining up the other set of opposite corners and repeat. This will create a diagonal set of lines intersecting the first set, or a waffle pattern for the ice cream cone.

Ink the scored ridges on the cardstock with the Chestnut Roan section from the ColorBox Fluid Chalk Petal Point Options Pad in Autumn Pastels.

Cut a cone shape from the cardstock and ink the edges again with the Chestnut Roan section from the ColorBox Fluid Chalk Petal Point Options Pad in Autumn Pastels.
Adhere patterned paper trimmed to 4″ x 5.25″ to the front and two 4.25″ x 5.5″ inner sections of the card. Add a 2.5″ x 5.25″ strip of patterned paper to the flap and glue the top and bottom down to form a pocket. Add ribbon as desired.
Diecut a scoop of ice cream from cardstock and add to the front of the card with a sentiment. To make the ice cream shimmer, add Smooch Accent Ink to shade the diecut, giving it a more realistic feel.

Add a little Smooch Accent Ink to the cone for shading and sparkle. Apply the Smooch to the outside edge of the diecut first, working it towards the center with a circular motion, blending it into the cardstock.

The scoop of ice cream looks cool and refreshing with a little Smooch!

Add a gift card to the pocket of the card and it is ready to give as a thank you gift and card, all rolled into one.
Clearsnap Products:
Other Supplies:
- Paper, Diecuts – Grant Studios
- Scoring Tool – Scorpal
- Cardstock – Bazzill
- Diecutting Machine – Silhouette
- Ribbon – Creative Impressions
- Alpha Stickers – Authentique Paper
I LOVE this card! Thanks for a great tutorial.
This is yummy as can be! LOL