
I love making ruffles with ribbon, paper, whatever I can on my pages!! And these days, while we're making every dollar stretch, it's nice to find ways to stretch our scraps. I created a ruffle on this page using only scraps of paper!!

Here's how to create the ruffle:
Supplies:
- A Layout that needs some ruffling :)
- 3 Strips of 1″ x 12″ (or so) scrap paper
- Colorbox Chalk Cateye in a coordinating color
- Tim Holtz Tiny Attacher, mini stapler, or a standard stapler
- 3D foam adhesive (I like American Crafts This To That)
- Tape Runner (I like American Crafts This To That)
- Scissors
Ink the edges of the 3 paper strips woth Colorbox Chalk Ink.
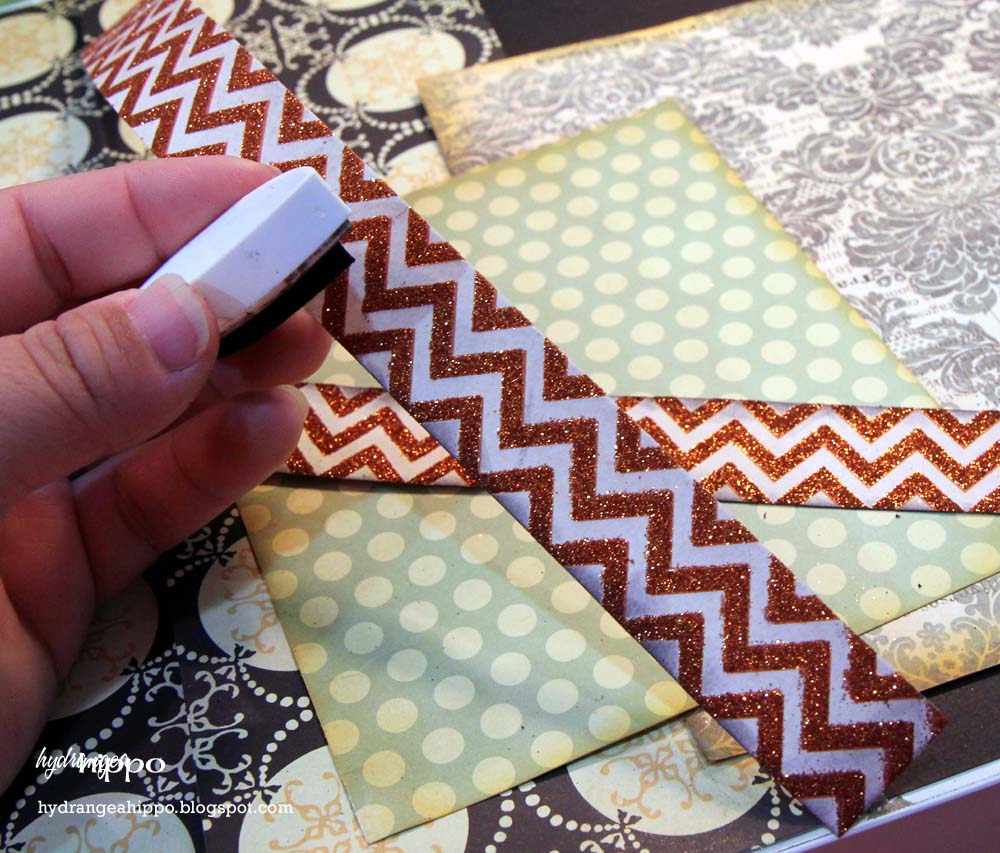
Starting at one end, fold one of the strips into an “S” shape. Flatten.

Using the Tiny Attacher or a stapler, staple one side of the S so that it stays put. Stapling just one side makes it so that the ruffle can bend easily once it is completed.

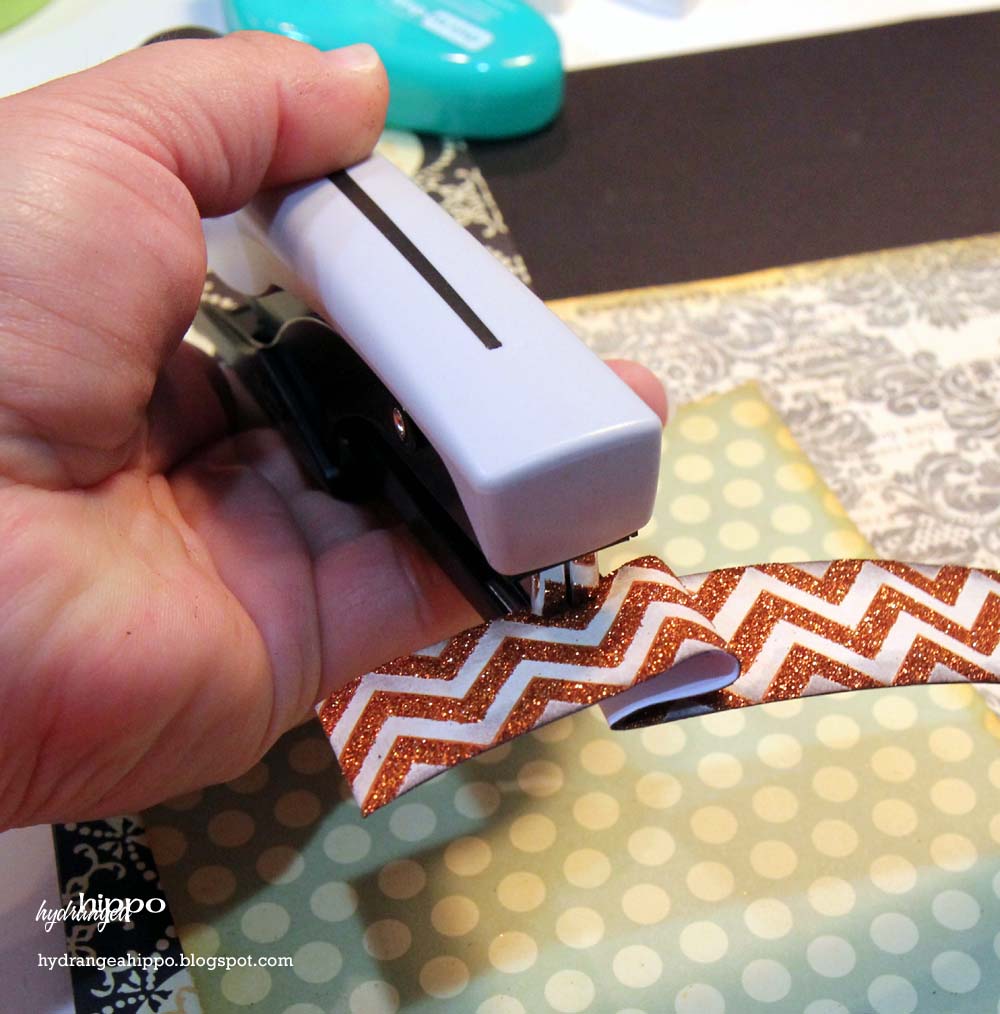
Make another “S” shape about an inch from the first S. Flatten and repeat the previous steps, but now staple on the other side.

This is what it should look like at this point:
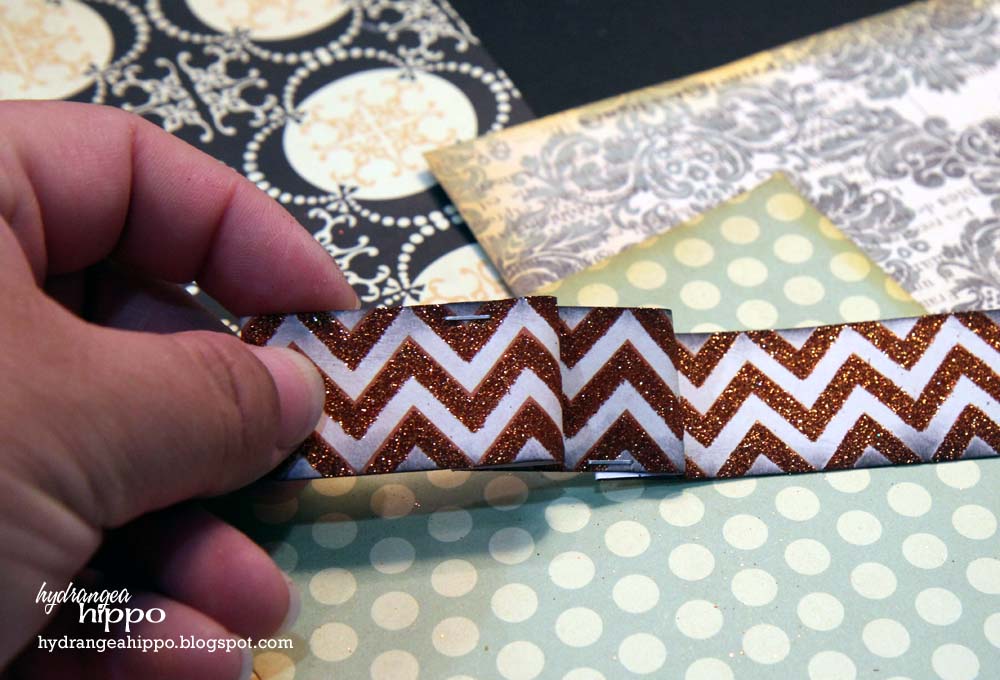

Continue making “S”s and stapling opposite sides for the entire length of the strip until about 2” is left.

Ink the top of each ruffle with a Colorbox Chalk Cateye to make it stand out.

Snip a triangle out of the 2″ long end of the strip to make it look like a ribbon. Ink the inside of the “V”.


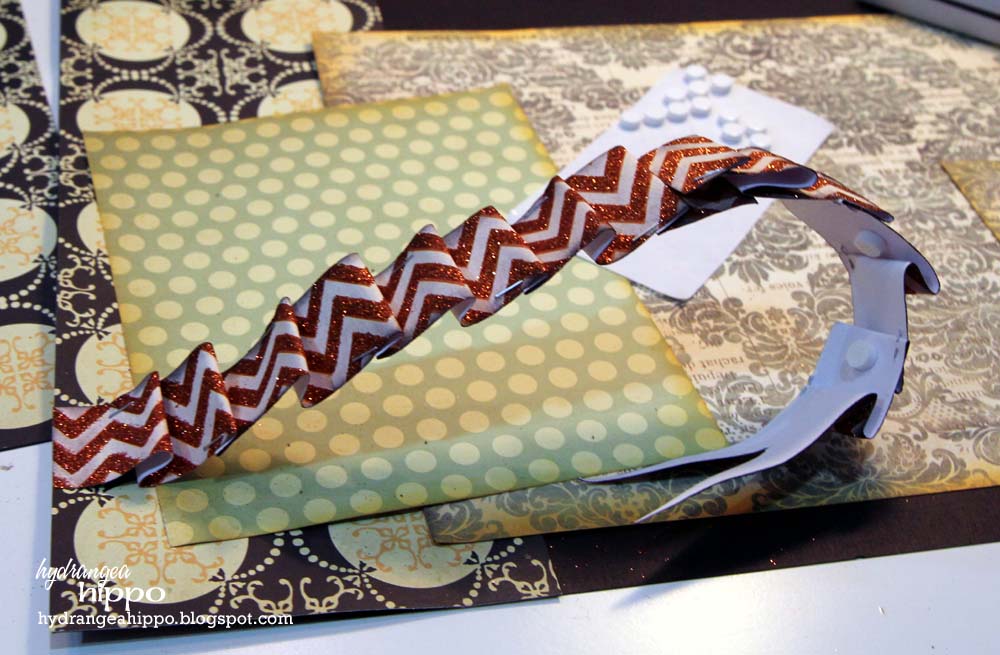
Create a second ruffled strip exactly the same way and set aside. Create a third ruffled strip the same way, but don't make the “V” cut above. Apply adhesive to the straight end of the third strip and adhere the first and third strips together to make one long strip.
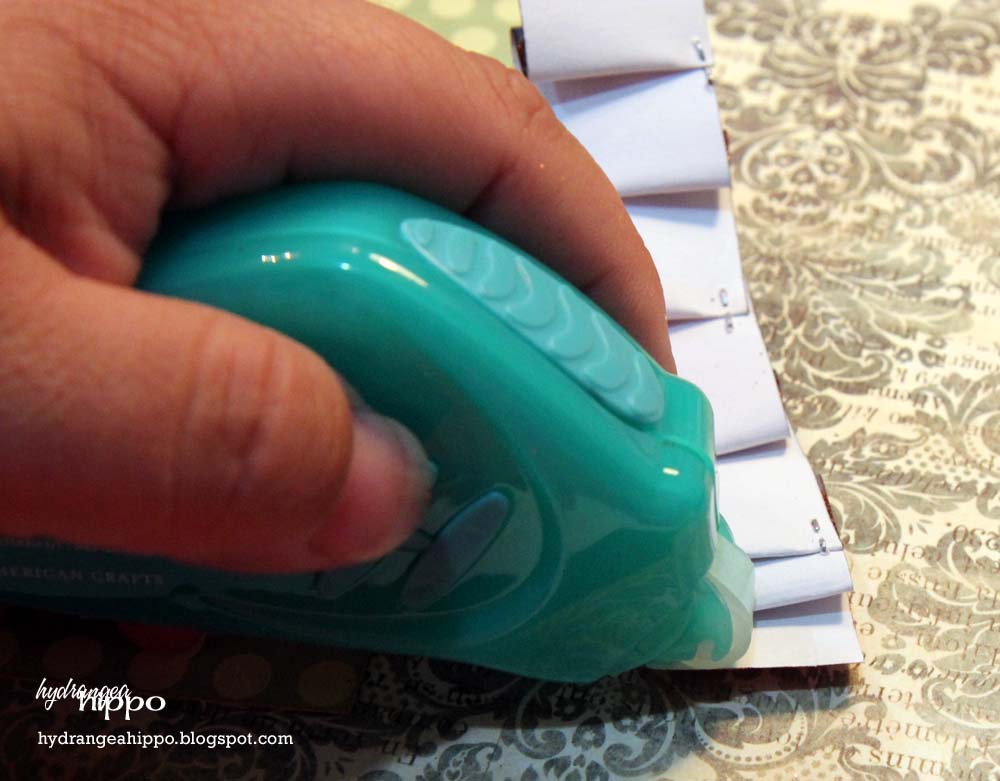

Apply 3D foam dots to the back of the long ruffle. This will help it pop off the page to look more like a ribbon and less like paper.

Apply tape runner adhesive to the straight edge of the ruffle and stick to the edge of the page.
 Start sticking the ruffle to the page, twisting it up and down to make a wave.
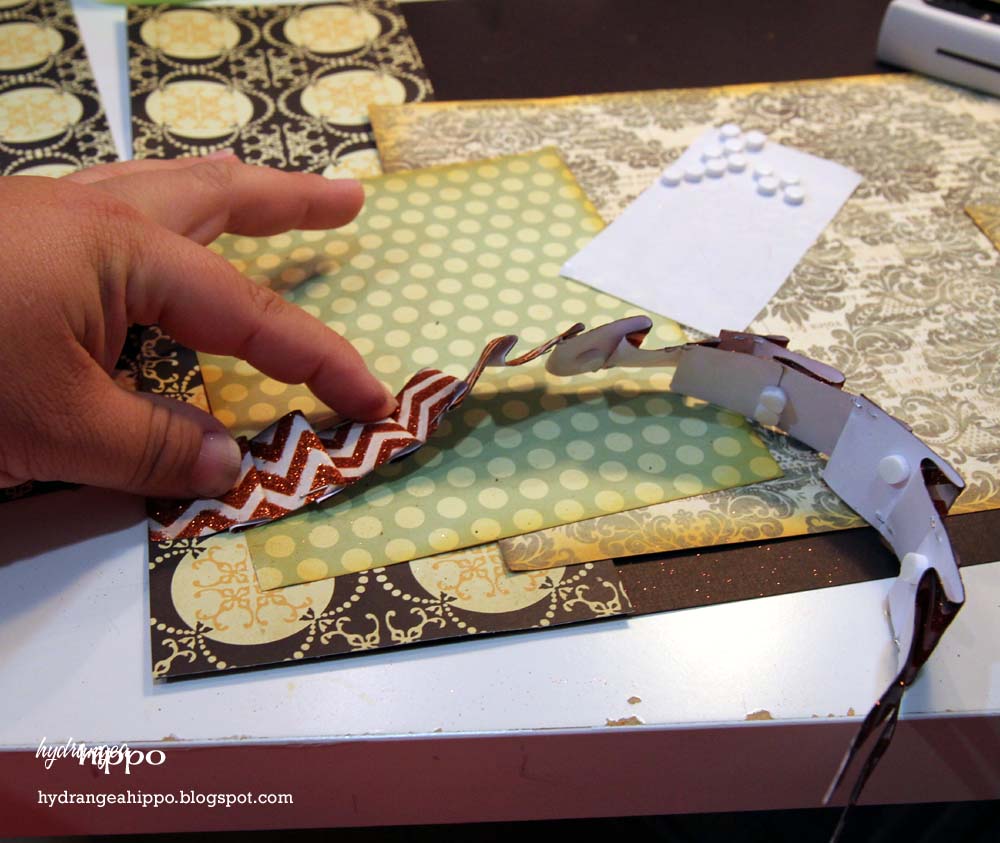
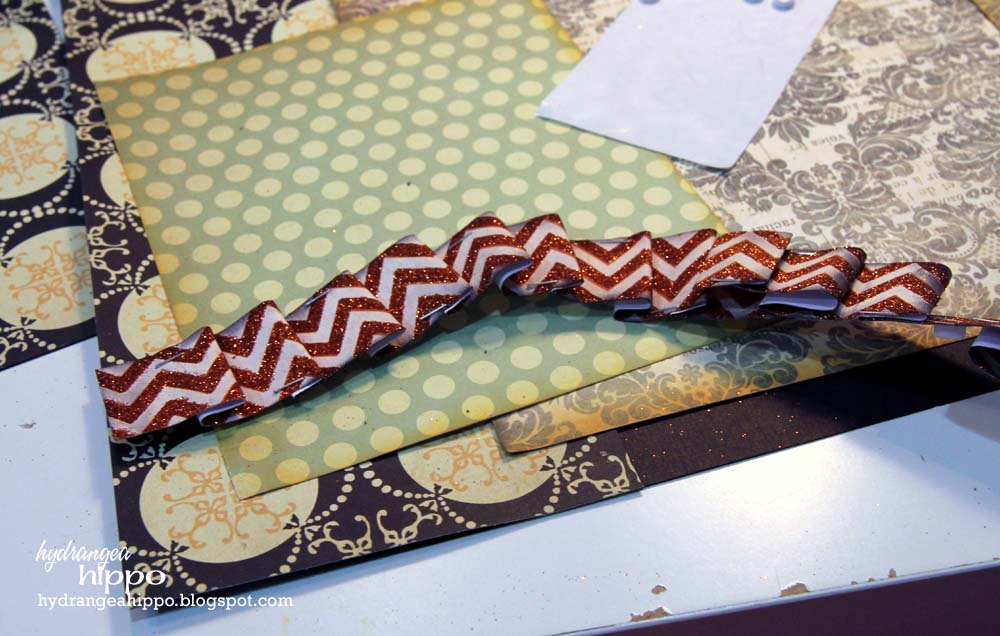
Here is what the finished ruffle looks like:
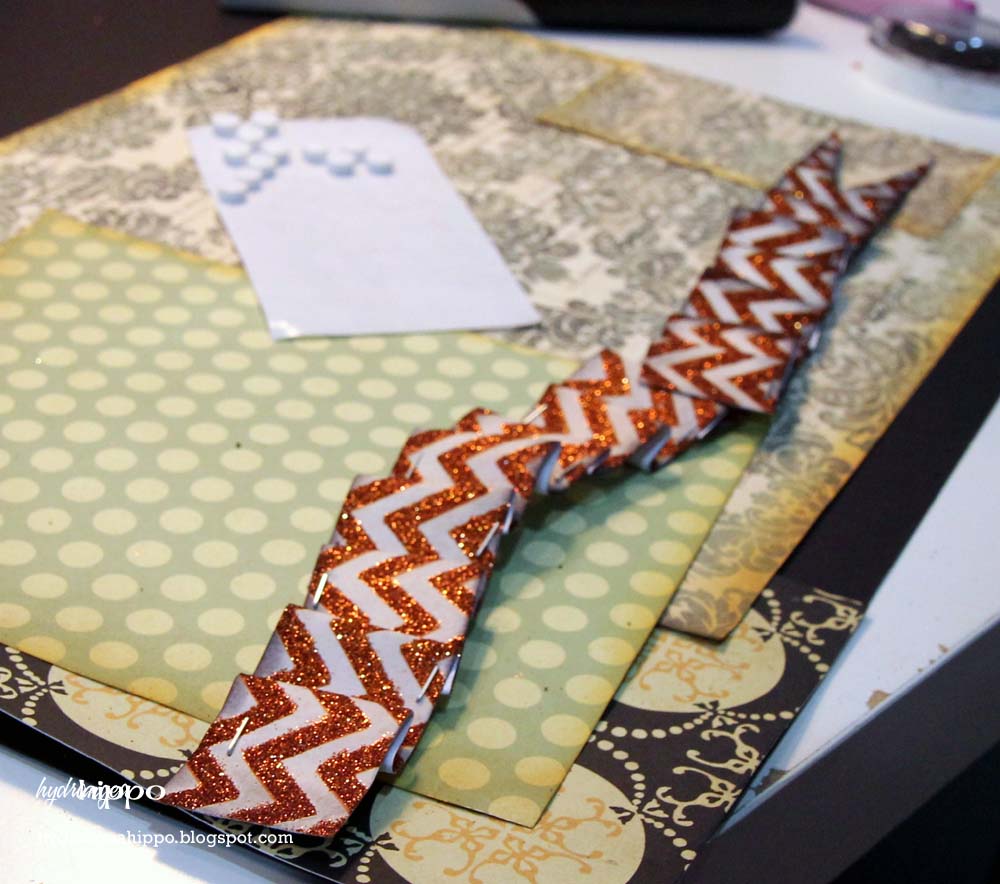
Add lace under it or other accents or just use the ruffle alone. You can also punch the edges of the strips with a border punch or use decorative scissors on them and then make the ruffle. And it was all done with scraps!! I plan to use this technique for some Christmas projects!!
Happy Ruffling!
such a fab tutorial… loved it!
I like the ruffles too, but have yet to use them on a page or card. I really need to try this. Thanks for the step by step on it.
I love you gave a tutorial…thanks for allowing us to look at your beautiful work!
Great tutorial on ruffling. Always wondered how to keep it all together.