
I love that I get to have fun working with Say It With Letters‘ mdf wooden shapes. I can use paper, paint, fabric—whatever I want with them! I have been asked about how I cover and decorate the wood shapes I work with each month so I decided to post a little tutorial on how to best cover a wooden shape with paper. I used the Crafty Scissors shape this time, with lots of curves and some holes so that I can show you how to work with wood shapes with those features.

Supplies:
- Basic Grey File Set (or a file set from a hardware store)
- Sandpaper or Emery File
- Assorted paper and cardstock (American Crafts, 3 Bugs, Bazzill)
- Diecut machine
- Crepe Paper (by Tattered Angels)
- Paint (Darice)
- Foam Paint Brush
- Garland Pieces (Joann's)
- Doily (Marukai)
- Ribbons (May Arts, Michael Levine)
- Pin (Hydrangea Hippo)
- Pencil
- Scissors
- Brayer
- White Glue
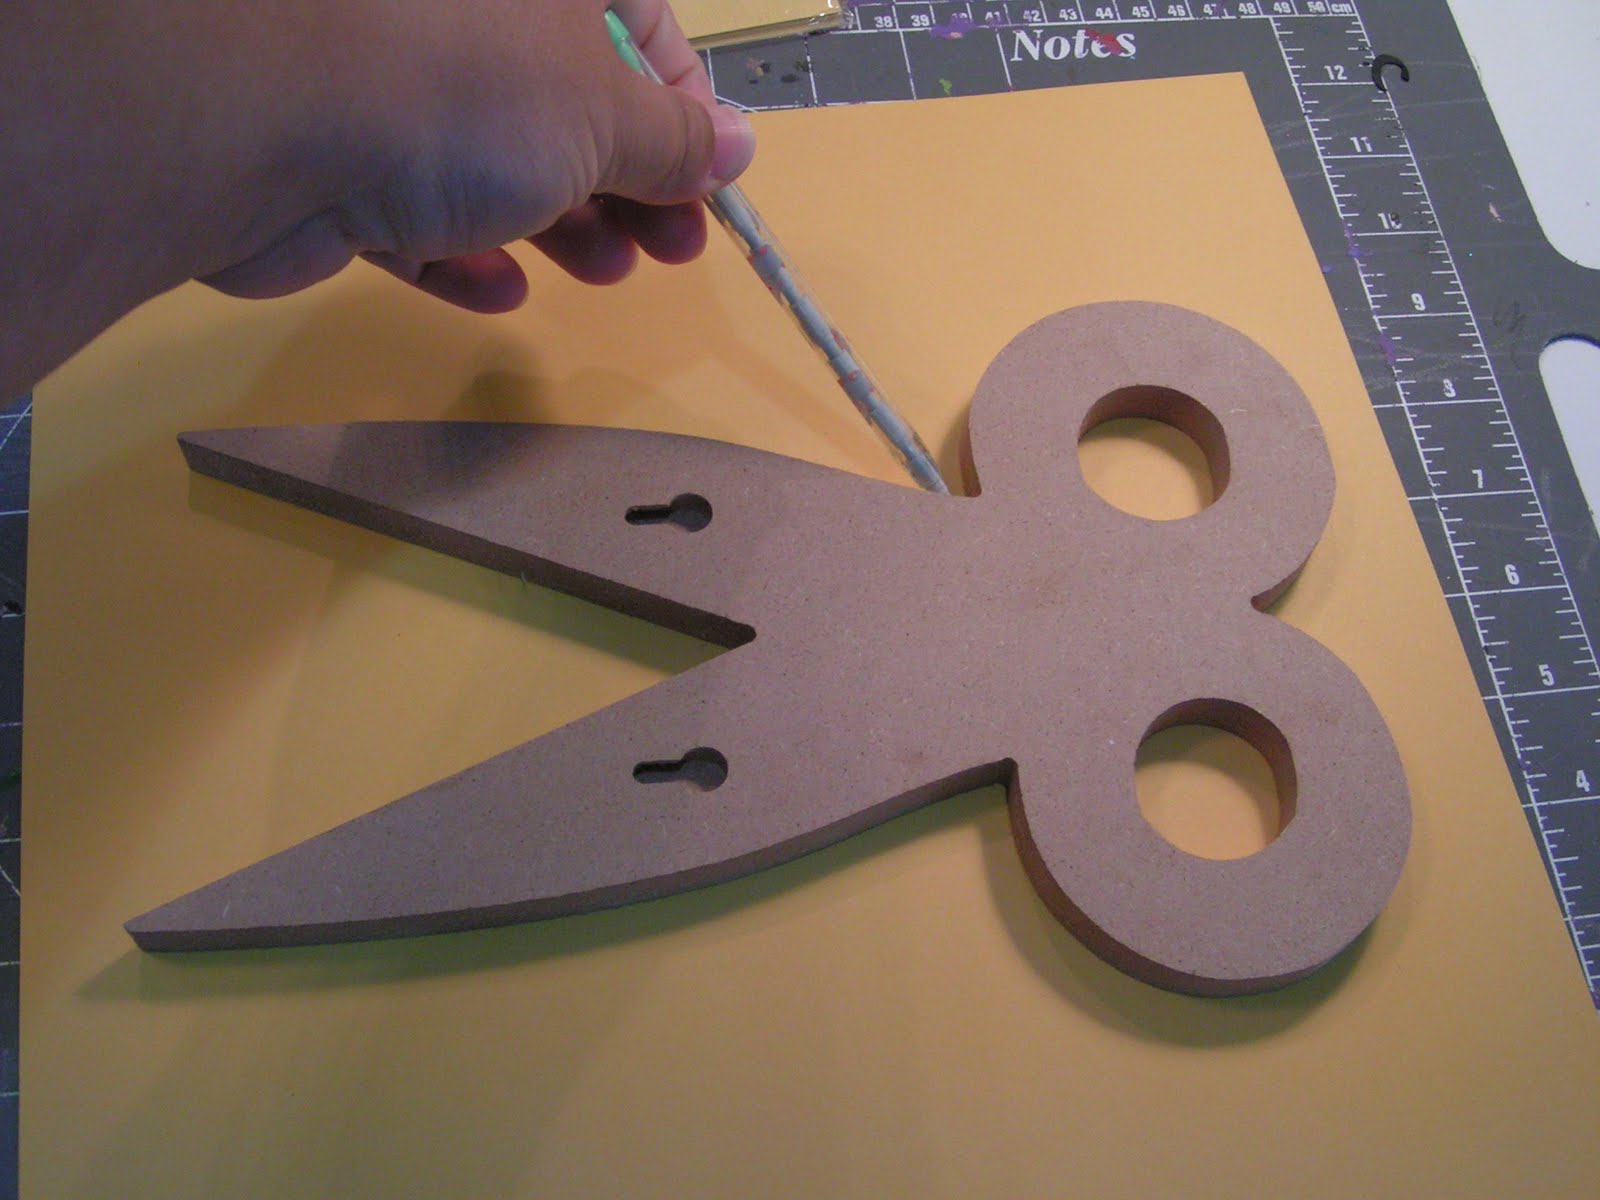
1. Lay the wood shape face down onto the BACK of the paper you want to cover it with. Use a pencil to trace the outline of the shape.

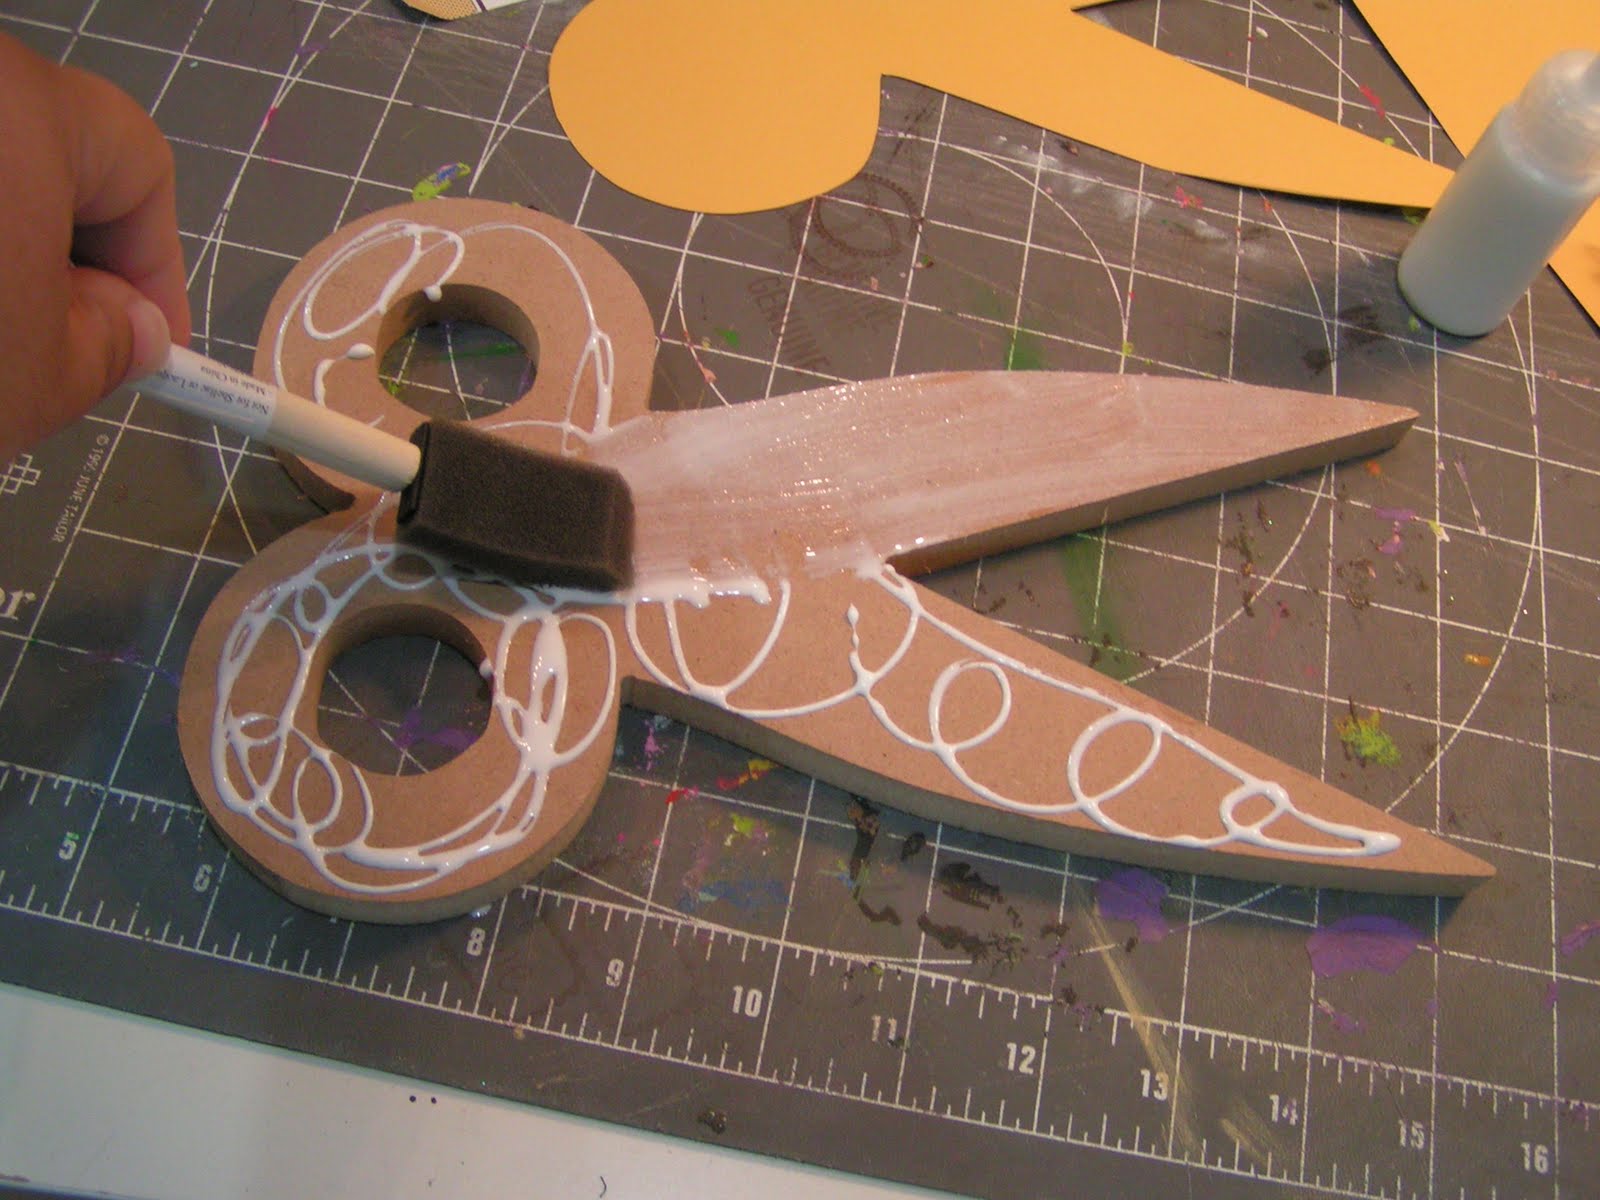
2. Using Scissors, cut out the shape you traced onto the paper. Apply a liquid glue to the entire wooden shape, spreading with a foam brush.

3. Apply the cut out paper to the wood shape. It is okay if it does not meet up to some of the edges perfectly — we'll fix that with paint. You can use a brayer to flatten the paper out, especially if you're using thinner patterned paper.

4. Using an emery board or sanding paper, gently sand away any paper hanging over the edges of the wood shape. Make sure you sand in one direction only, in a downward motion. Sanding back and forth will rip and curl up the edges of the paper.

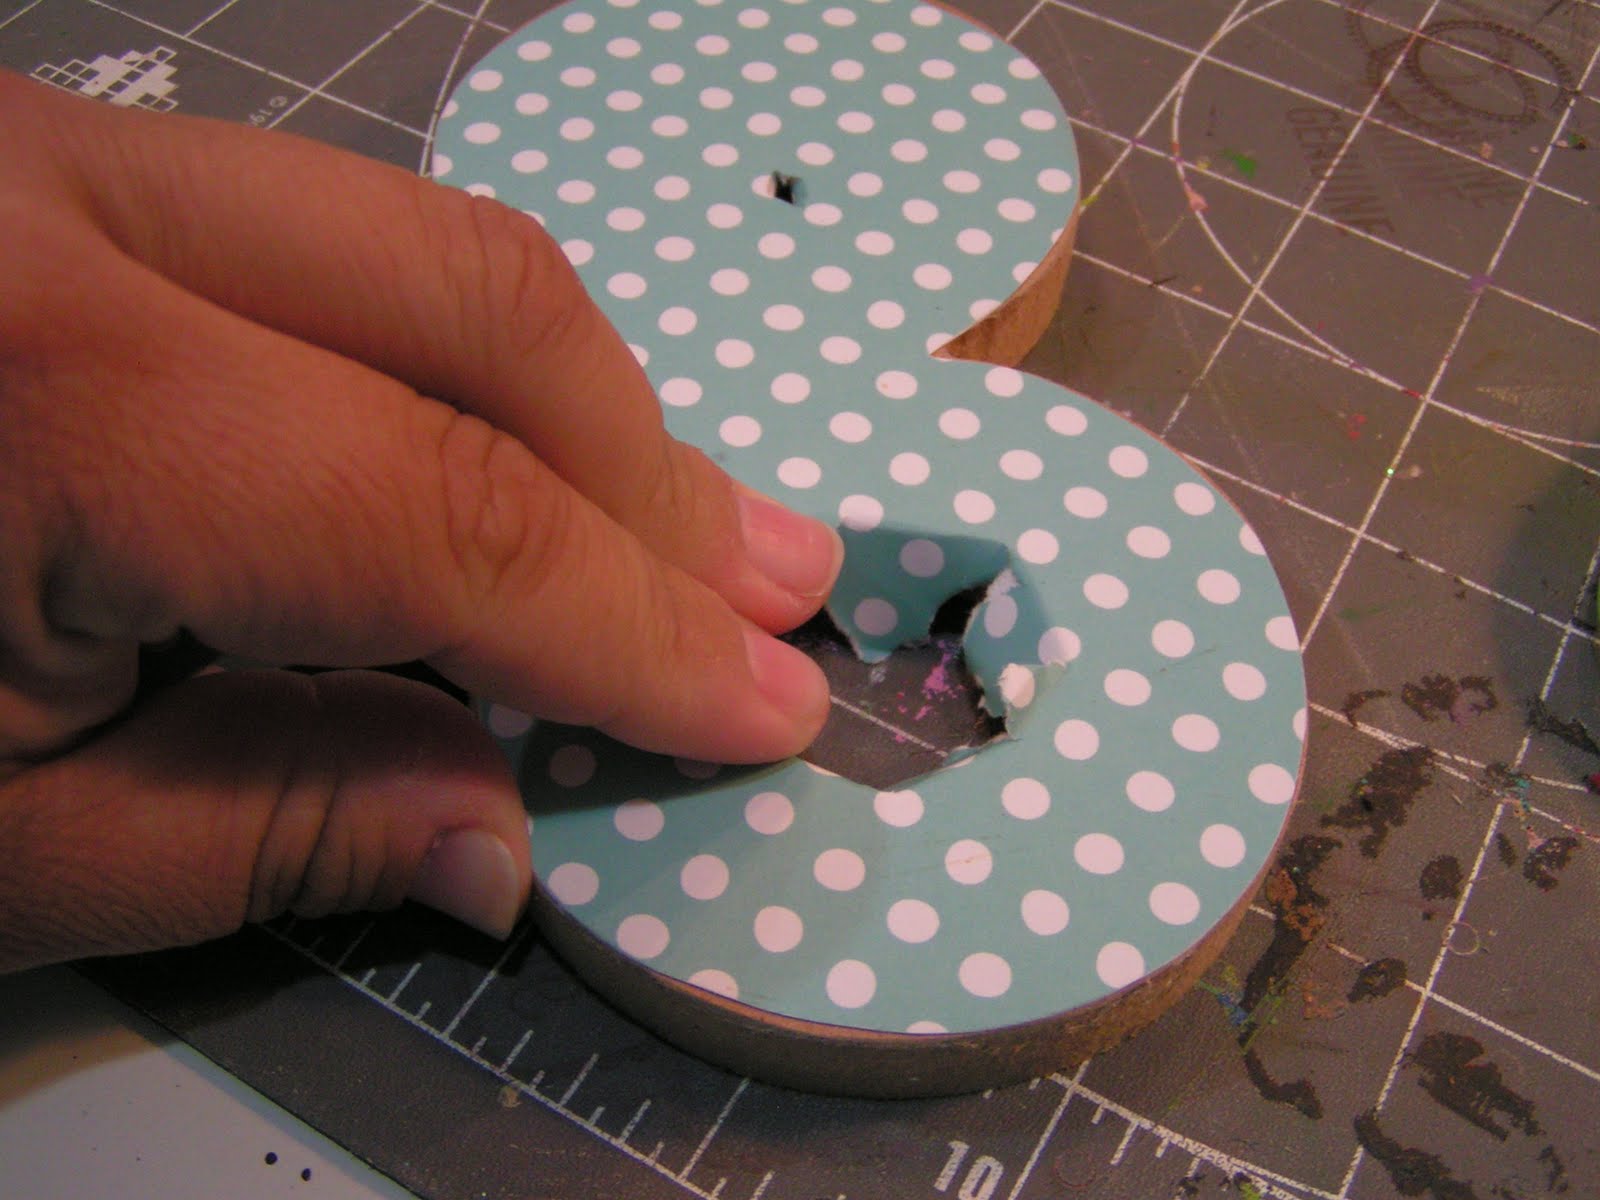
5. Poke through any holes with scissor tips or any other blunt object, With your fingers, push the excess paper through the hole.

6. Use a file with a rounded side to sand the curves of the scissor holes (or holes in your shape). Be sure to always sand in one direction, a downward motion.

7. Using a foam paint brush (not the one with glue on it) paint the edges of the wood shape white. Cover any areas on the front of the shape where the paper did not quite reach the edges. The more paint you use on the front, the more “shabby” your shape will look.

8. After the base is decorated, create diecuts, rosettes, and other items to decorate your shape with.

need to get me some of these shapes so I can cutesy up my scraproom… I guess I need to paint it first though…
It´s so beautiful. Look my blog and see my scrap box. Kisses from Brazil.
It looks great!
this is sooo beautiful!!! sooo cute!!!!