Welcome to Jen Goode's Pink Ribbon DIY Projects to inspire HOPE Blog Hop!
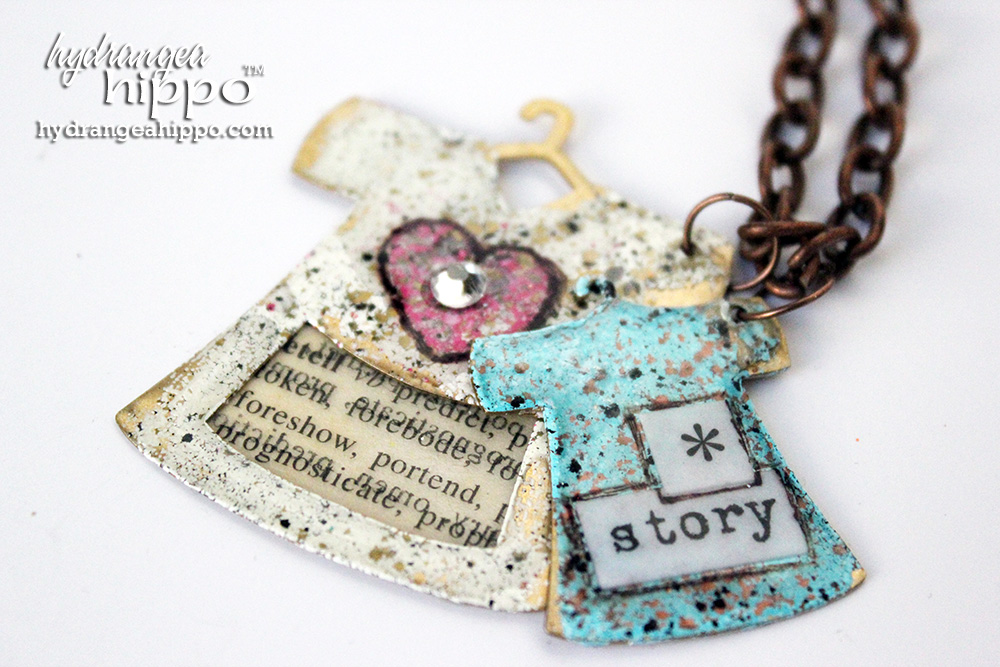
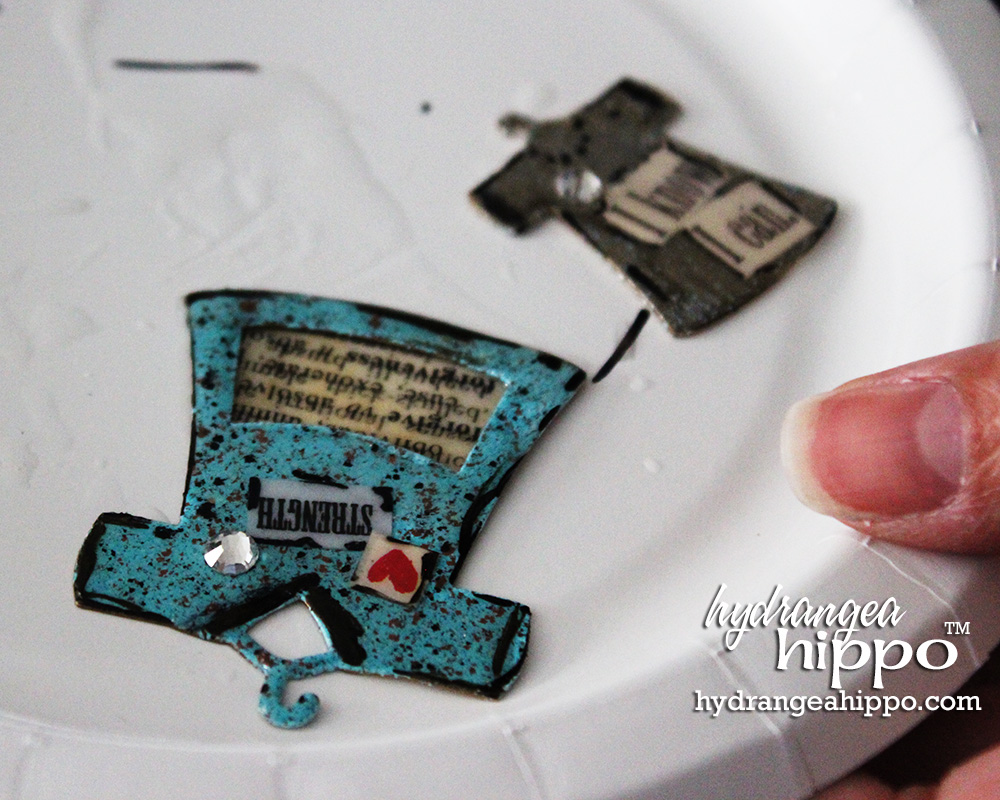
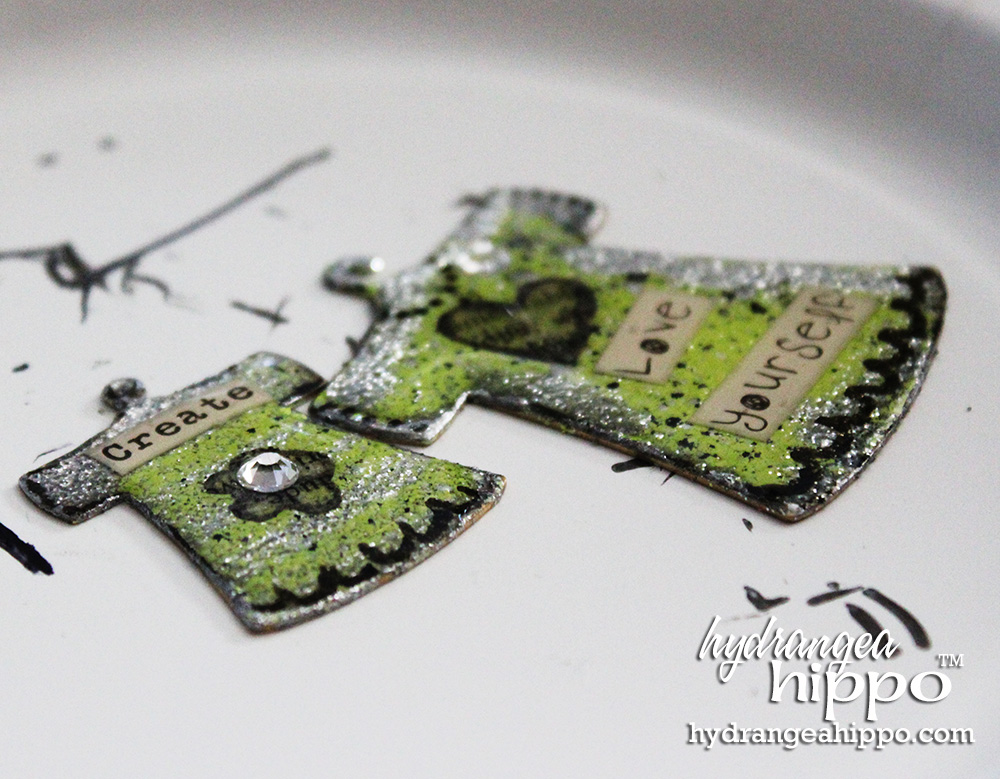
About 2 weeks ago I was invited to teach a make-n-take for my friend Denise Hahn's Annual Crafting or A Cure event to benefit the Vons Foundation for Breast Cancer Research. The theme was sisterhood so I set about designing a simple necklace with two dress-shaped silhouettes to represent the idea of sisters. We created our own versions of these in the class, using Ice Resin's ICED Enamels, stickers, permanent markers, crystals, and paper to create uniquely special statements on the theme of sisterhood – love, support, and care were the common themes in the pieces everyone created. Here are a few of them:
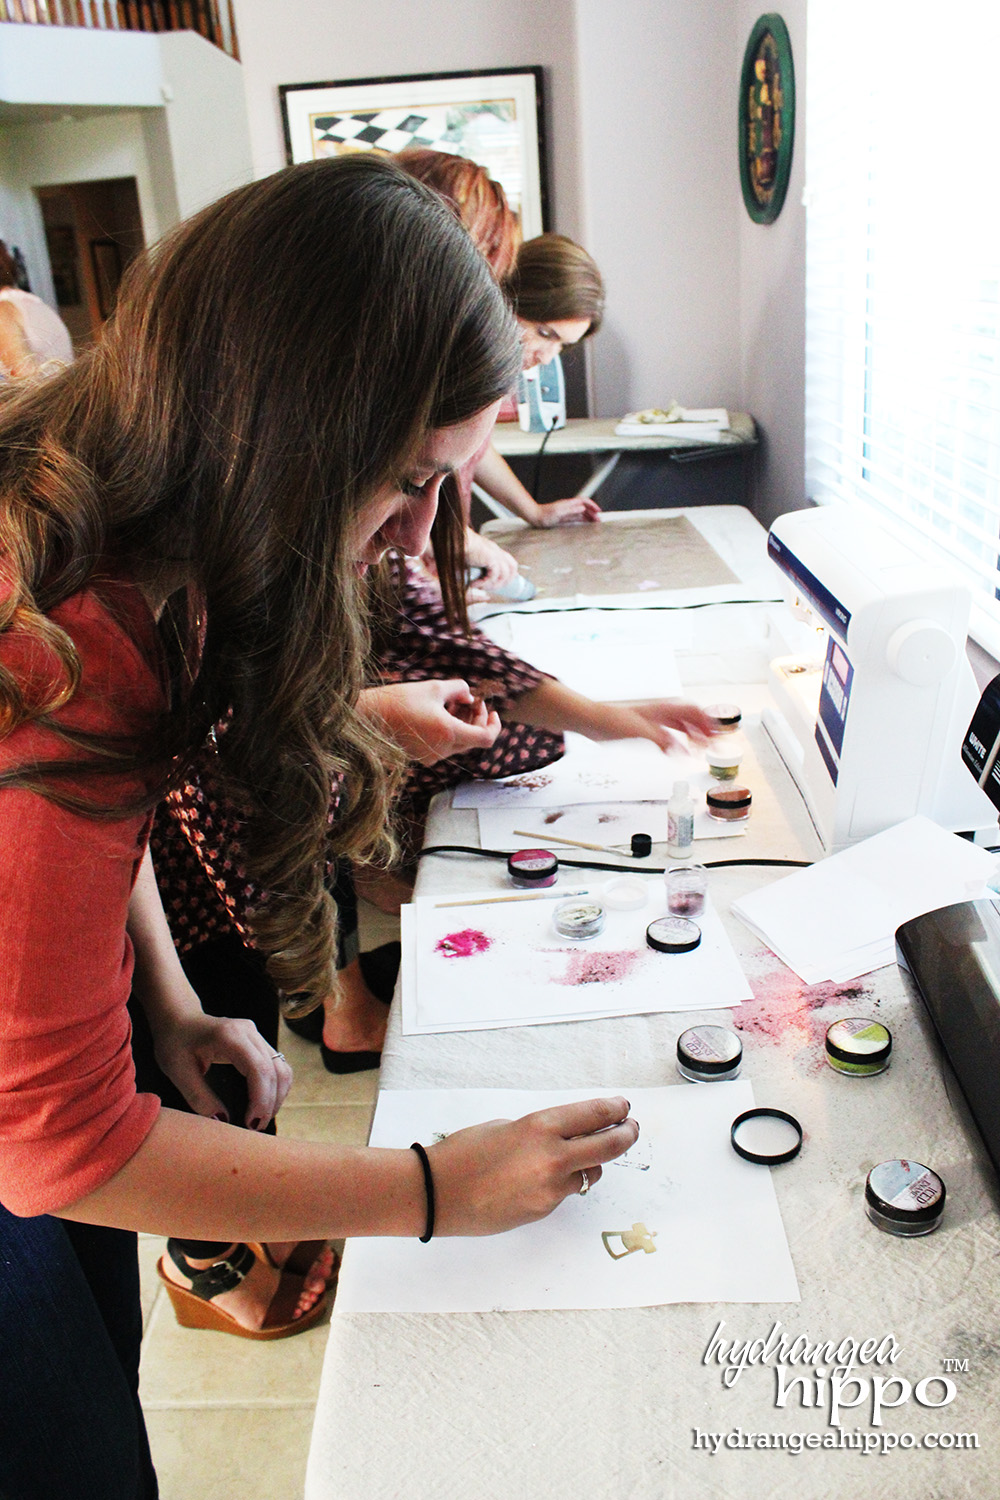
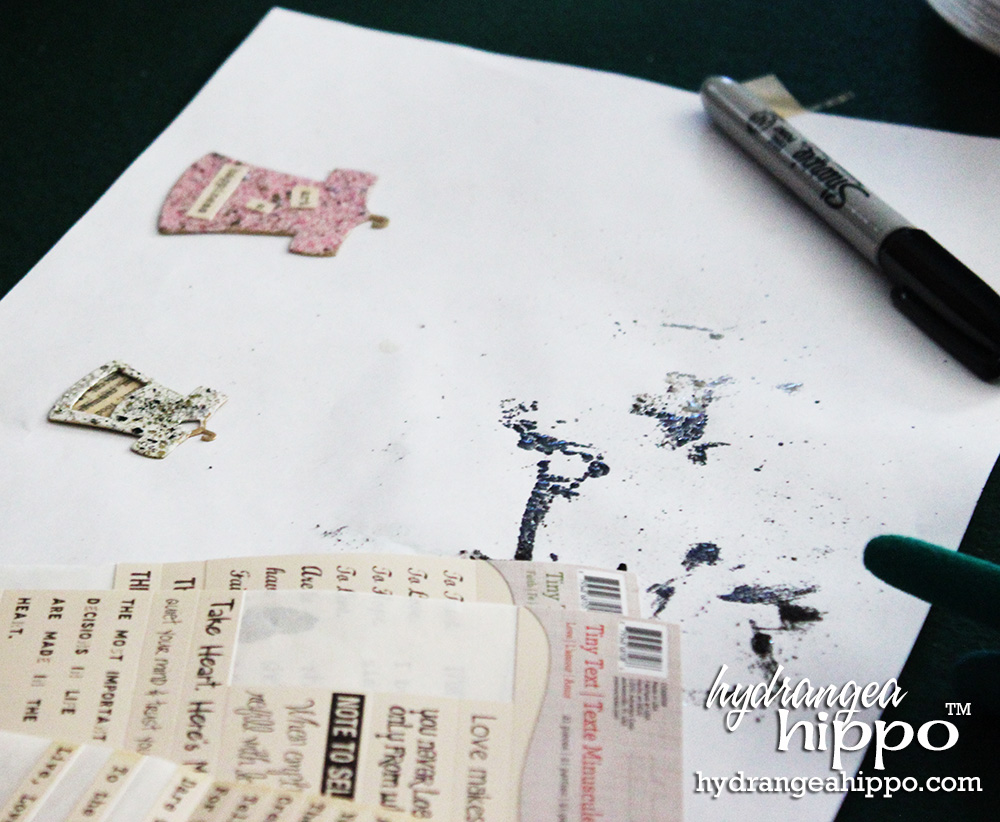
After applying ICED Enamels adhesive, we coated the charms with ICED Enamels powders of our choice. Then we used a heat gun to set the ICED Enamels. After we were done enameling, we used stickers and markers to add details:
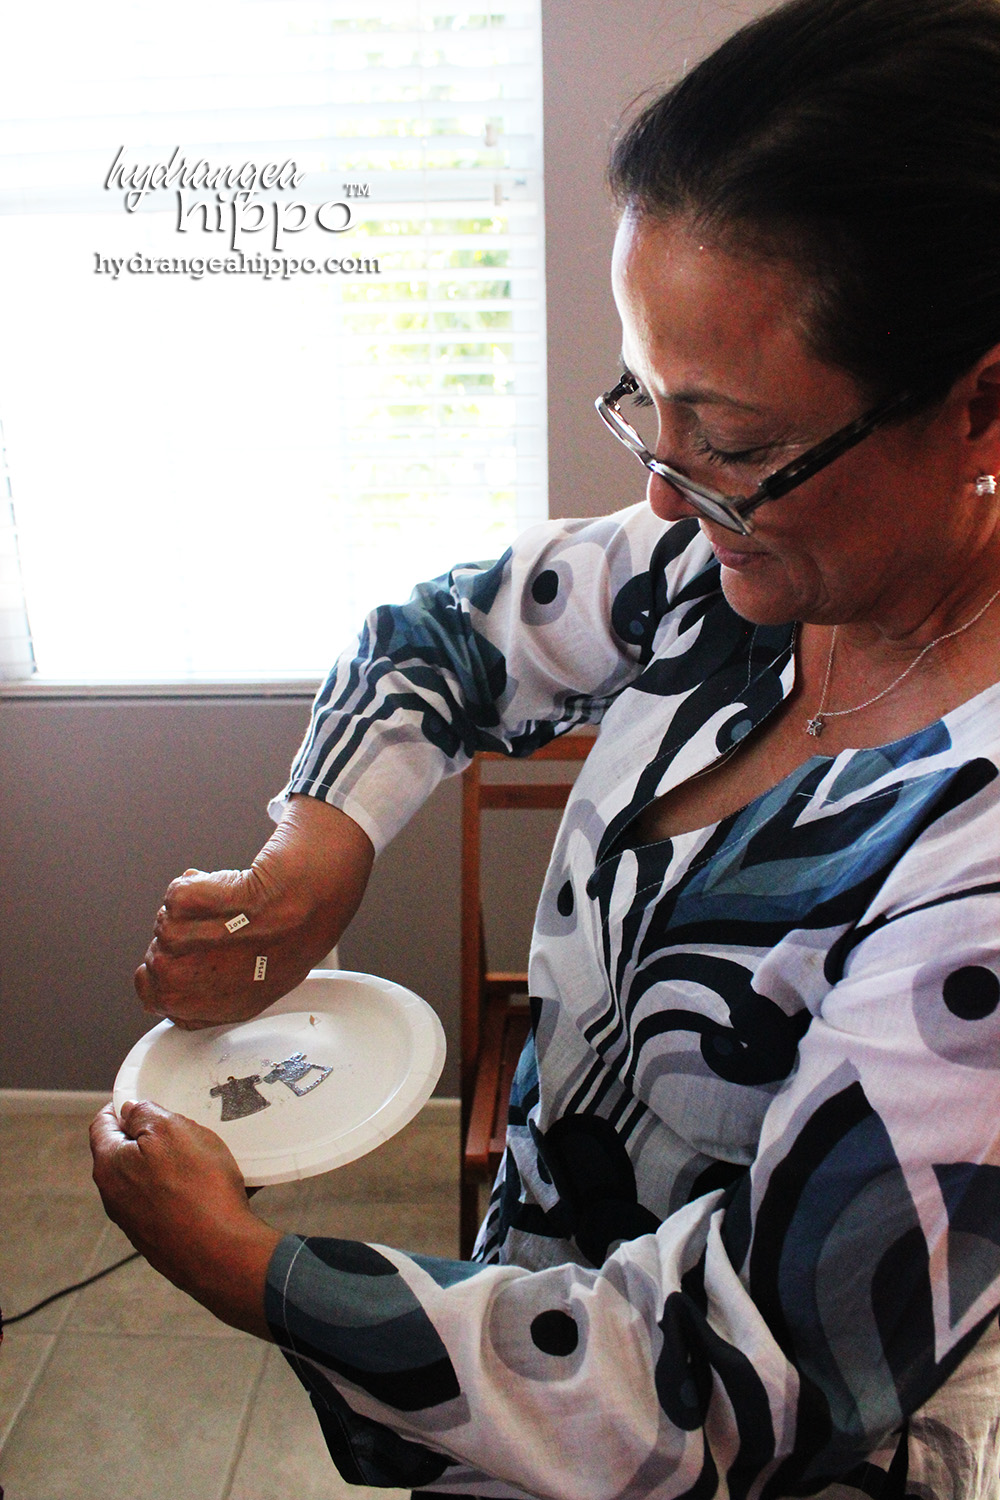
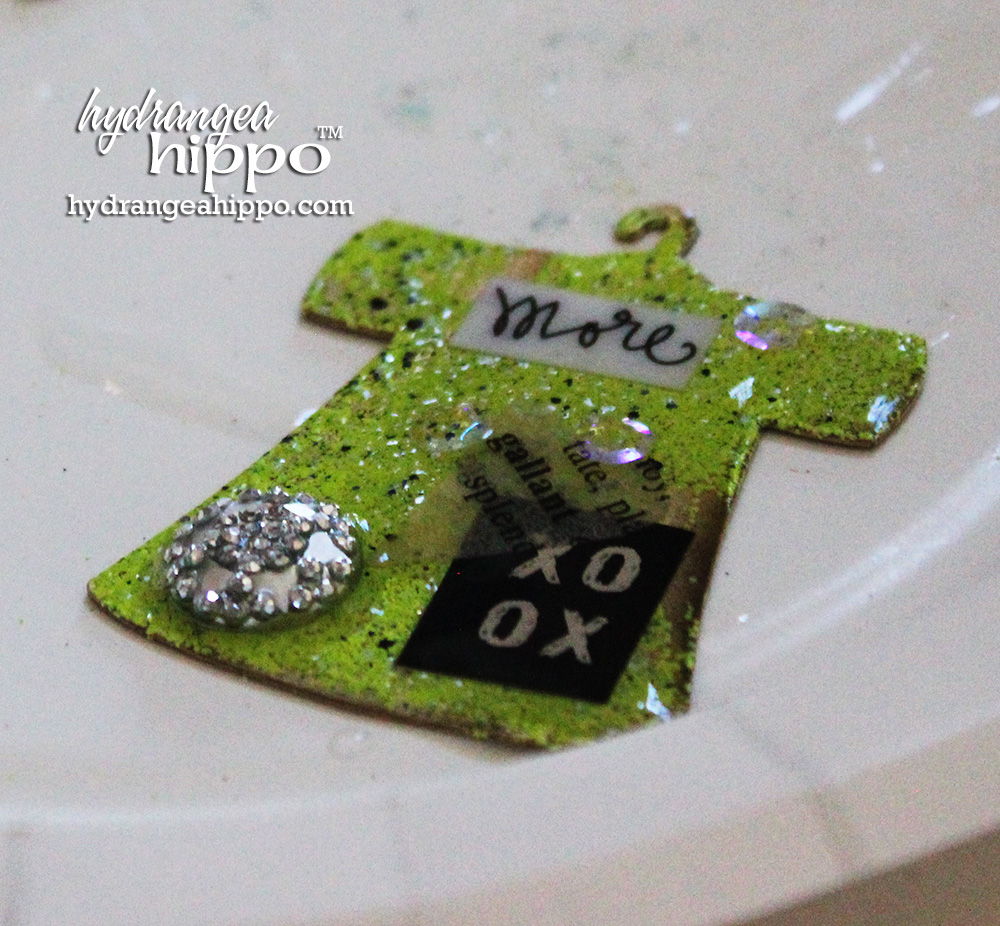
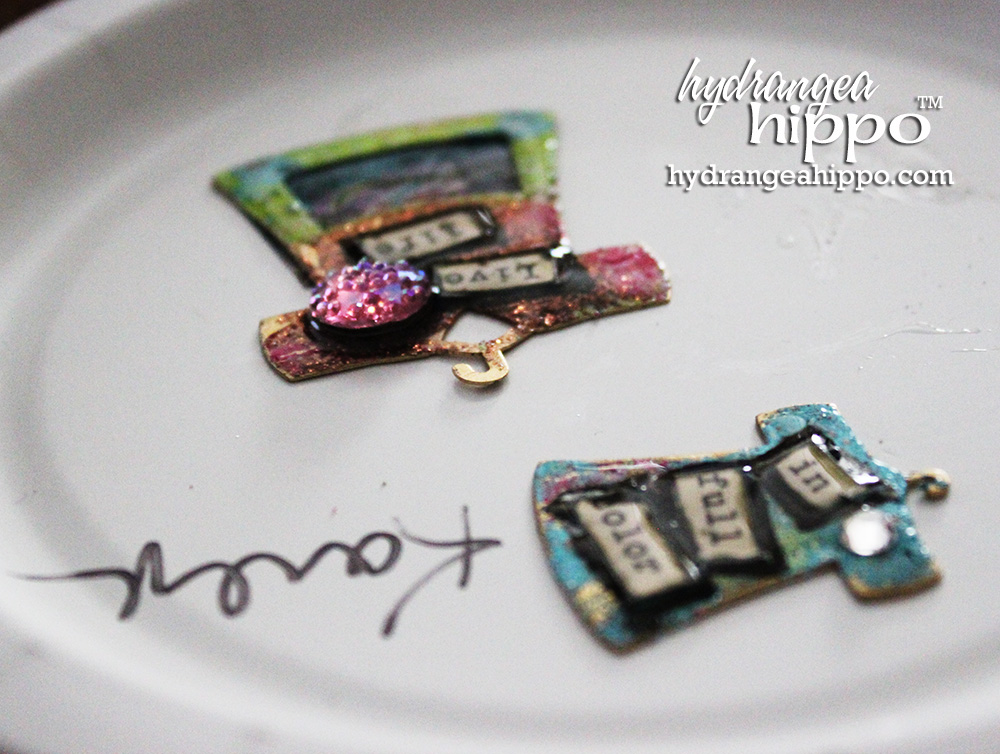
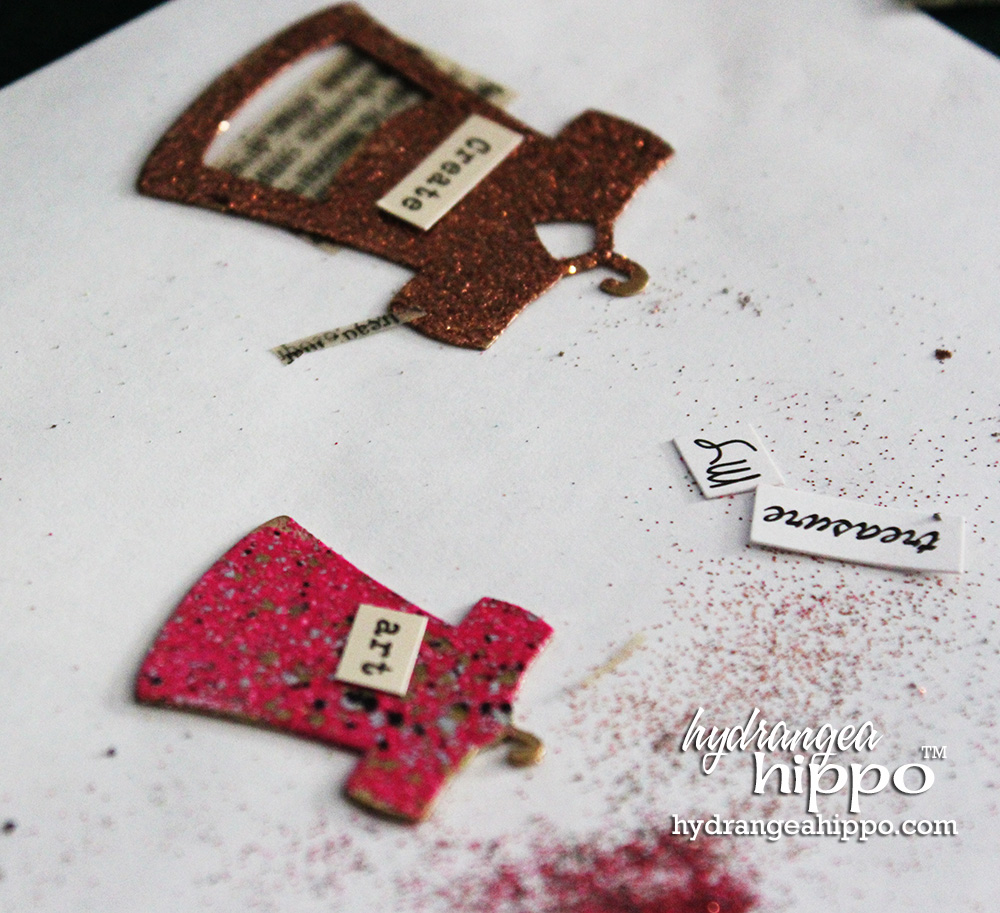
We achieved this pale pink color in the ICED Enamels by mixing about 1 part of the RASPBERRY ICED Enamels with 3 parts IVORY ICED Enamels – thanks to Jen Cushman for that handy dandy little tip!
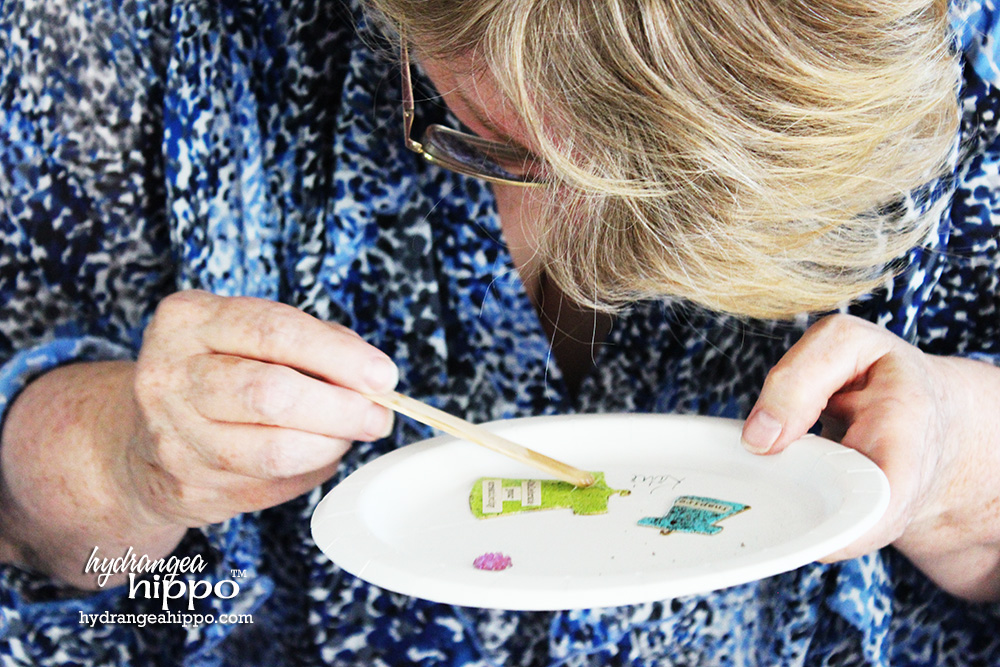
We used the stirring sticks for mixing the ICE Resin to apply small bits of resin to coat the surface of each charm.
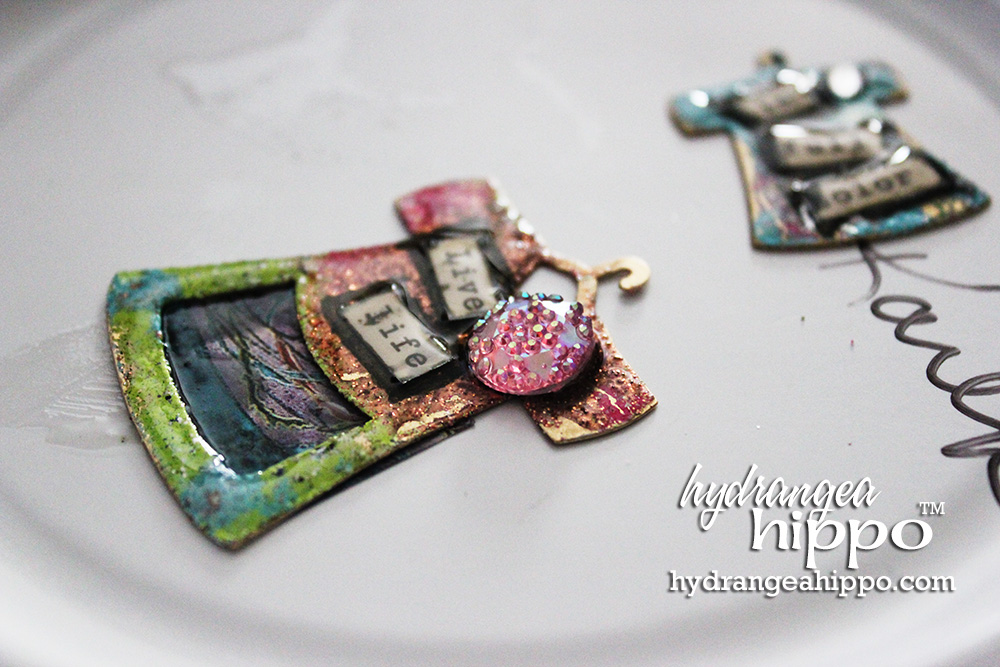
After coating the tops of the charms with ICE Resin to seal, we used the Crystyler by Norma Rapko, a Walnut Hollow product, to apply crystals to the top of the ICE-Resined charms. We did this for two reasons:
- The ICE Resin acts as an adhesive, holding the crystals in place PERMANENTLY.
- Since ICE Resin is jewelers grade and crystal clear, applying it over the top of faceted crystals makes the facets on the crystal smooth out in appearance – so then the crystals looks like a shiny dot and not a crystal. Placing the crystal atop the ICE Resin eliminates this effect.
To apply the crystals, simply hold Crystyler over the piece, about 1/8″ inch from the surface of the ICE Resin, exactly where you want the crystal, press the lever to release a crystal, and the crystal will drop exactly into place.
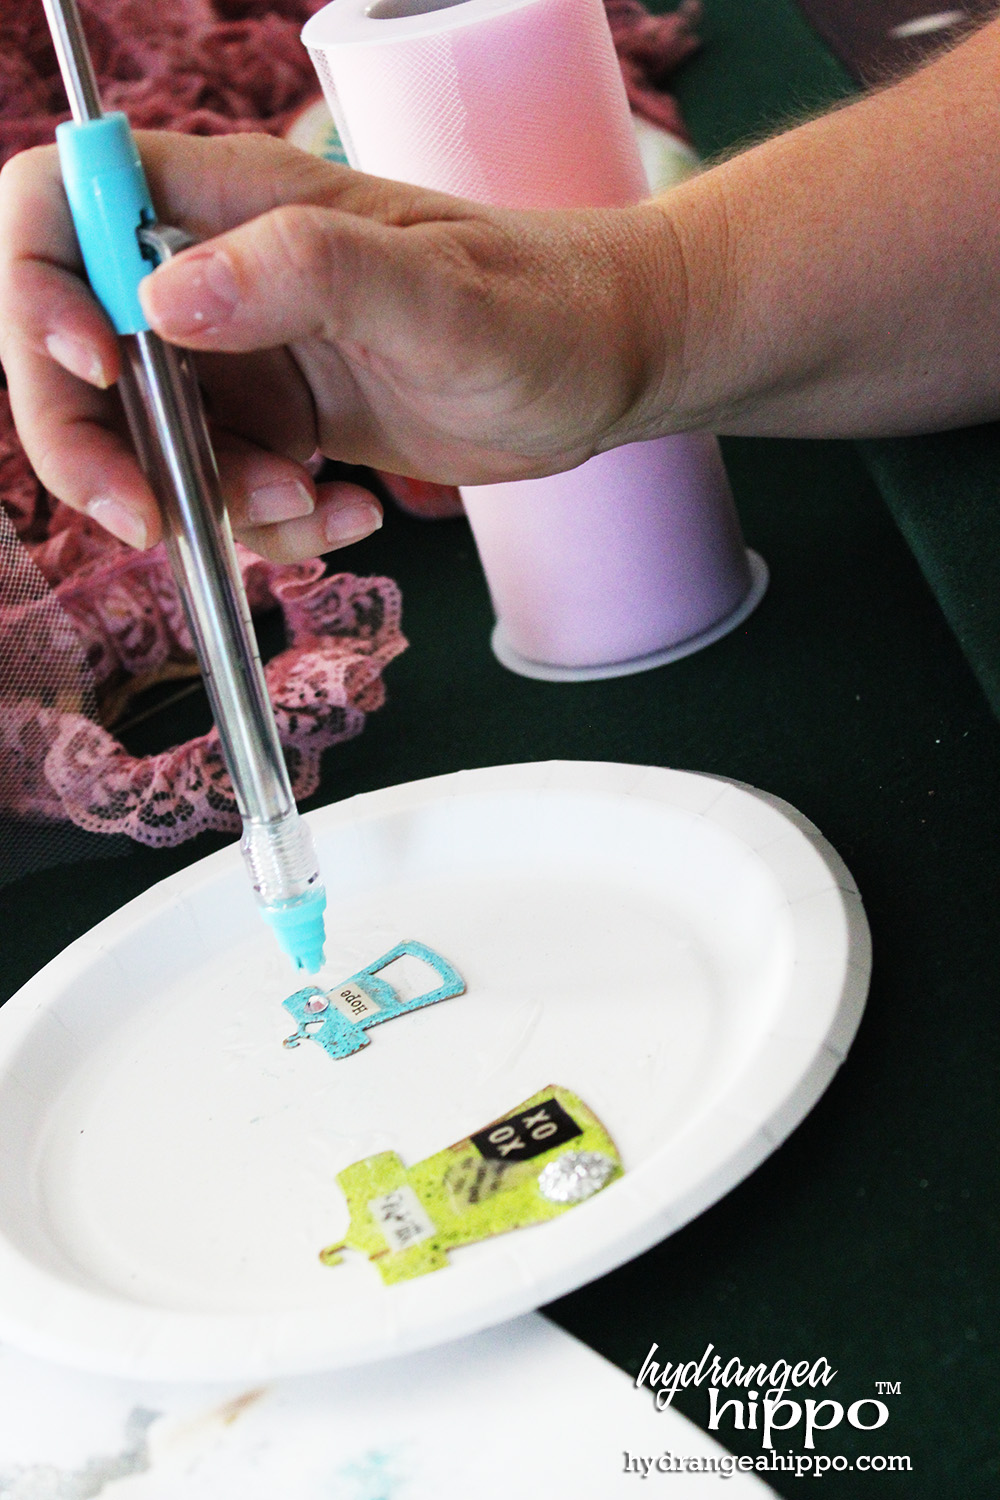
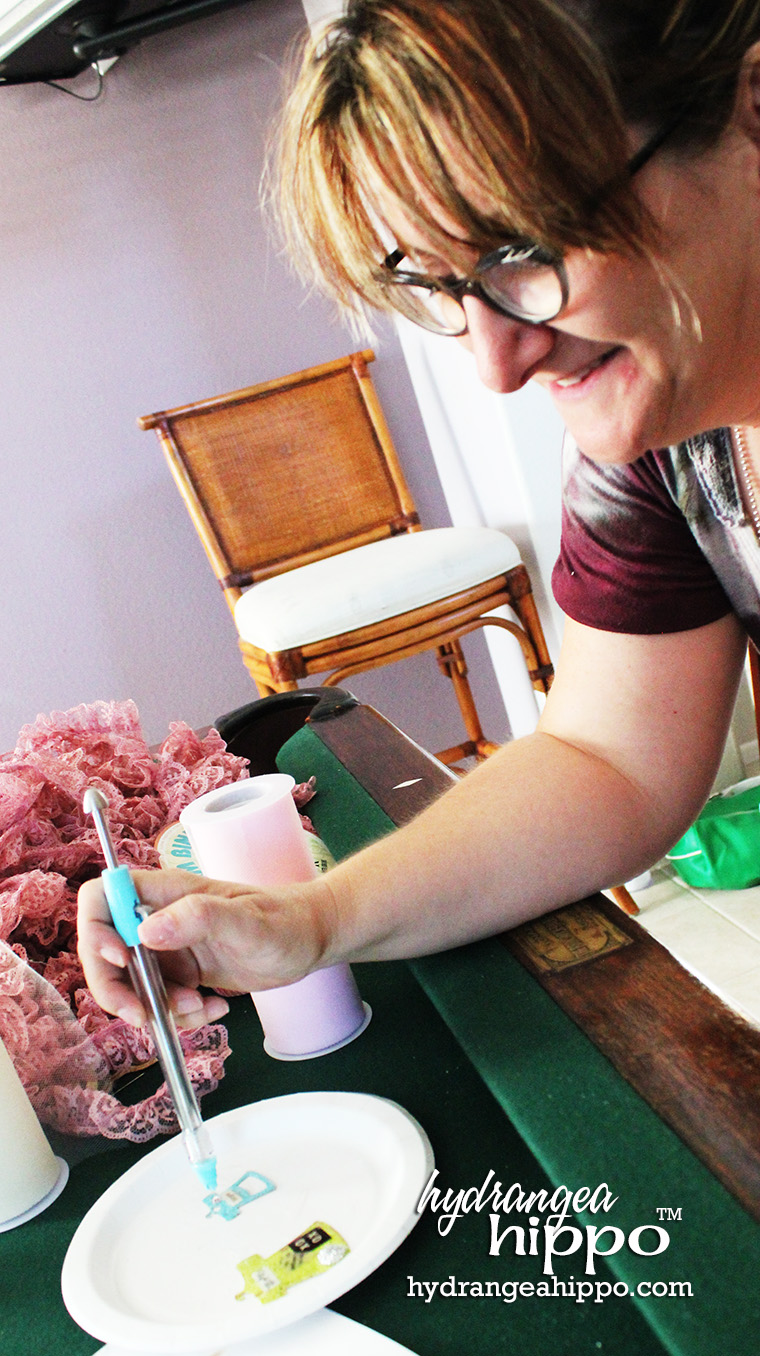
If you get ICE Resin on the tip of the Crystyler, just wipe it clean with a paper towel.
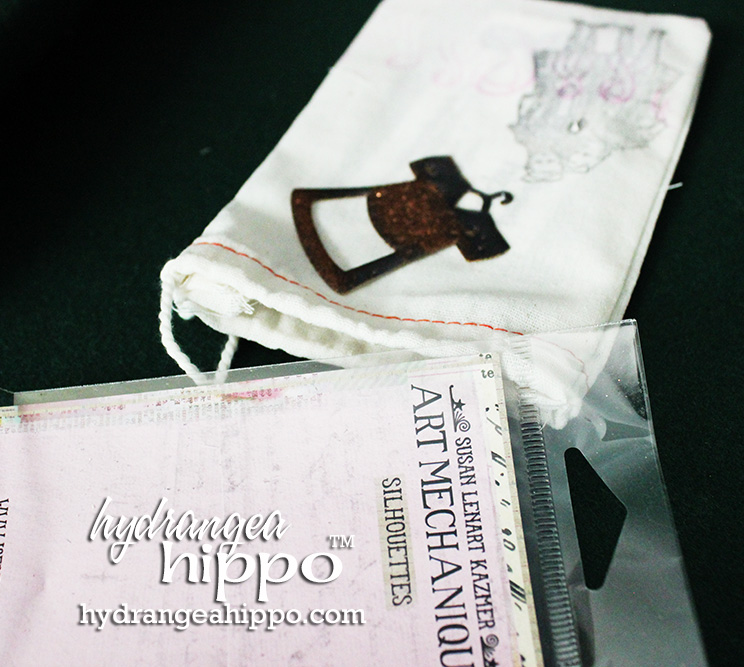
Going into this event, I knew some of the ladies who would be there so I wanted this make n take to be extra special. I was really glad that I put this little extra effort into the packaging because when I got there, I realized I was not only surrouded by passionate supporters of breast cancer awareness but also by survivors and one brave artist who is actually in the midst of breast cancer treatment at this very moment. We heard stories of triumphs…how the cancer was found in each case was revealed… and we learned about how life threatening and life changing breast cancer is. Not that we didn't understand the impact of breast cancer on an intellectual level but hearing it straight from the lips of the women have lived it and are living this TODAY made it so much more REAL.
When someone is going through the catastrophic and horrifying ordeal of breat cancer – from diagnosis to chemo to surgery and beyond – the littlest gesture, the smallest thoughtful move can be so touchign and meaningful. This necklace canbe a gift for somene going through treatment – a reminder that you are here for your friend, your sister, your fellow woman. In that moment I heard the stories, I “got it”. I got the sisterhood theme.
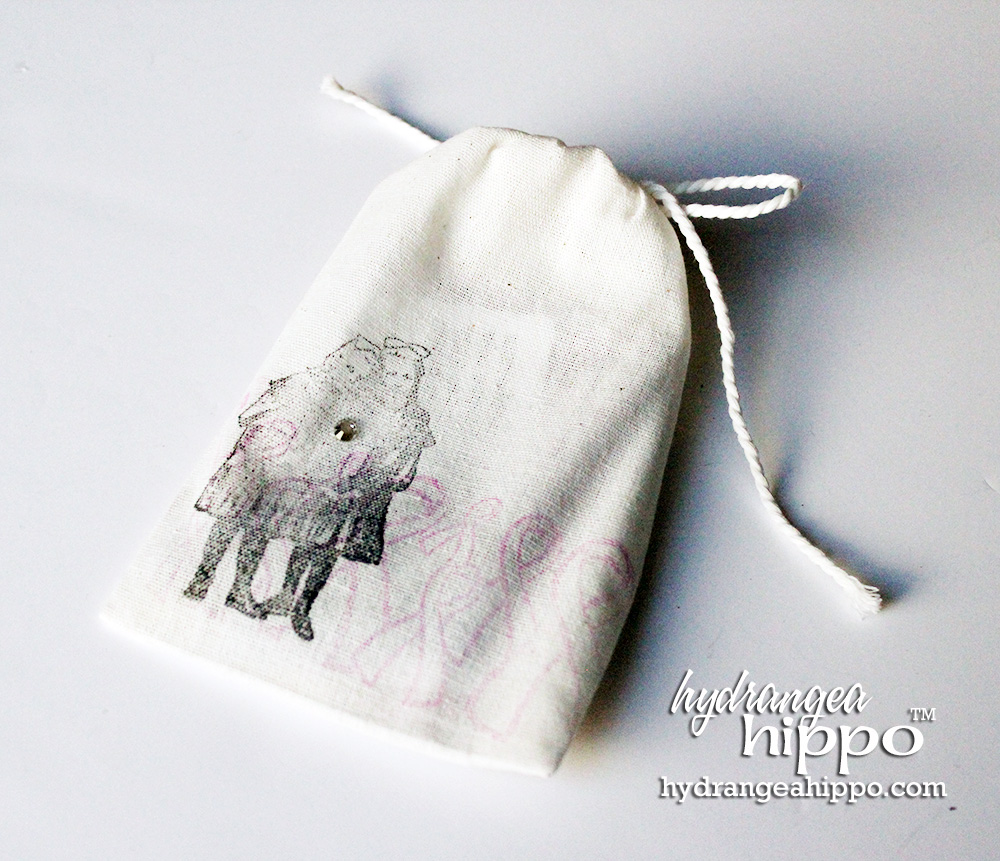
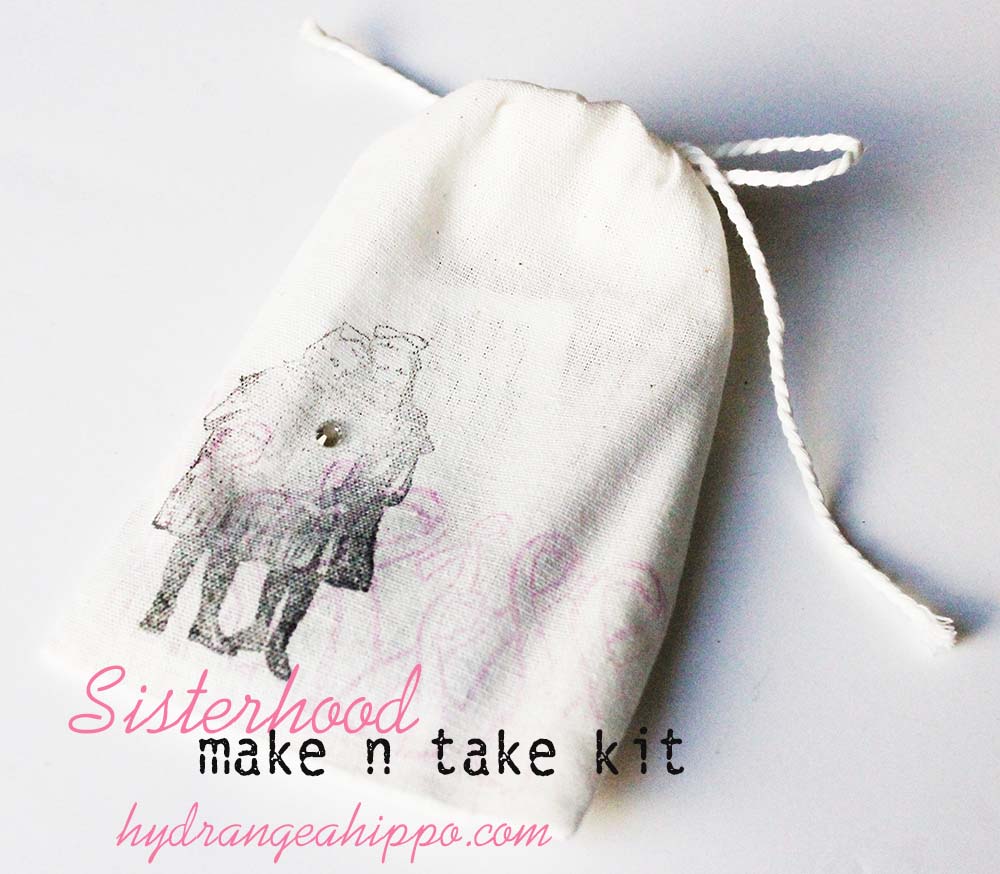
This treat bag doubles as a gift bag for the necklace which we created. I created it using Jen Goode's Hope Ribbon Stamp Wheel by Rollagraph for Clearsnap and a stamp of sisters.
Here's how to create this treat bag:
Supplies:
- Jen Goode's Hope Ribbon Stamp Wheel by Rollagraph for Clearsnap
- ColorBox Crafter's Ink in Sweet Pea
- ColorBox Crafter's Ink in Night
- Flat Back 20ss Crystal
- Crystyler by Norma Rapko for Walnut Hollow
- Girls Stamp
- Cloth Drawstring Bag
Instructions:
- Generously ink up the Jen Goode Hope Ribbon Stamp Wheel by Rollagraph for Clearsnap ColorBox Crafter's Ink in Sweet Pea.
- Roll across the bottom of the cloth bag. Set the ink with a hot, dry iron.
- To the left side of the bag, stamp a girls stamp with ColorBox Crafter's Ink in Night.
- Set the ink with a hot, dry iron.
- Apply a small dot of liquid glue between the images of the girls. Using the Crystyler by Norma Rapko, apply a single crystal to the glue and allow to dry.
Thank you so much for joining in the Pink Ribbon blog hop. I absolutely L.O.V.E. this gift bag and the beautiful little dress art… all awesome!