Good question Ms. Katie! LOL I just got my Stampin' Up! order from the new catty from my demonstrator Maria Getz–woohoo!! It is sooooo awesome! Maria kindly gave me the following items to create something with:
#115696 — Christmas Jingle Simply Scrappin' Kit
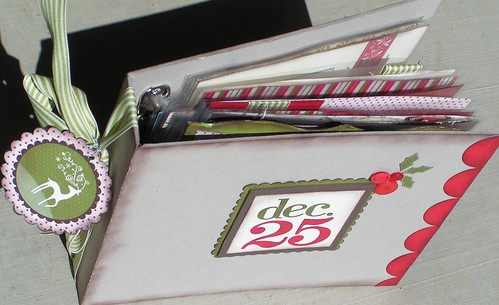
#112456 — 8.5×8.5 On Board Album
#116313 — Buttons from Playground Set in Real Red
#105447 — Clear Buttons
#109857 — Mini Library Clips
3/4″ Polka Dot Grosgrain Ribbon in Real Red
1.25″ Striped Grosgrain Ribbon in Old Olive
PLUS I had to work a little Zutter magic in so I added:
Zutter 6×6 Acrylic Covers
Zutter 3×4 Clipboard Wood Covers
Zutter 4×4 Canvas Art Board Covers
Teresa Collins 8×8 Chipboard Cover
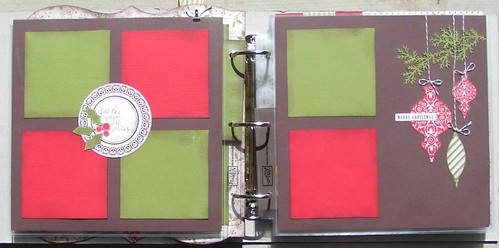
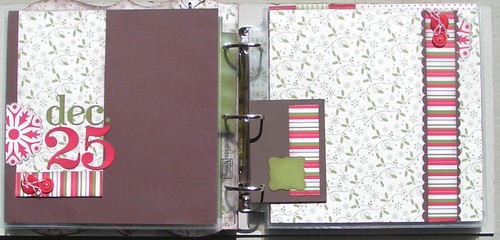
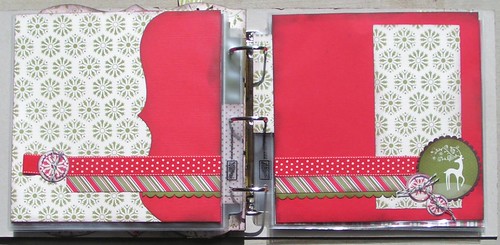
I managed to use almost every single scrap of paper from the kit to make this 30 page album! I plan to keep my family's Christmas traditions in it. And it just goes to show that just because something says “Zutter” on it, you don't HAVE to use the Bind It All. I used the Crop a Dile to punch holes in the Zutter products so they would fit in the Stampin' Up! On Board Book. Here are some of the 20+ pages:

If you want the scoop on the techniques I used as well as photos of every page, please visit Maria's blog at next week for the full reveal and step by step directions.
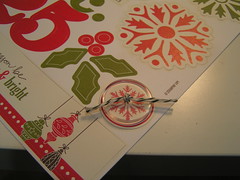
One technique I do want to share right now is the one I used to make the buttons on the layout above. The buttons are clear and the circle behind them is a sticker that comes in this Simply Scrappin' Kit.
First, lay the button on top of the sticker you want to back it with, Use a paper piercer or needle to mark the holes onto the sticker. I like using baker's twine because it is festive with a little vintage flair. Stitch from the front of the button.

Once you've stitched back up from the back through the button you will have two ends of thread. make sure there is enough to tie a knot so that you have about 1″ of string dangling from each end of the knot. You could tie a bow if you prefer, you just need longer string.

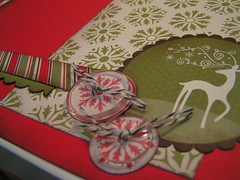
Once the knot is tied you can leave the sticker on the sheet until you are ready to use it. It is okay that the stitch goes through the backing of the sticker sheet because the stitch will break through that thin sticker backing once you pull the sticker from the sheet.
I inked the edges of the cardstock sticker to make it stand out more then used it as an embellie on the page:
That's all for now!! “Christmas in July” is only a few days away and serves as a reminder to get those cards DONE. I have a few leftover stickers from this kit that I plan to use on cards to get me started.
your blog is so inspiring
{xoxo}