Join the Clearsnap team all weekend long as we hop and scrap and hop some more! Our designers are bringing you a bundle of fun, inky techniques for your scrapbook pages. Just hop through and leave a comment on each post.

Each designer is giving away their own prize pack so be sure to visit every blog on the hop! Entries close on Monday May 6, 2013 at 12:00am.
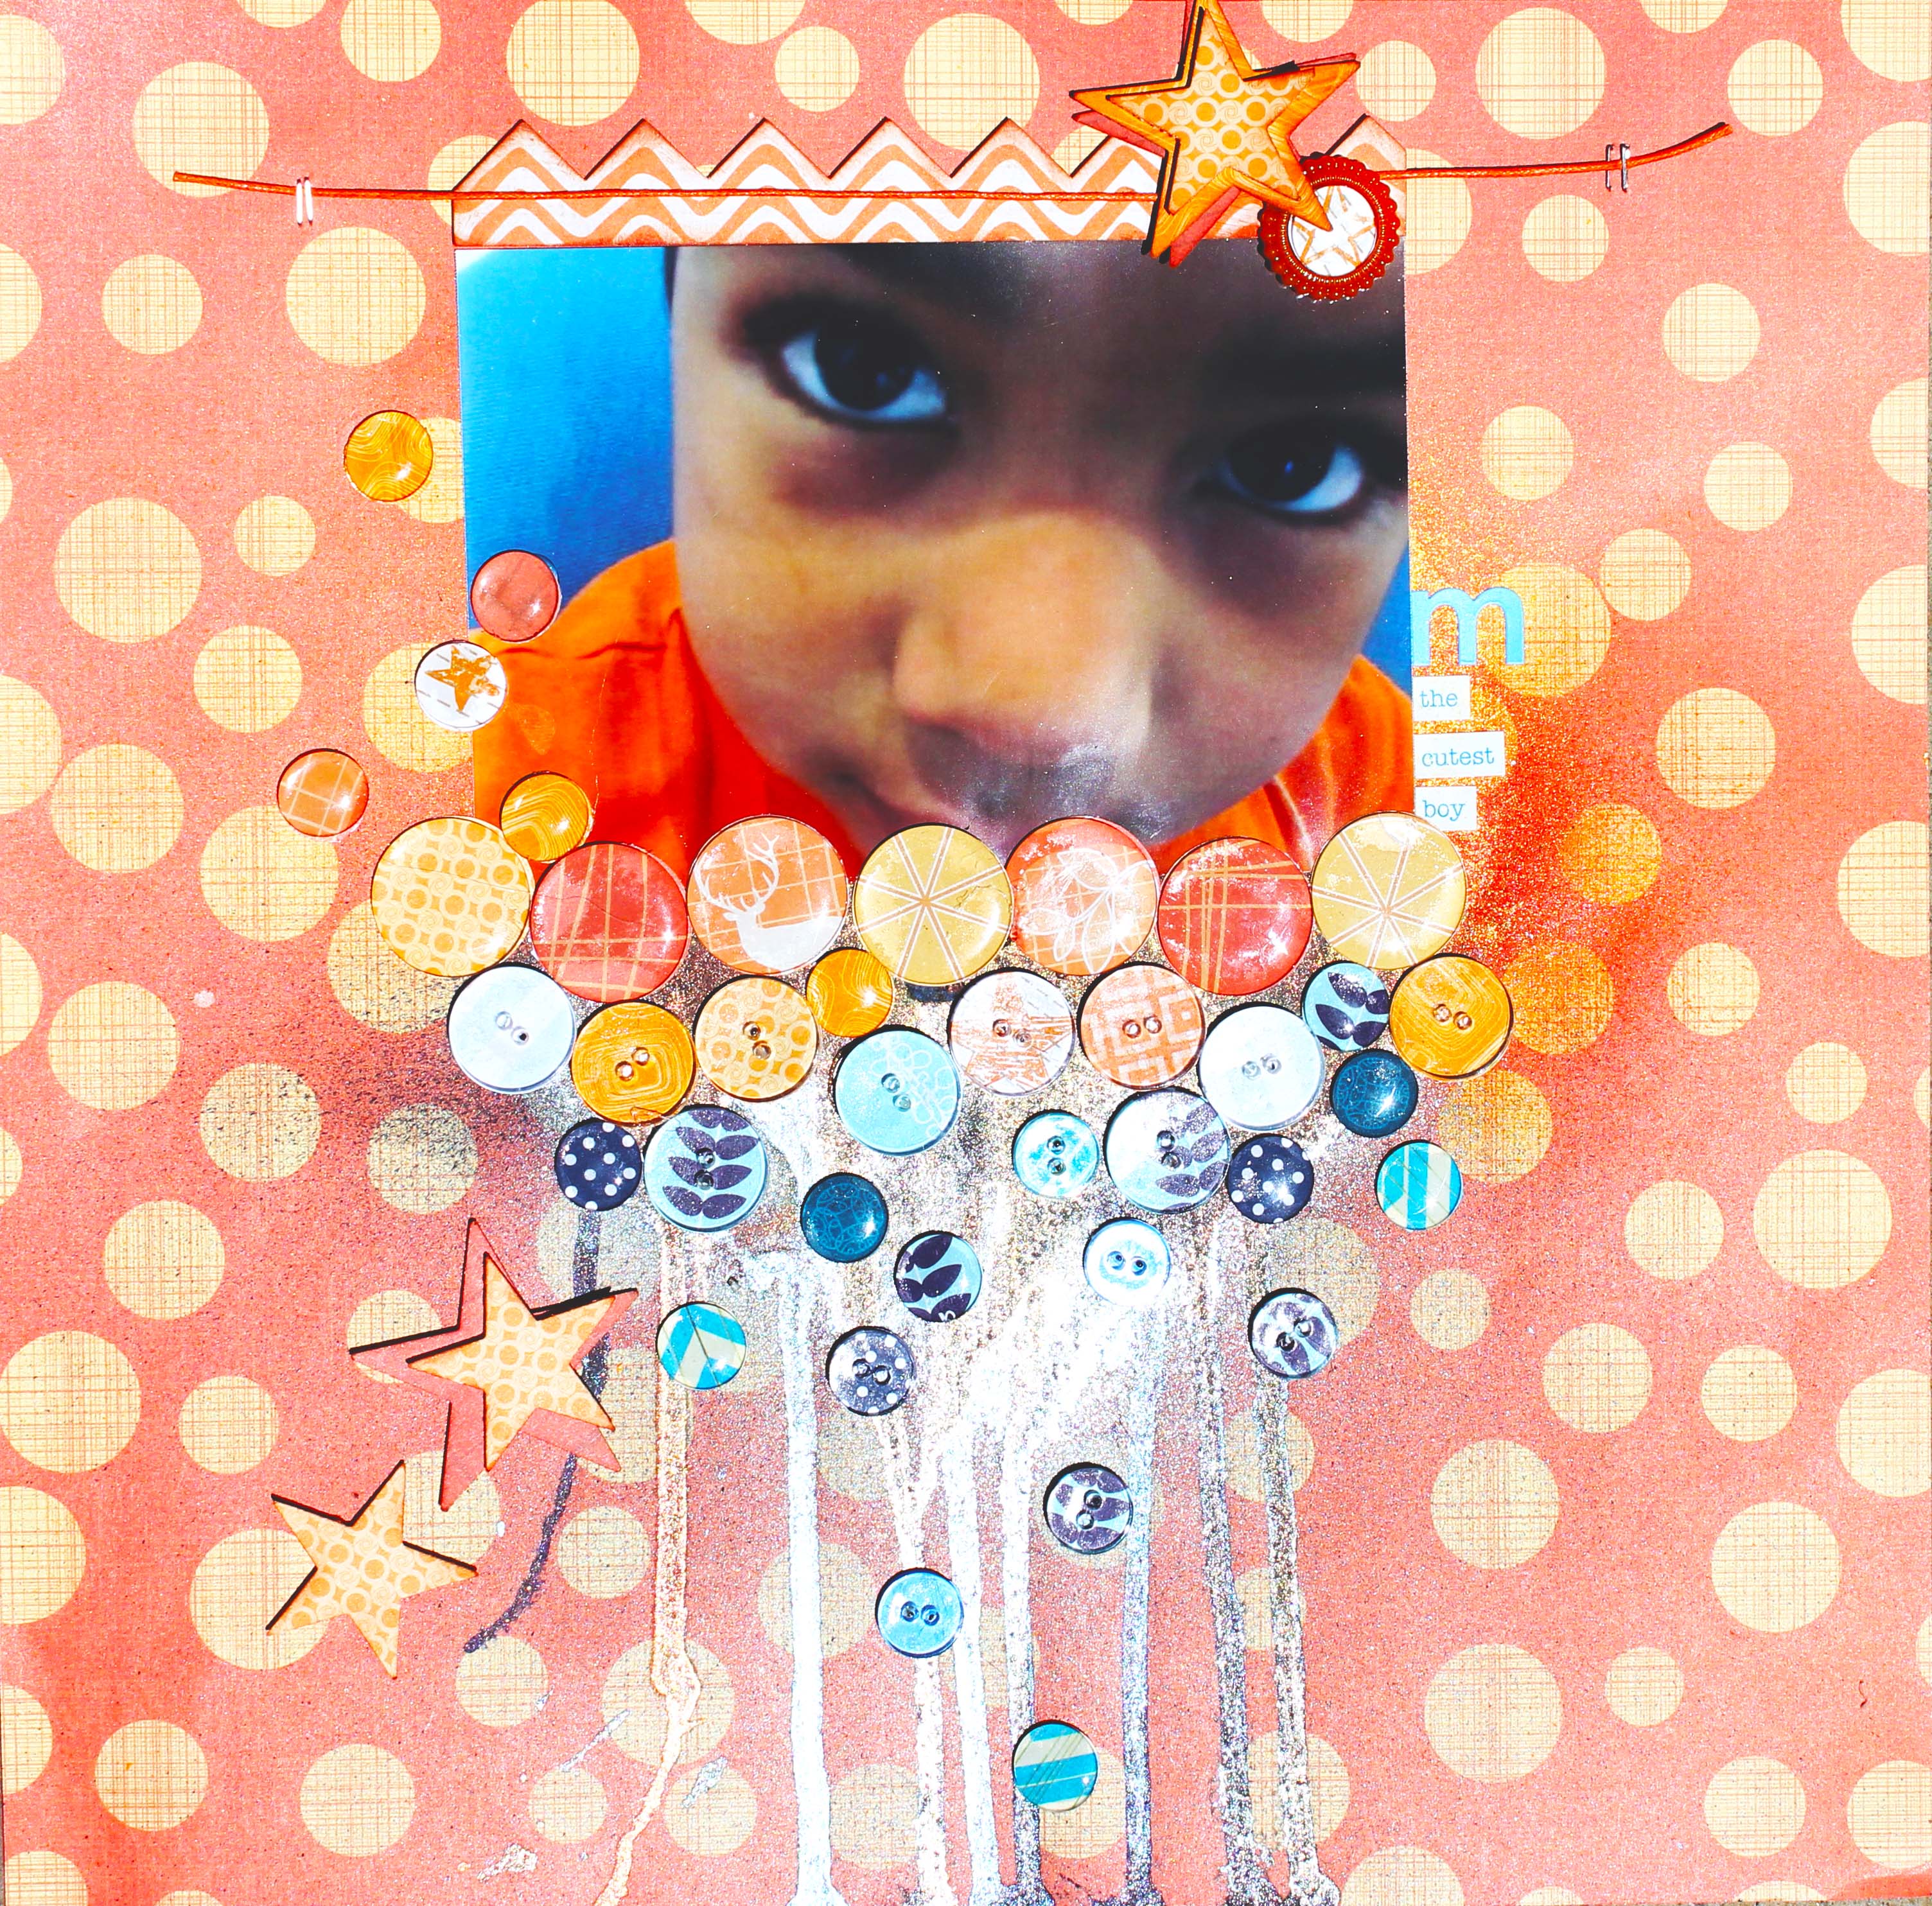
Today I am sharing one of my all-time favorite layouts. I am not a fan of one-photo layouts because if I only scrapped one photo all the time, I'd need an 18 wheel truck to cart around my scrapbooks! LOL But, there are times when you have a one-off photo, one that captures someone's personality or you just really love how it turned out, and well, that deserves its own page.
The beauty of a one-pager, one-photo layout is that there is alot of real estate to play with.
To create this drip effect (one of my all-time fave techniques) I first laid the photo in place to see where I would want it. Draw a small line with a pencil or pen (if covering with paper, like I did) at the top of the photo onto the background paper. That mark will help guide how far up and where to apply the spray.
Set the paper vertically on your table, against your lamp or an easel. This angle will help the ink to drip. For this layout, I use Smooch Spritz in Carrot Cake and Navy Twinkle. The other ingredient is a sprayer filled with water–this can be an empty, used, Smooch Spritz container or one of the brand new Basic Necessities Smooch Spritz bottles offered by Clearsnap.
Start spraying ink and water, alternating to make the ink drip. Lay the paper flat to stop the ink from dripping. It is a good idea to let this paper dry naturally; using a heat gun will make the fibers in the paper contract quickly, resulting in warping (due to the water).
After the paper is dry, add the photo and embellishments — easy peasy!
Supplies:
- Smooch Spritz by Clearsnap
- Basic Necessities Jumbo Smooch Spritz bottle by Clearsnap, filled with water
- Paper by Scenic Route, Dream Street, Cherry Arte, Paper Trunk, and Sassafras Lass
- Buttons and epoxies by Epiphany Crafts
- Twine by Hydrangeahippo.etsy.com
To continue on the hop, just follow the list:
Clearsnap Blog http://clearsnap.blogspot.com/
Megan Aaron http://
Suzanne Austin http://
Sabrina Alery http://
Jennifer Priest https://hydrangeahippo.com/ YOU ARE HERE
Tami Sanders http://tamisanders.com/ GO HERE NEXT
Thanks for stopping by!
And the giveaway………………………………. please go “like” my Facebook Page and leave a comment there to be entered to win a 2 pack of Smooch Spritz ink! Here's the link: http://facebook.com/hydrangeahippo and good luck.
I already heart your FB page… Had to laugh at your comment, I rarely scrap one photo per layout too, but some times it is worth it! Not sure when Sabrina’s page will be up, hopefully I will go back tomorrow!
That’s a beautiful layout!!!!!
Cute layout! I too don’t do many 1 picture layouts for the same reason.
Fabulous layout – love how you have showcased the photo and the awesome colour combo!!!
Thank you for sharing your tutorial too – I have yet to try this technique :)
Beautiful layout, I love the buttons! Thanks for sharing.
What a cool layout! Loving all the drips and buttons!
Wonderful layout. love the colors and buttons. TFS
Neat drip effect and i love all of the buttons! I appreciate your suggestion about letting the paper dry naturally. And i couldn’t agree more about the one photo LOs. although I realize there are times when you NEED to do just one…but I prefer multi-photo LOs!
Cute LO, very bright. I haven’t tried the drip technique yet but it looks fun.
Cute page and a sweet pic! Love all the fun buttons!
Those are some big beautiful eyes!!!
oh! THIS is where I am supposed to leave my blog comment. i really love this page layout. so inspired that i wil definitely try this technique myself. i love the array of buttons too. thanks for the detailed explanation.
like the cascading button layout.
Loving that drip effect. Good idea about drying naturally. Sometimes I get just the right look and then when I hit it with the heat gun it totally messes up the look. I have to agree with you on those single photo layouts. I don’t think I’ve ever done one.
Really great technique with the drips and drizzles. I gotta give that a try. I like your facebook page and will leave a comment.