Clearsnap is releasing a set of 6 LIMITED EDITION Pigment Inkpads and 6LIMITED EDITION Chalk Inkpads. These colors are gorgeous!!
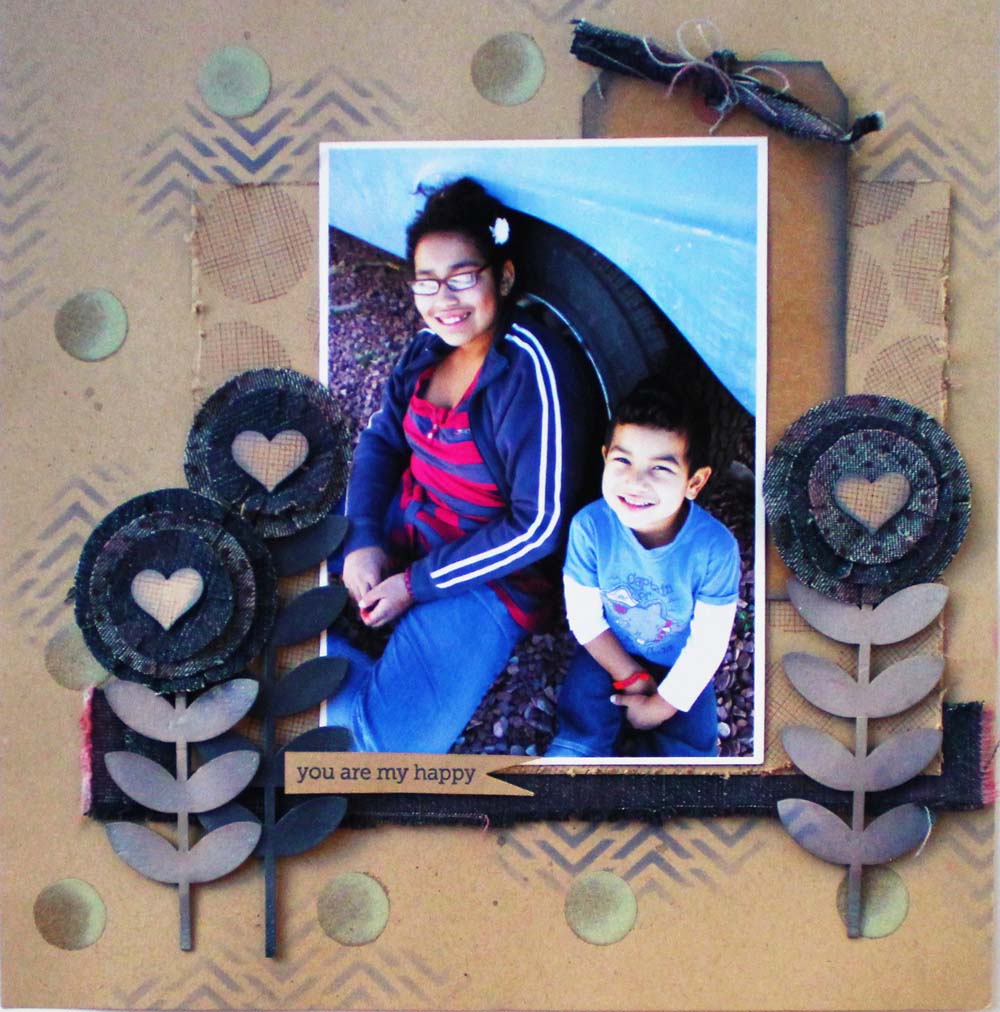
I recently created a layout with the LIMITED EDITION Pigment Inkpads and want to share some of the techniques I used on it. First off, this entire page is created with cardstock, stamps, and ink.

Using the Stylus and Tips Set, stamp polka dots, about 3” apart, onto a 12×12 Bazzill Cardstock in Kraft using LE Pigment Ink in Zen Garden. Apply Embossing Powder in Clear to the polka dot pattern and heat set.


Next sprinkle all the dots with clear embossing powder. This will help to dry the ink as well as give the dots a glossy finish against the matte kraft background.
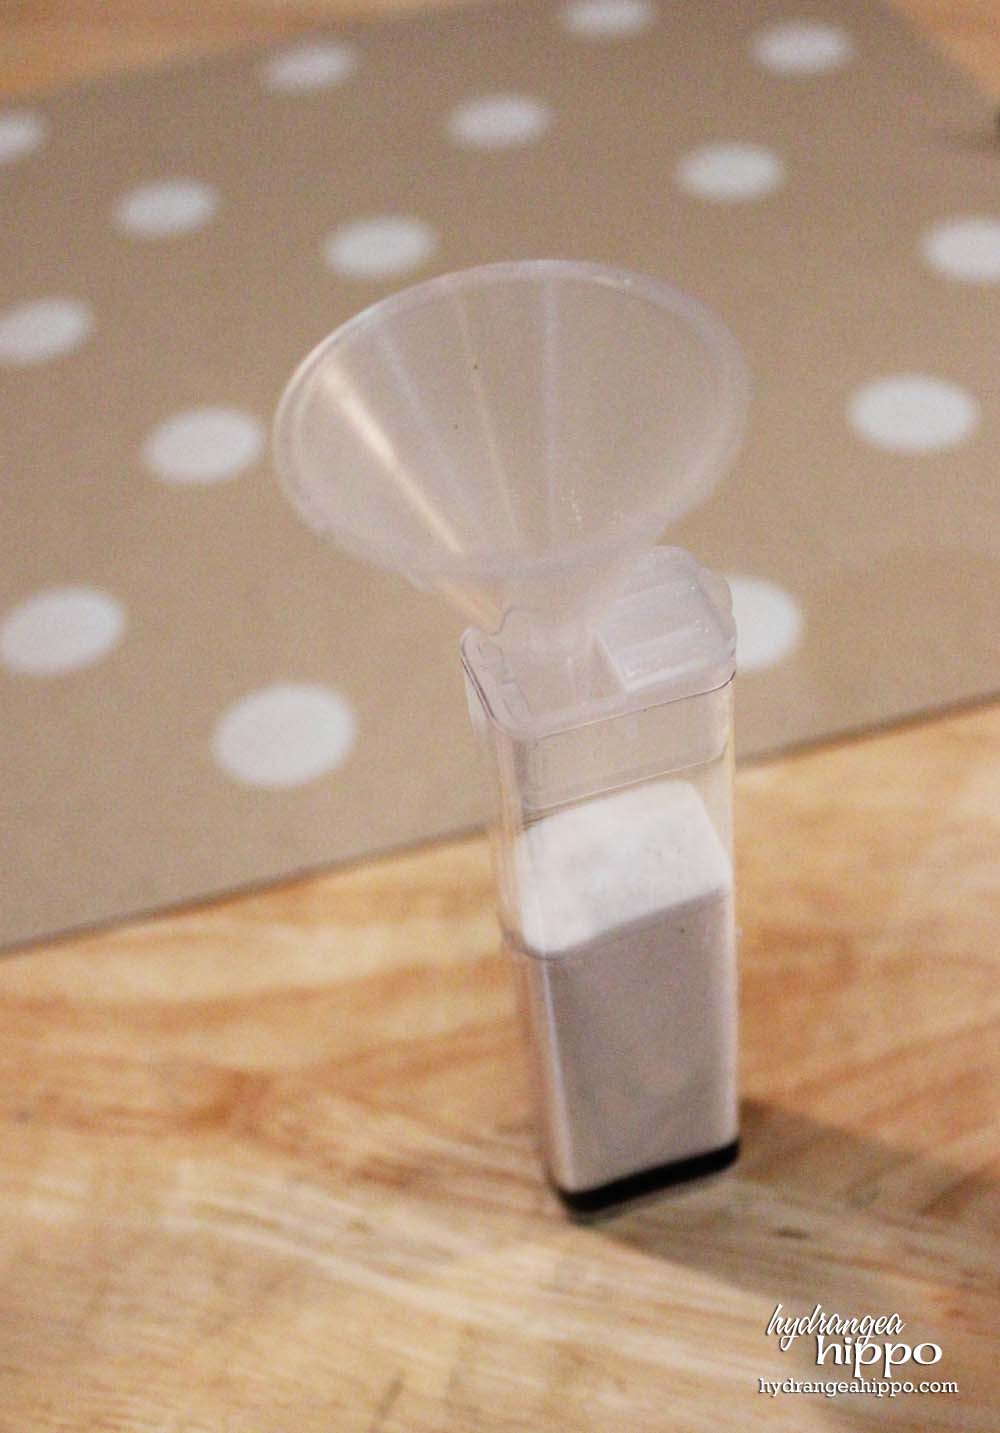
Did you know that Clearsnap has a whole line of cool accessories, like this Craft Funnel? I don't know how I ever got by without one of these–I used to waste tons of glitter and embossing powder!!

Heat set the embossing powder until glossy.
Next, press chipboard shapes into a lighter shade of the Pigment Ink. Here I used
Lay a Crafter’s Workshop 6×6 Chevron Template onto the page and randomly apply LE Pigment ink Blue Jean to the page through the template using a Stylus and Tips set in a circular motion. The pressure of the Stylus and Tip helps press the ink into the fibers of the paper, speeding drying of the ink. Lightly spray the page with Smooch Spritz in Silver Foil and Ginger Ale, wiping the Smooch Spritz from the embossed polka dots. Cut a piece of Kraft Cardstock to 7” x 9” and distress the edges. Stamp circles all over the cardstock using LE Pigment Ink in Raisin and a Hero Arts stamp. Adhere the 7” x 9” Cardstock to the 12×12 Cardstock, about 2” from the top of the page and 1” from the right hand side. Using the LE Pigment Ink in Blue Jean and a Stylus and Tip, apply Pigment Ink to the edges of a Large Shipping Tag. Adhere the Shipping Tag to the upper right side of the 7” x 9” Kraft Cardstock. Cut a 1.5” x 10” piece of denim from an old pair of jeans. Fray the edges by pulling the strings from the fabric. Then ink the edges with LE Pigment Ink in Berry. The intense, rich color of the pigment ink shows up against the dark fabric and dries quickly. Tuck the inked denim strip under the bottom edge of the 7” x 9” Kraft Cardstock. Tie a small strip of denim, about 6” long, into a knot on the top of the shipping tag and ink with the LE Pigment Ink in Berry.
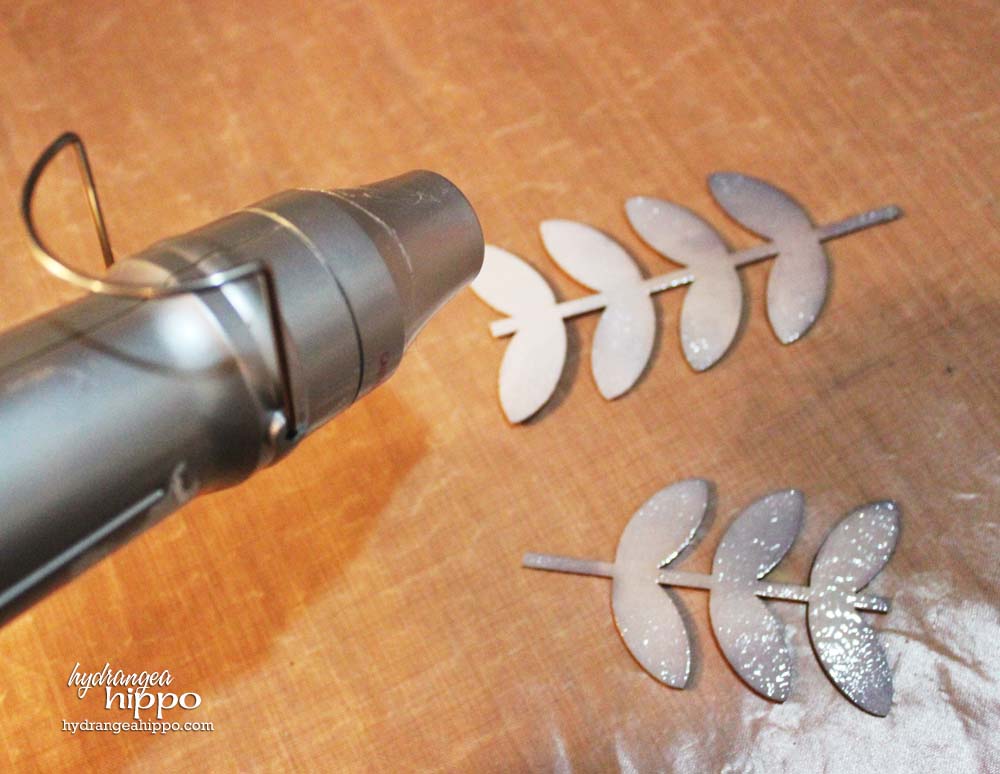
Press one chipboard flower stem into the LE Pigment Inkpad in Blue Jean to color it. Press two smaller chipboard flower stems into the LE Pigment Inkpad in Stormy Seas to color them. Using a Stylus and Tips set, add shading to the diecuts using the LE Pigment Inkpad in Blue Jean and Stormy Seas. The Pigment Ink dries slowly, allowing the ink to be blended and shaded. Apply clear embossing powder to the diecut stems and heat set. Adhere to the page using 3L Scrapbook Adhesives 3D Foam Squares.

Diecut 8 flowers from the denim using the Sizzix Big Shot and Sizzix Flower, 3-D Fringed Die by Eileen Hull. Stamp the reverse sides of the denim flowers with the Rollagraph Jumbo Stamp Wheel in Simple Dots and LE Pigment Ink in Raisin. Stack the flowers alternating right side of the denim and the stamped side of the denim and adhere to the page, atop the flower stems. Ink the edges of the flowers with LE Pigment Ink in Berry. Punch hearts from Kraft Cardstock stamped with Hero Arts stamps and LE Pigment Ink in Raisin and adhere to the centers of the flowers using 3L Scrapbook Adhesives 3D Foam Squares. Stamp a sentiment onto a scrap of Kraft Cardstock using a Hero Arts stamp and LE Pigment Ink in Raisin. Add to the page, just under the photo, using 3L Scrapbook Adhesives 3D Foam Squares.
Supply List:
- ColorBox Limited Edition Pigment Ink in Zen Garden, Berry, Blue Jean, Raisin, and Stormy Seas
- ColorBox Stylus and Tips Set
- Rollagraph Jumbo Handle and Jumbo Stamp Wheel in Simple Dots
- Clearsnap Clear Embossing Powder
- Smooch Spritz in Silver Foil and Ginger Ale
- Adhesive – 3L Scrapbook Adhesives 3D Foam Squares, MyStik Permanent
- Cardstock – Kraft by Bazzill
- Heart Punch – Fiskars
- Chipboard Diecuts – Magistical Memories
- Stamps – Hero Arts
- Shipping Tag – office supply
- Chevron Template – Crafter’s Workshop
- Denim – old pair of jeans from the thrift store, no label
There you have it, an entire page from 2 sheets of kraft cardstock, a tag, some chipboard and denim diecuts and lots of gorgeous Pigment Ink!
Talk about a bargain of a page! If you'd like to learn more techniques like the ones showcased in this post, check out my The Painted Page class at My Creative Classroom, exclusively online.

Happy Creating!
Jennifer
Thanks for the tutorial on the great layout! I need to buy some flower diecuts so I can cut out fabric flowers. Do you know of an inexpensive source? My husband hasn’t worked for over two years since he had a triple bypass, so funds are low until he I eligible for social security in sePtember.
What a wondeful tutorial and a great layout. Thanks for sharing.