Looking for the KoolTak Blog Hop with Designer Crafts Connection? Check here:
https://hydrangeahippo.com/2012/09/kool-tak-blog-hop.html
Hi there it's Candice Elliott here
to share tip/tutorial!!!
So often I wish that I owned a
cutting system but since I
don't what do I do?!
Well, the best tool that money just
can't buy is hands. Yes,
I use my wonderful hands.
Today I am showing a couple
of simple fun techniques that
I use quite often.
So much can be done when
stepping out of
the box just a little and
as always making the most
of what we have.
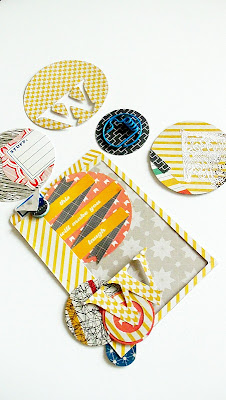
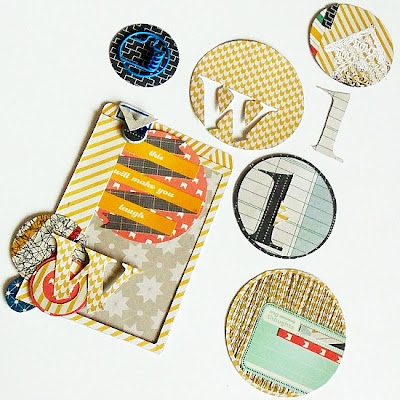
Here are a few finished
accents. Below there are examples
of how I created two of them.
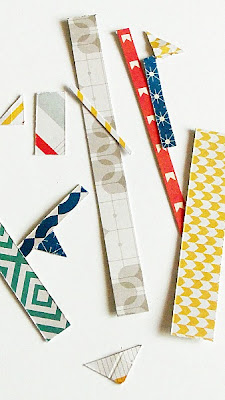
First let us remember that scraps
are our friends. Big ones or
little ones there is always something
that they can be used for.
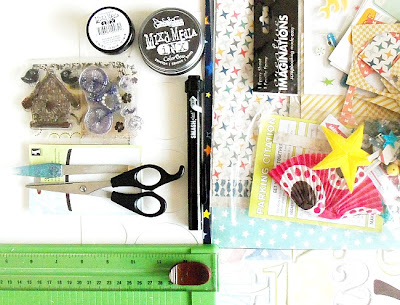
Here are the lovely supplies that
was used. Hydrangea Hippo's
Rockin Dude Kit along with
a few extras made this project so
much fun!
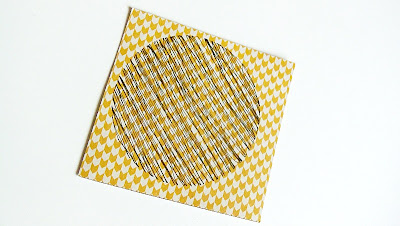
First we start off taking a look at how
I created the lines circles.

Take your paper, marker, and stencil.
Simply start drawing lines in an up
and down motion. The lines do not
have to be straight.

Here is the complete lines circle.
Once cut out pick out a sticker or two.

Make sure to leave some of the sticker
hanging off. The extra portion is going to
be trimmed off.
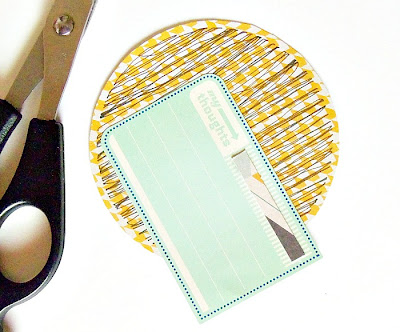
There we have it!!! Simple right!!!

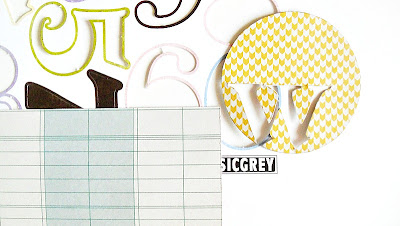
You know those scraps that I
talked about earlier? Well
here is a little something that I used
them for.

Layer as much as like or keep it simple.
Complete!!!

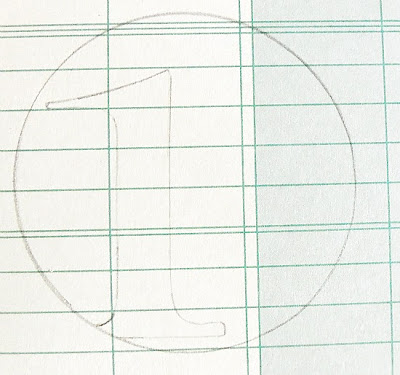
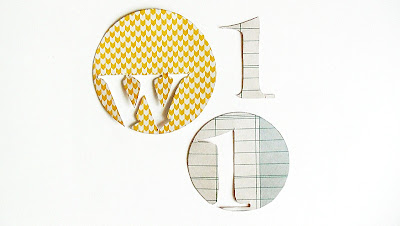
Here is another sample of a monogram
circle. I always keep the scrap paper
from my punch outs for this
very purpose.
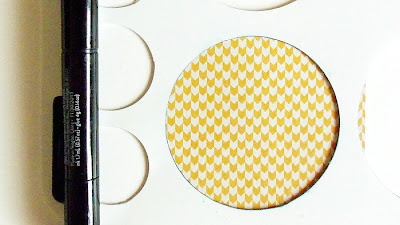
First we are going to trace
our circle.

Next we our going to take
our punch out, in this case I used
a number one, and trace it
inside the circle with it
slightly hanging out of circle.

Here is what it should look like.
Carefully cut out and you should have this!
Take it a small step further and
add a back drop for a little pop!

Here are some other things to play with.
Just play around and have fun with it.
I hope, I hope, I hope that everyone was a little inspired
today. Making this tutorial was a pleasure. Please give it a
try to see what ideas spark up. Thank you so much for
allowing me to share!
This is awesome, Candice! You are so talented, and I’m inspired to the max. Off to my studio to give this a try!!