For the last few years I have made an album called “Walk In My Garden” every Spring. I found a set of quotes that I just love that I always incorporate into the book.
These quotes are great for photos about children and make a fabulous gift for moms, grandmas, and family members. But this year I felt that the quotes could also be used to convey a sense of “new”. My sister is having a baby next month and I made this album for her to keep photos of her little ones. I think this will be a great table top album for photos of all of her children, with enough masculine details to balance the touch of pink.
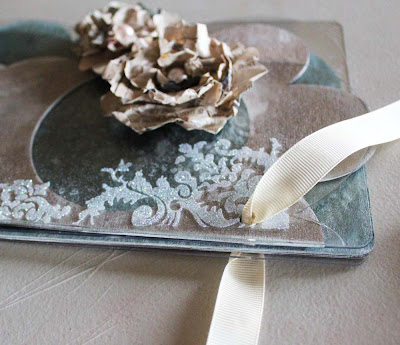
This year, I opted to make a Clear Acrylic Album instead of my usual 4×4 coaster “Garden” Album. I love the Mixables Albums from Clear Scraps. They have both chipboard and acrylic diecut pages in a variety of shapes and sizes that really make for a unique album. Here I chose the Spring Mixables Album with its flower, scallop, and butterfly shaped pages.
First I prepped the pages. I peeled the protective plastic from all of the acrylic pages and doodled on them with Sharpie Paint Pen. This pen works great on acrylic and dries instantly. Then I dry brushed the edges of the pages with white acrylic paint.
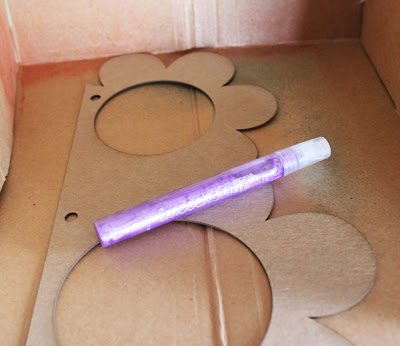
While the acrylic pages were drying, I prepped the chipboard pages with Smooch Spritz by Clearsnap and more acrylic paint. I set the pages into a Color Catcher by Clearsnap and sprayed Smooch Spritz directly onto the chipboard.
The result is a subtle color but intense shine! I then painted the backs of each page with white acrylic paint and dry brushed the edges of all the pages with the same.
I put the pages back and in order and set to binding. Since this book is for a baby/children, I wanted a very soft look. I swapped out the metal rings that come with the book for a binding I made from ribbon. It's easier to make than you think!
Stack all of the pages in order so the binding holes line up.
Thread a piece of ribbon about 24″ long through one of the binding holes. Tie the ribbon around a thick diameter pen or marker that will act as a spacer.
Here I am using a 1″ diameter bottle of Smooch Spritz. The spacer will create enough slack in the binding to allow you to open the book and lay the pages of the book open flat.
Tie the ribbon into a knot to hold it in place and then tie a bow. Repeat for each binding hole. Add other ribbons if you ‘d like.
Remove the “spacer”.
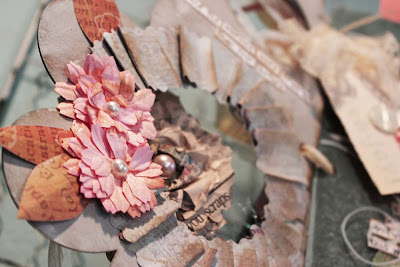
I then set about decorating my book using papers from Donna Salazar Designs for GCD Studios, diecuts, buttons, and trims. I rubbed the stickers on the cover with white acrylic paint to give them a shabby chic weathered look.
To cover a page with paper, I traced the painted pages onto the paper and then loosely cut about 1/2″ to the inside of the line.
In inked the edges of the papers and added them to the pages below:
I tied shipping tags to the binding between the pages and decorated them with Design Adhesives and Fairy Dust Glitter from Clearsnap.
Since this book is a gift, it does not yet have photos in it. As a finishing touch, I added the quotes I love so dearly to each page.
Supplies:
Paper – Spring in Bloom Collection by Donna Salazar Designs for GCD Studios
Newspaper – Donna Salazar's Crafty Chronicle
Glitter, Ink, Design Adhesives – Clearsnap
Spray Ink – Smooch Spritz by Clearsnap
Rose Creations Dies – Donna Salazar for Spellbinders
Album – Clear Scraps Spring Mixables Album
Paint – Sharpie Paint Pen, Delta
Stickers – Bo Bunny Press
Vellum – Walmart
Font – CK Shannon
Cardstock – Neenah
Brads – KaiserCraft
Flowers – Accents Creative Designs
Ribbon, Lace, Buttons – hydrangeahippo.etsy.com
Happy Scrapping!
Posted by Jennifer Priest
http://hydrangeahippo.blogspot.com


This is a gorgeous album!
What a stunning stunning album………..wow love it!
Beautiful project!
This is stunning!
Beautiful!
beautiful! :-)
SIMPLY MAHVALOUS! This is gorgeous! I love your idea for using the sprayer as a spacer! Have to remember that one:)