
Laser cut wood is totally easy to find in craft stores these days. I love the gorgeous burnt edge of the wood but what do you do when you buy a “ready to finish” laser cut wood ornament in the store? Today on Crafttastic TV I am going to share how to turn plain wood ornaments into gorgeous sparkly wood ornaments in 5 minutes!
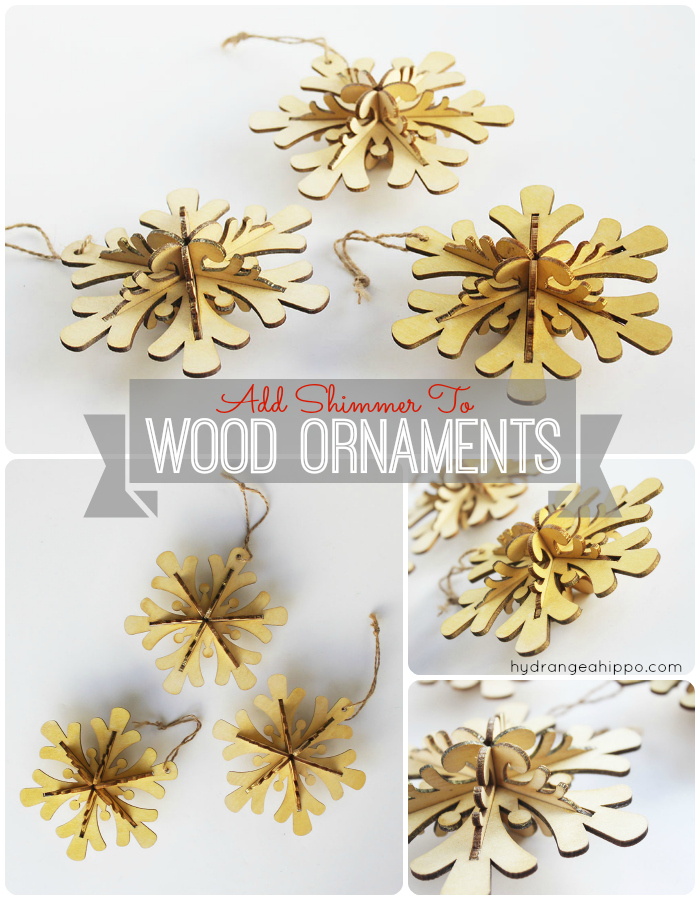
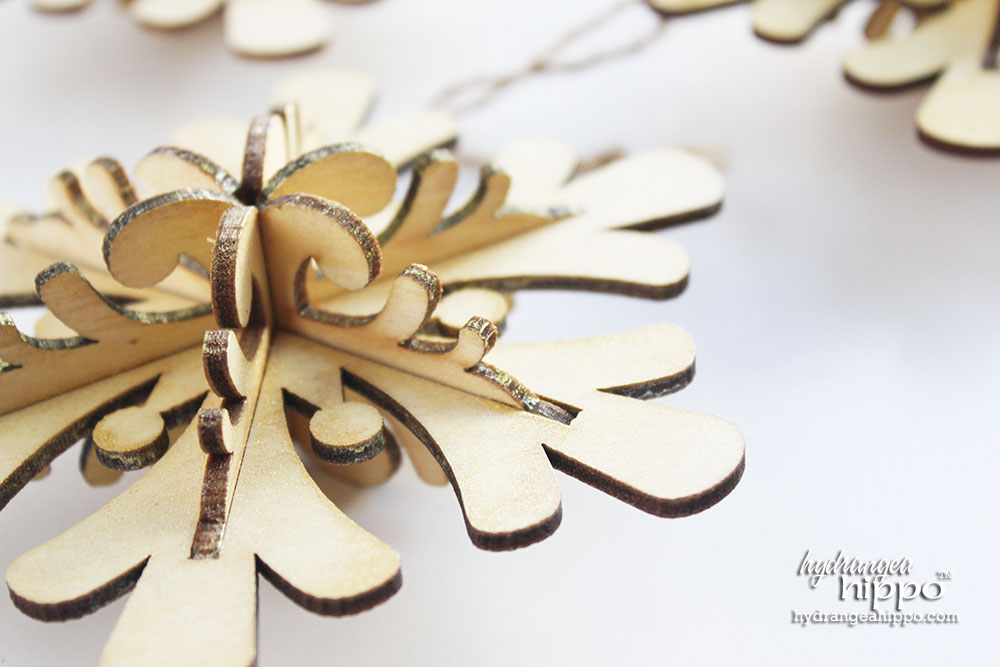
Since I love the wood grain and burned wood edge of these 3D snowflake ornaments I got at Hobby Lobby so much, I kinda didn't want to use paint on them – I mean, they were gorgeous in their own right for a woodland or rustic tree. But my Christmas decor is much more sparkly and elegant so I needed a way to customize the wood snowflakes to match my decor but to also preserve that gorgeous wood look. I knew spray ink would be the way to make these laser shapes into sparkly wood ornaments but to also preserve the burnt edge of the wood and highlight the wood grain. It's a bonus that this technique literally takes only 5 minutes to do on any wood ornament.
Supplies:
- Laser Cut Wood Ornament
- ColorBox Color Catcher
- Smooch Spritz in Gold Glow, Vanilla Shimmer, or Ginger Ale (to be discontinued as of Jan 2015)
Here's a handy dandy video showing how I used spray ink to customize these super fast and easy wood ornaments:
Open the Color Catcher and set up on your workspace. The Color Catcher, by ColorBox, is a portable spray booth you can use with any spray ink to protect your work surface from overspray.

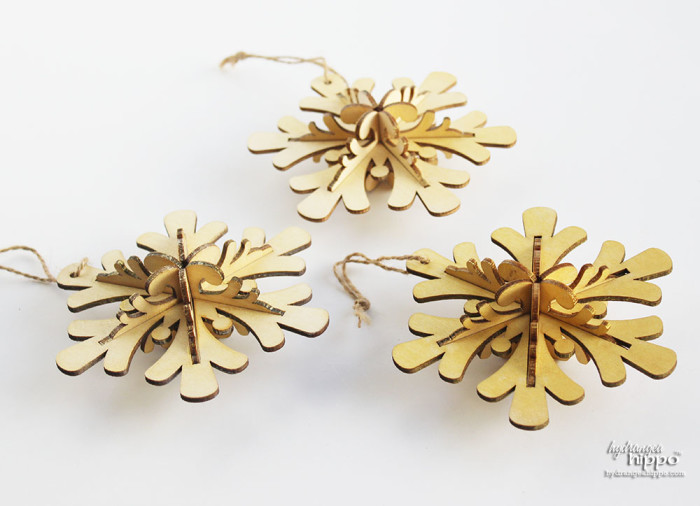
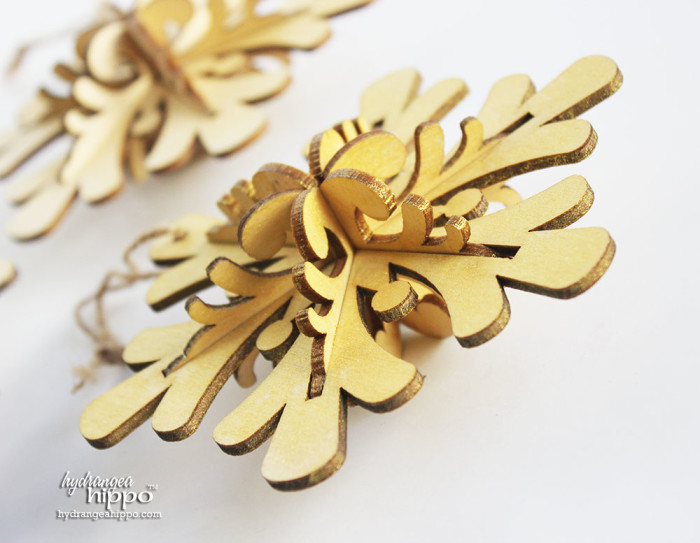
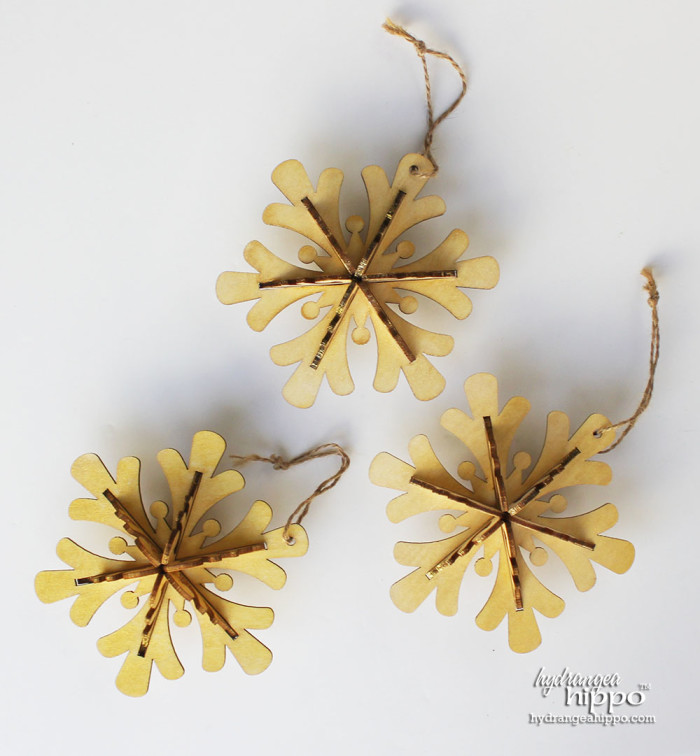
Lay the ornament inside the Color Catcher and liberally spray the ornament with Smooch Spritz in the desired color. You can use other colors of Smooch Spritz on these ornaments but I was going for a frosty, gilded gold look. I alternated sprays of Vanilla Shimmer, Ginger Ale, and Gold Glow to get a watercolor-like finish on the ornaments.
Set the ornaments on a paper towel to dry for several hours. Then hang and enjoy!
What colors do you decorate your home in for the holidays?