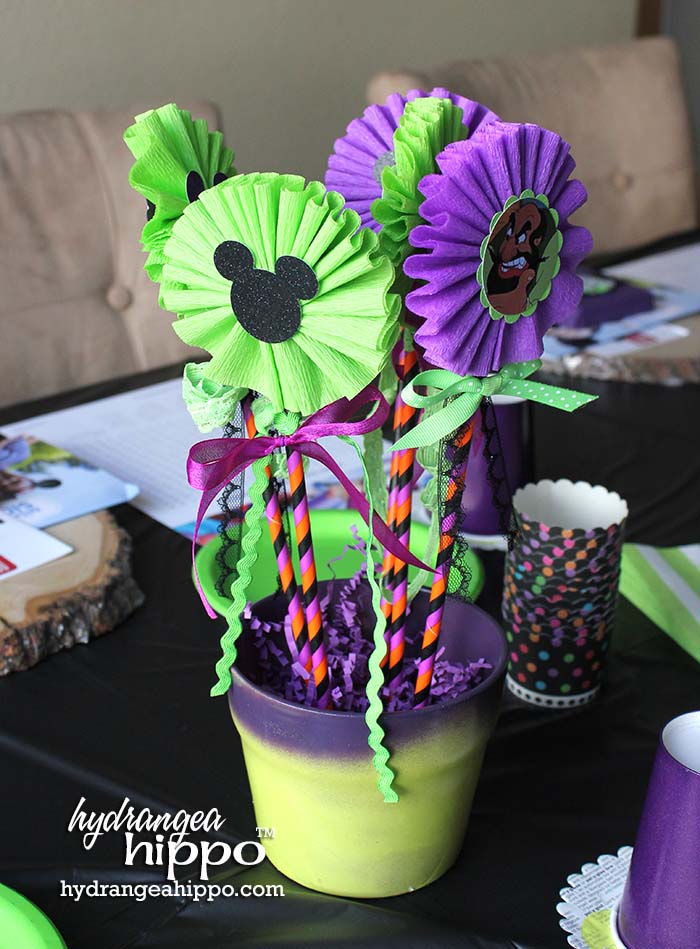
I created these fun centerpieces for a Disney Villains Mad Tea Party! The secret is the Styrofoam Balls in the bottom of the flower pots, that serve as the base. I stuck bamboo skewers into the Styrofoam ball and then added paper straws over top to disguise the skewers. I then sewed rosettes from crepe paper to top the straws, adding paper punched shapes with EK Success Paper Punches.
Supplies:
- Styrofoam Balls
- Hot Glue
- Krylon ColorMaster Spray Paint – Citrus Green, Purple
- Flower Pot, Ikea
- Shred Paper
- Paper Straws
- Ribbons and Lace
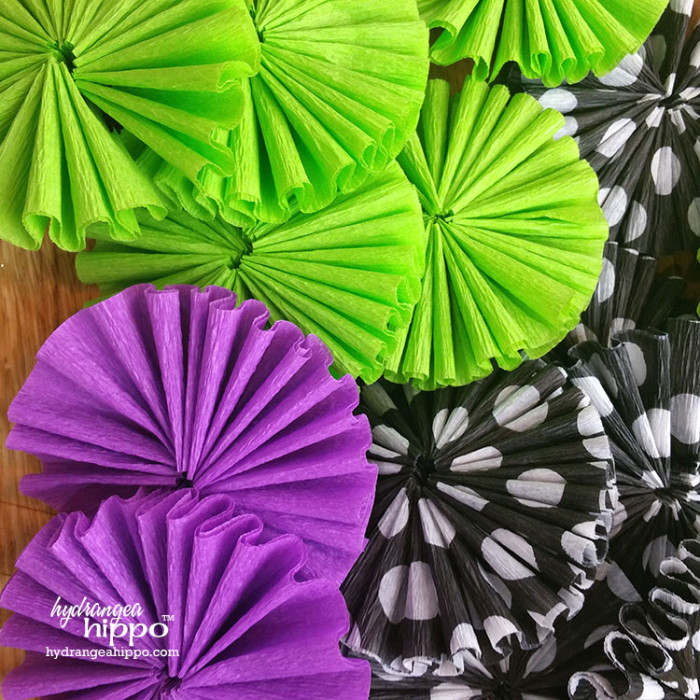
- Crepe Paper – Lime, Purple, Polka Dot
- Crepe Paper Rosettes Instructions
- Yarn Darning Needle
- Craft Thread
- Glitter Cardstock
- Printable Disney Villain Faces
- Bamboo Skewers
- EK Success Punches – Circle, Scalloped Circle, Mickey Head
I made a handy dandy tutorial video showing how to create this project from start to finish:
You will also need to watch this video on how to make crepe paper rosettes. I also sell a pdf on how to make these with a BUNCH of fun variations: Little Rosie's Rosette Making Instructions. I used the rosettes throughout the decor for the party, including for the prize ribbon style name tags that I made for all of the guests. I linked the crepe paper I used above in the supply list but I could not find the black with white polka dots crepe paper – I had received that as a gift from a friend so I am not sure where she got it originally. Hopefully you can find it online somewhere! I did link to some white with black polka dots crepe paper that would be equally as cute, especially for anything Cruella DeVille themed! Below are typed instructions in addition to the video.
Instructions:
- Spray paint the post with Kyrlon spray paint and allow to dry.
- Cut the Styrofoam balls in half and glue ot the inside of the pot.
- Add shred on top of the Styrofoam balls.
- Insert bamboo skewers into the Styrofoam balls.
- Slide paper straws over the skewers. Trim skewers.
- Sew rosettes from crepe paper.
- Hot glue rosettes to the top of each skewer
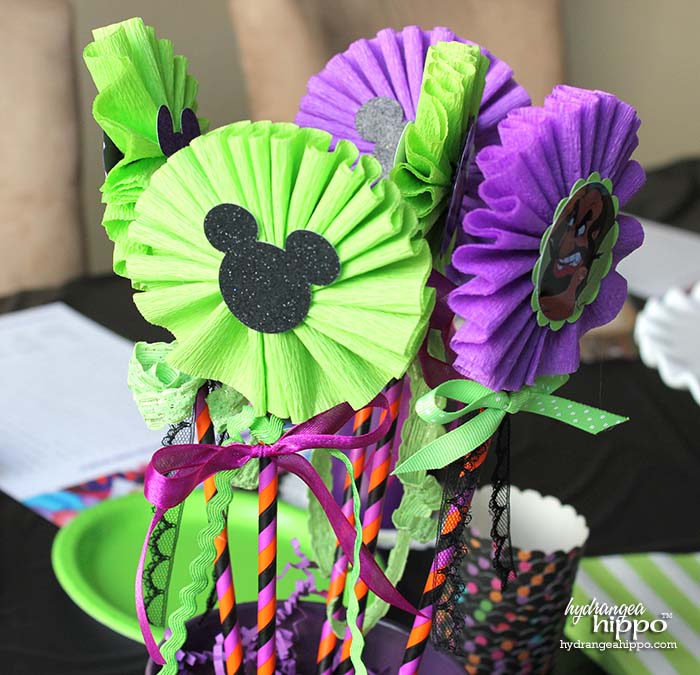
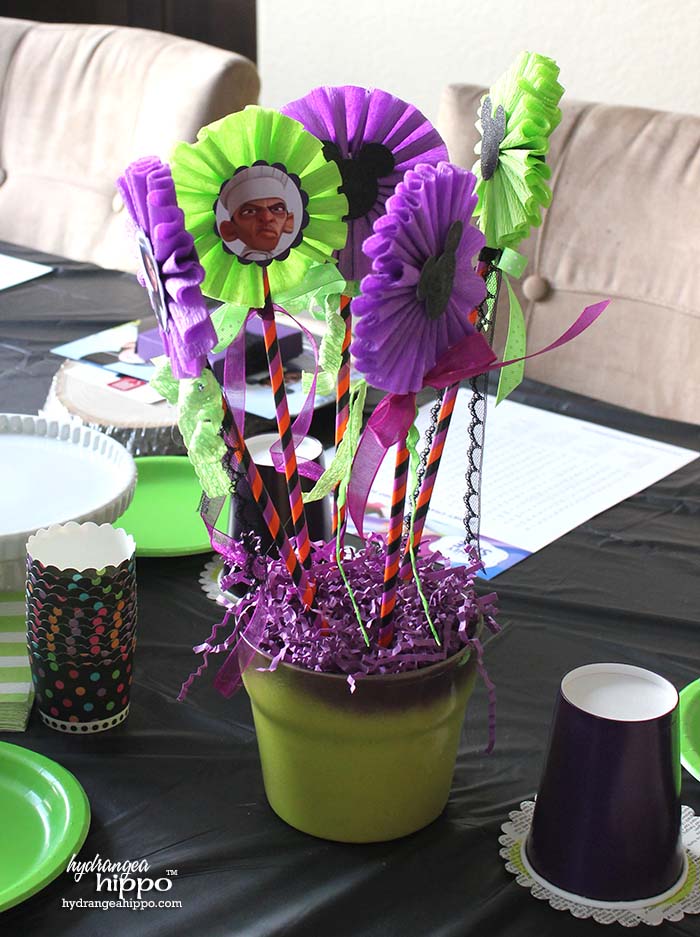
- Adhere a paper Mickey head cutout to one side of each rosette
- Adhere a punched villain and scallop circle cutout to the other side of each rosette.
- Tie ribbon and lace to the straws at the base of each rosette.
If you make these, I would love to see them!! Tag me on social media @jenniferppriest so I can see them.
One thought on “Disney Centerpiece”