
Just FYI, cuz I like to be upfront like that: This post is sponsored by Crafty Hangouts and their advertiser, Minwax. Additional product was provided by Walnut Hollow. All opinions and product experiences are my own.
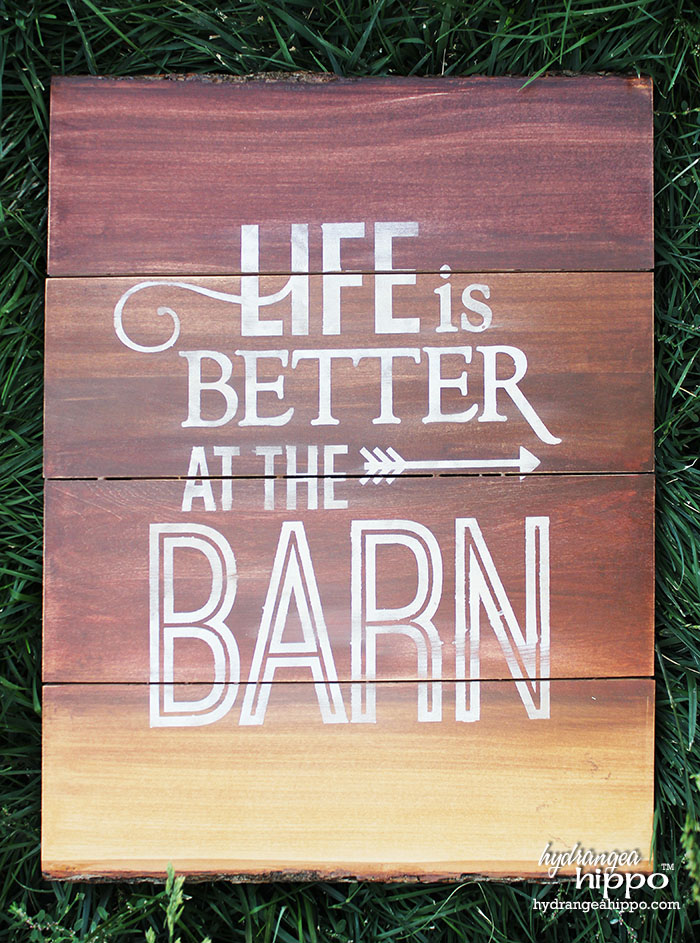
I have had all of these gorgeous Walnut Hollow wood planks in my stash for sometime now. It seemed rather criminal to PAINT them. I mean, why buy gorgeous wood to cover it up? I never thought to stain them. Like, duh moment! Earlier this year I met the Minwax® peeps at a conference and saw their Wood Finishing Cloths in action during a demo. I'd describe these as a baby wipe with wood stain in it – way easier than wax on, wax off, and it dries fast too! So when Crafty Hangouts said they were looking to work with Minwax® for a hangout, I totally raised my hand. After receiving a box of supplies I knew what I was going to try: DIY ombre wood stain.
This sign takes less than hour to make (excluding dry time) and will WOW your friends and family. Seriously, mom, don't look but you're getting this one for Christmas :)
The secret really is the Minwax staining products. The Wood Finishing cloths, as I described before, are a disposable cloth soaked in stain., You wipe the cloth over the wood, following the grain, and the stain is applied. Rhonda Greene, a fellow Crafty Hangouts contributor, suggested keeping the cloth in a zip top baggie between uses if you did not use all of the stain out of it. Even after doing my large sign project, there was plenty of stain left in the cloth to have used it for another 2-3 projects. The other Minwax product that I have to rave about is the Color Express™ and Express Clear™ Wiping Finishes, part of Minwax's One Step Finishes Collection. These come in what looks like a paint tube and you just squirt it onto the surface of the wood and wipe. It is so easy to use and the bottles seal really well to keep the product safe between uses. I remember all those tiny metal cans of wood stain we used to use to make furniture, tack boxes, and other horse stuff as a kid. I don't miss those.
Did I also tell you how much I despise sealer and varnish? Back when I was younger, my grandmother bought me some fabulous unfinished wood furniture from a local store called Pete's Finishland. It was very high quality and I still have all the pieces today. I have kept them in large part because I stained and sealed all of them, myself, by hand. And that means an incredible amount of sanding. I spent an entire summer during college staining and sanding and varnishing and sanding again and varnishing and sanding again… so when I saw a protective finish in the Minwax shipment, I was skeptical.
Boy, was I surprised by Minwax's Express Clear Protective Wiping Finish! First of all, this low glass sealer wipes on with a cloth. No painting, no sanding. I was like, “Yeah, this thing is gonna be all rough and bumpy and I will have to sand it when it dries”. But then the first coat dried and I thought, “Wow. That's pretty nice”. So I went in for a second coat. Now I was really gonna need to sand it, right? NOPE. Two coats of the sealer and the sign has a nice, even low gloss finish, no bubbles, no bumps, no need to sand. I am sold!!! The Minwax Express Clear Protective Wiping Finish is also available in high gloss and I imagine it works just as well but I have yet to try it.
Supplies:
- Minwax Express Clear Protective Wiping Finish in Low Gloss
- Minwax Wood Finishing Cloths in Walnut and Dark Mahogany
- Minwax Color Express™ Wiping Stain and Finish in Oak
- Walnut Hollow Wood Plank with Bark
- Dry Soft Cloth
- Plastic Gloves
- Vinyl Stencil
- Stencil Paint
- Sandpaper
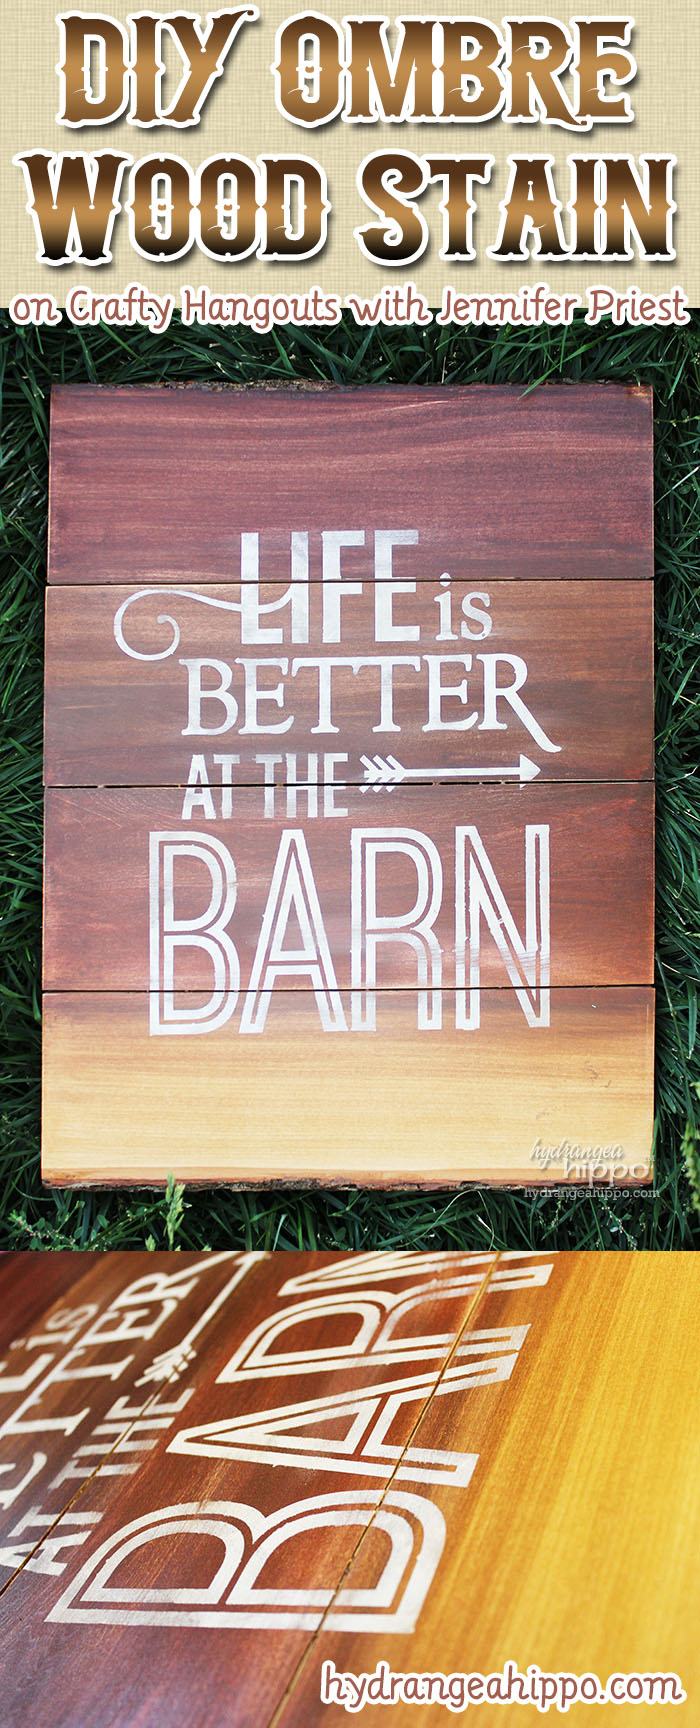
Check out how I made this sign in this here handy dandy video. Also, check out the other Hangouts featuring Minwax crafts on the Crafty Hangouts blog.
Do you see Minwax as a product that you can get crafty with? I love that it's not “just for furniture” any more! Imagine all you can do :)
Check out these Minwax links:
4 thoughts on “DIY Ombre Wood Stain”