
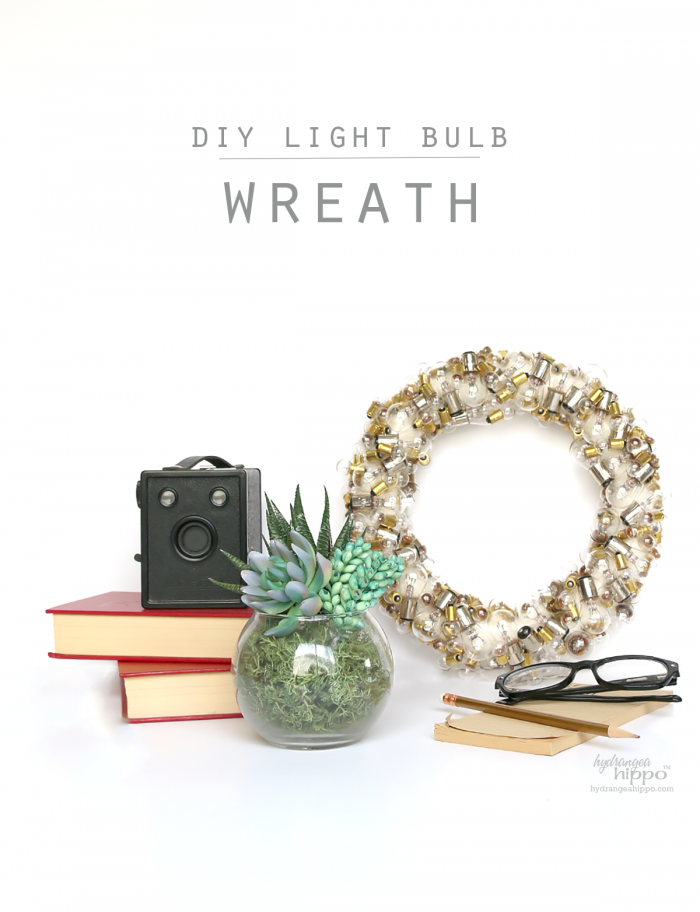
A couple years back I scored a HUGE treasure of vintage light bulbs at a salvage yard. I've made jewelry with them and tinkered with Christmas ornaments, used them as vase filler… but then I wondered “what more?” That's how this Vintage Light Bulb Wreath came to be! When I joined the Thrift Store Upcycle Challenge, I knew this was the project I wanted to share.

I've paired up with a group of talented ladies to bring you a monthly Thrift Store Decor Upcycle Challenge. Each month we create a new home decor piece from items we've found at a thrift store, yard sale, resale shop etc. There is no budget or specific theme so we are free to let our creativity run wild!

Amanda | The Kolb Corner Chelc | Inside the Fox Den Erlene | My Pinterventures
Kim | Made in a Day Sara | Twelve on Main Debra | Shoppe No. 5
Shirley | Intelligent Domestications Marie | DIY Adulation Lindsay | Crazy Organized
Michelle | Our Crafty Mom Julie | Live From Julie's House Colleen | Life on Kaydeross Creek
Maureen | Red Cottage Chronicles Pili | Sweet Things Sherry | Savvy Apron
Ann | Duct Tape and Denim Dru | Polka Dot Poplars
Megan | C'mon Get Crafty Jennifer | Hydrangea Hippo
You can also follow our board on Pinterest for more upcycled decor inspiration!
DIY Industrial Light Bulb Wreath
This lightbulb wreath is built on a foam wreath form that you can get at any craft store. Sometimes in fall, Target has them in the $1 spot for $3!! The color does not matter because we're going to wrap it with fabric or ribbon first. This helps prevent the foam from melting when you glue the bulbs on but you can also use a hot glue made just for foam projects. Here are all the supplies you'll need:

At the same time I made this wreath, I made a few others so you'll see a variety of supplies here. You can cover a wreath form with anything you have multiple of, like light bulbs, buttons, and pearl beads.
Supplies:
- Lightbulbs
- Foam wreath form
- Hot glue gun or Aleene's Turbo Tacky Glue
- Satin ribbon or fabric strips
- Scissors
You can get more of these bulbs from the Hydrangea Hippo etsy shop – this is the last of the stash that I got so we are offering them for a great deal, especially if you buy the 100 pack.
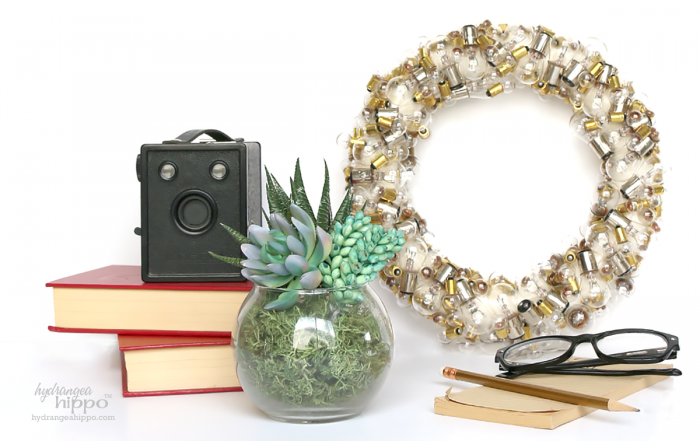
Making a wreath with salvaged vintage light bulbs
The first step was to wrap the wreath form with ribbon. I secured the ribbon in place with glue and then started wrapping it around the wreath form. You can also use fabric strips. Since the light bulbs are see-through, I didn't want the foam texture of the wreath form to show through. You could also decoupage the wreath form prior to gluing on the bulbs.
Next, start gluing on the bulbs. This project is easiest if you start with the largest item first and then use the smaller items to fill in any spaces. The same is true for wreaths made with pearl beads, googly eyes, buttons, and more. I started with larger bulbs and then filled in the gaps with the small bulbs from my etsy shop.
Form a loop with a piece of ribbon and glue to the back of the wreath to create a hanger. That's it! I love this wreath on a shelf nestled between other fun decor pieces.
Check out this tutorial video to see the making of this project in action. I hope this gives you some great ideas on ways to use unexpected materials to make a unique statement home decor piece!
Thanks so much for visiting! Do you love upcycling and going to thrift shops? Let me know your best tip or find in the comments. For more crafty ideas, be sure to sign up for our newsletter using the form below:
Be sure to check out all of the other creative upcycle projects my fellow bloggers have come up with!